
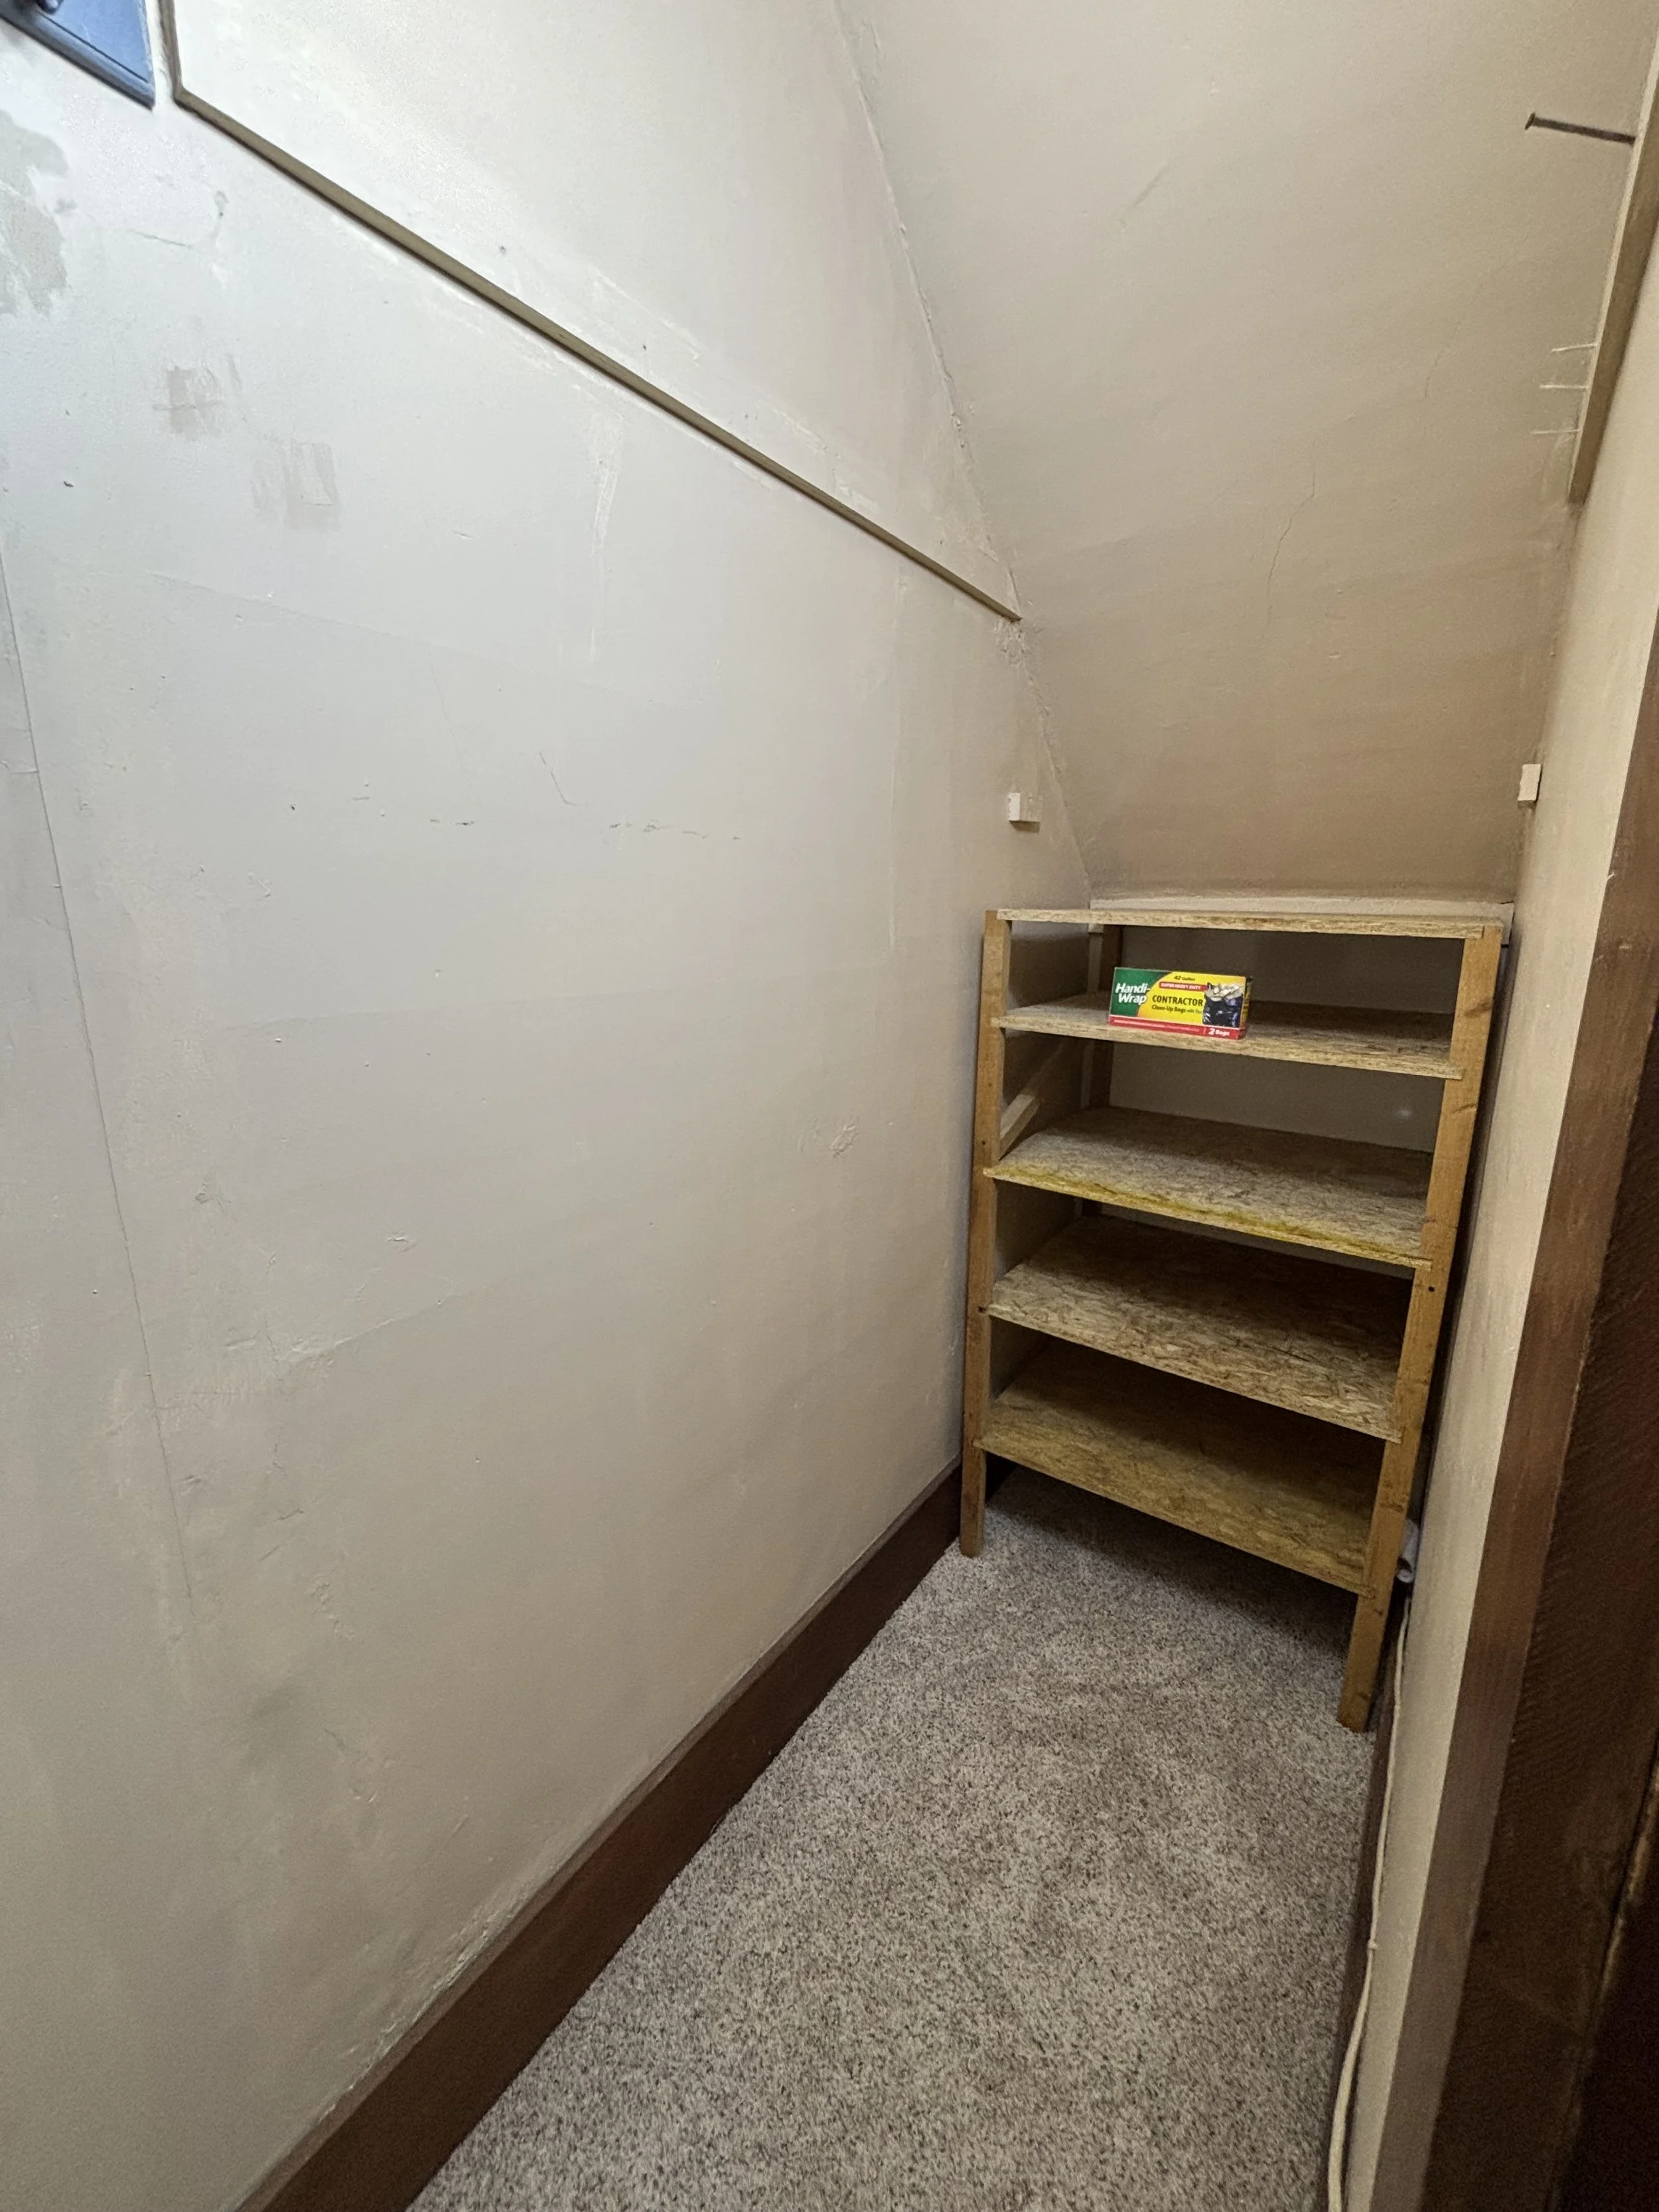
Under-the-Stair closets are a super cool place to hide stuff. This one was no exception. What made this one an exception was that the walls’ plaster was crumbling and there was quite a bit of less-than-enthusiastic repair done over the years. It also had exposed boiler pipes that the homeowner wanted covered. There was room for improvement, so let’s get improving!
THIS CLOSET DOESN’T DO…ENOUGH
Right off the bat, it should be noted that I was in no mood to remove any existing plaster and replace with drywall. My goal on this project was to get the walls floated and clean up the corners so that when the Closet Maid shelving goes in, there’s a nice flat attachment point across the walls. The below picture is one corner that needed some love and the cracking that the plaster had endured since its original application.
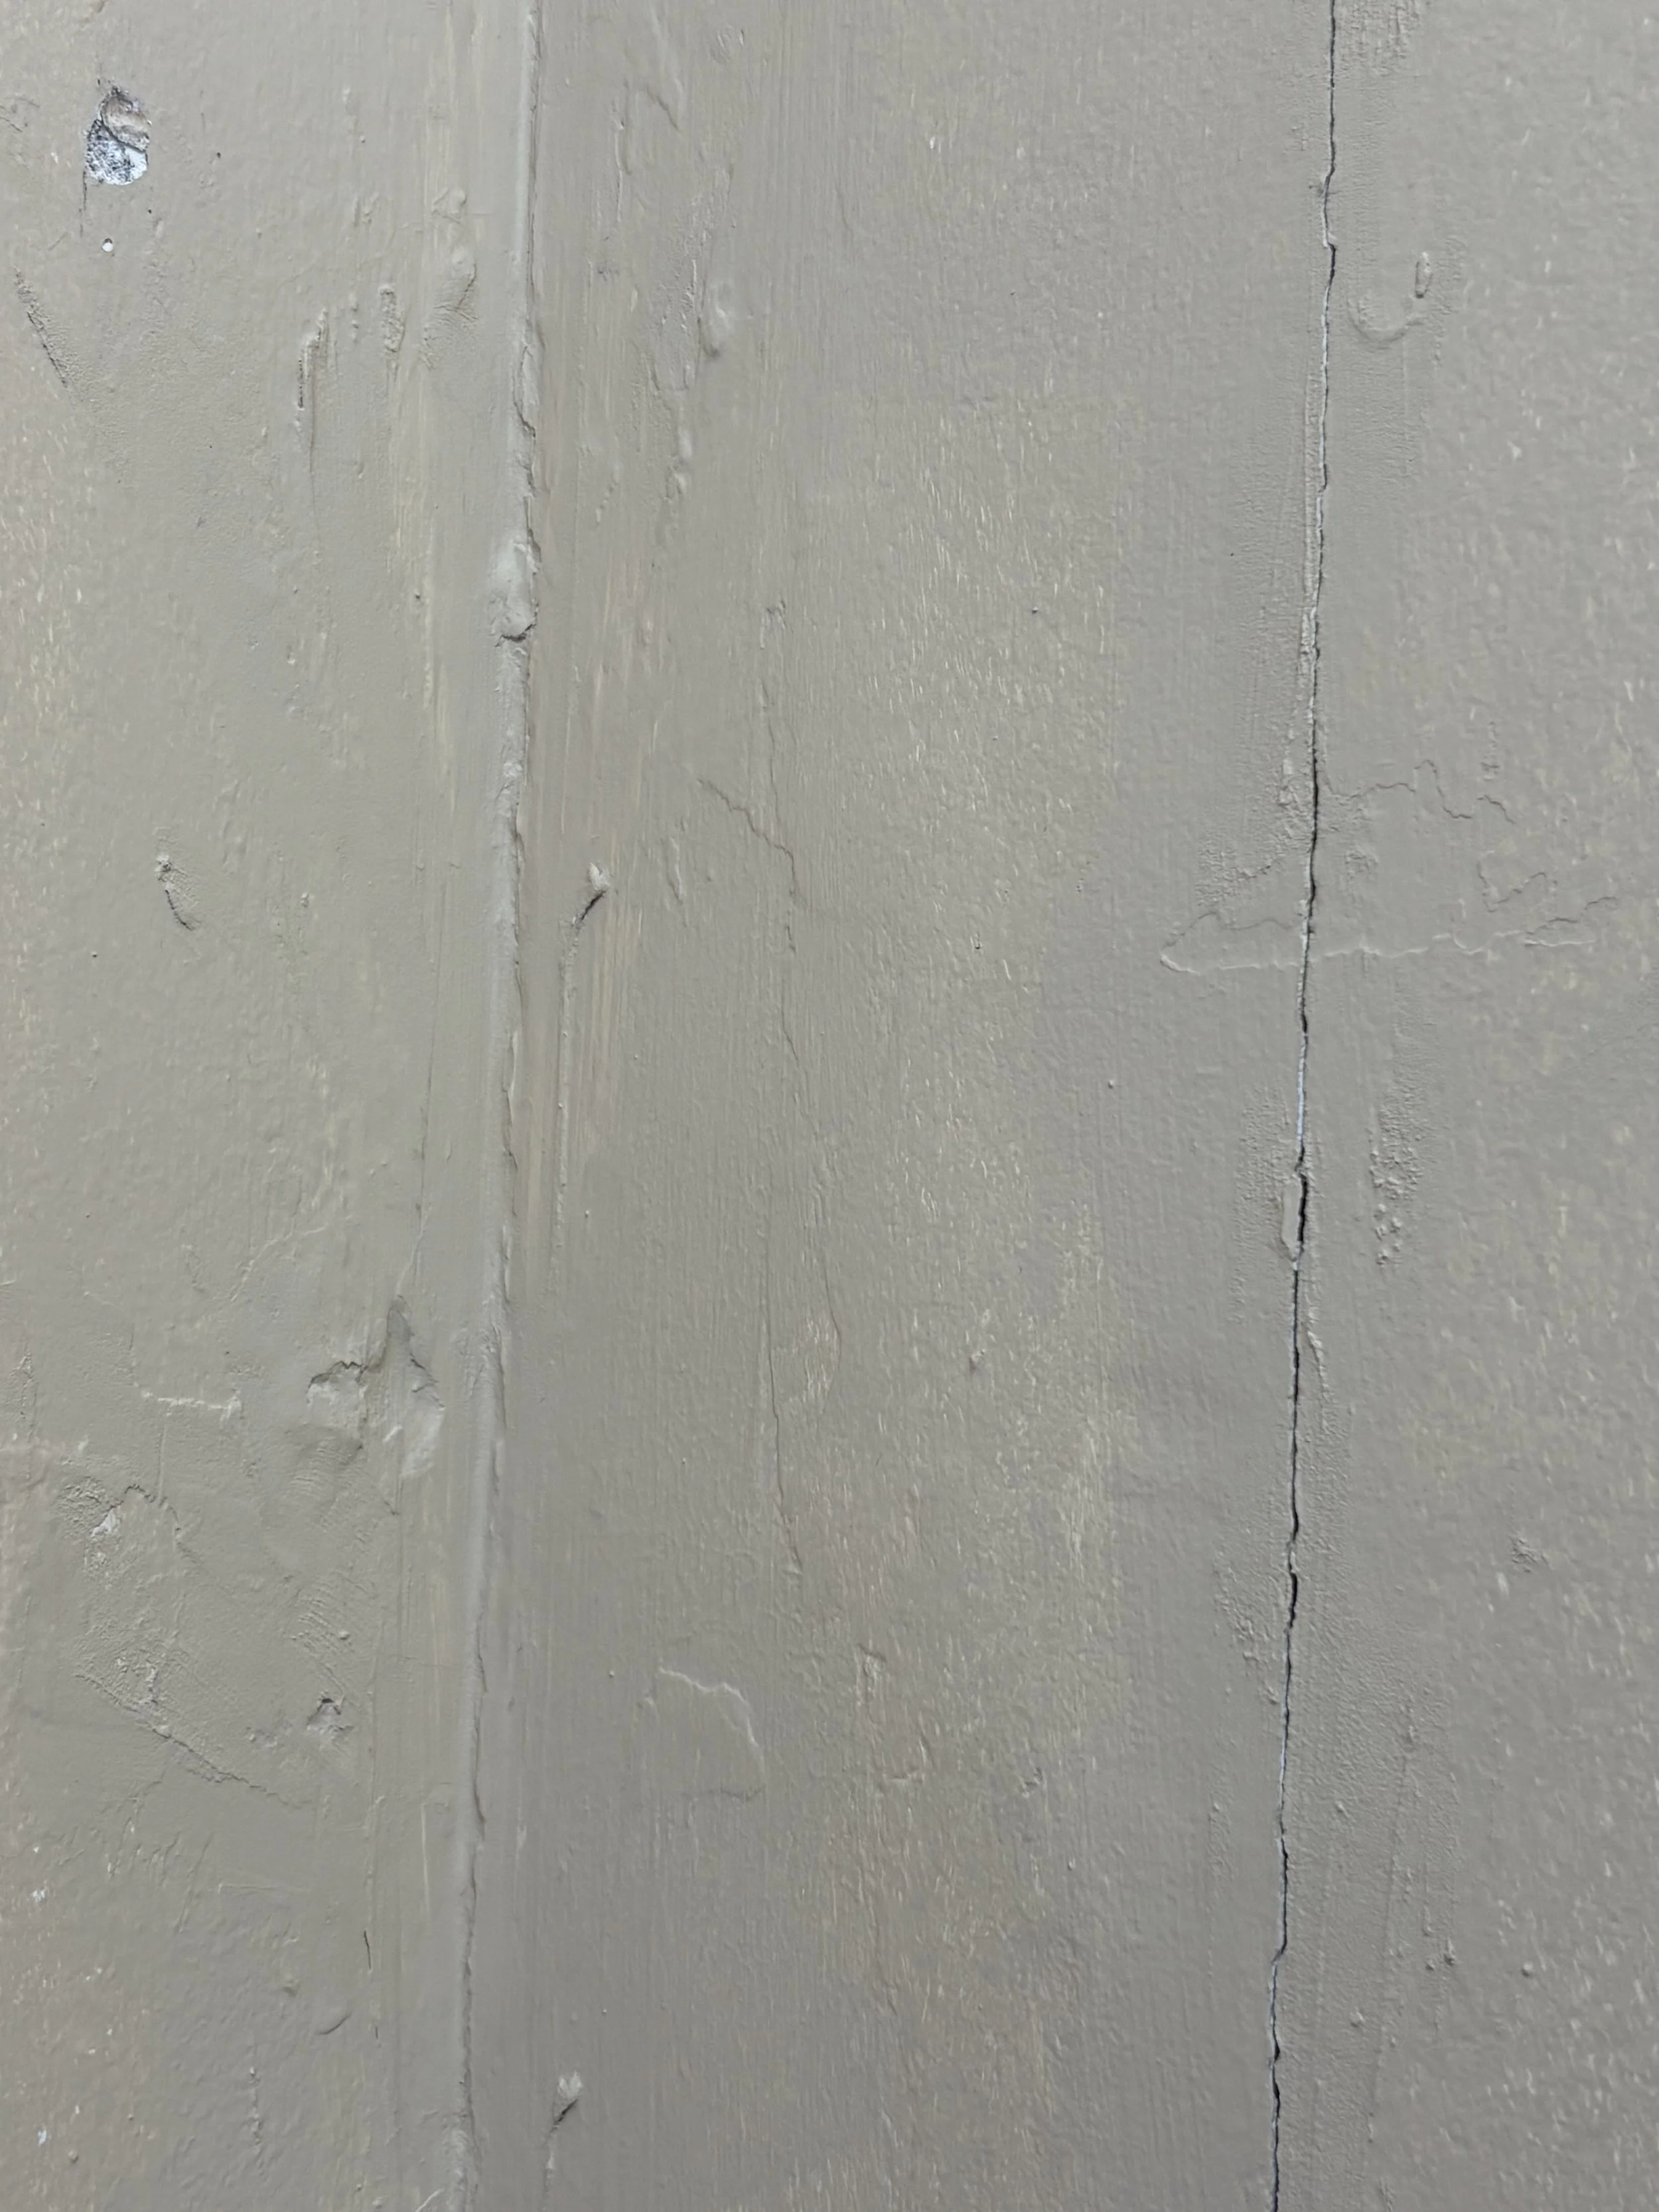
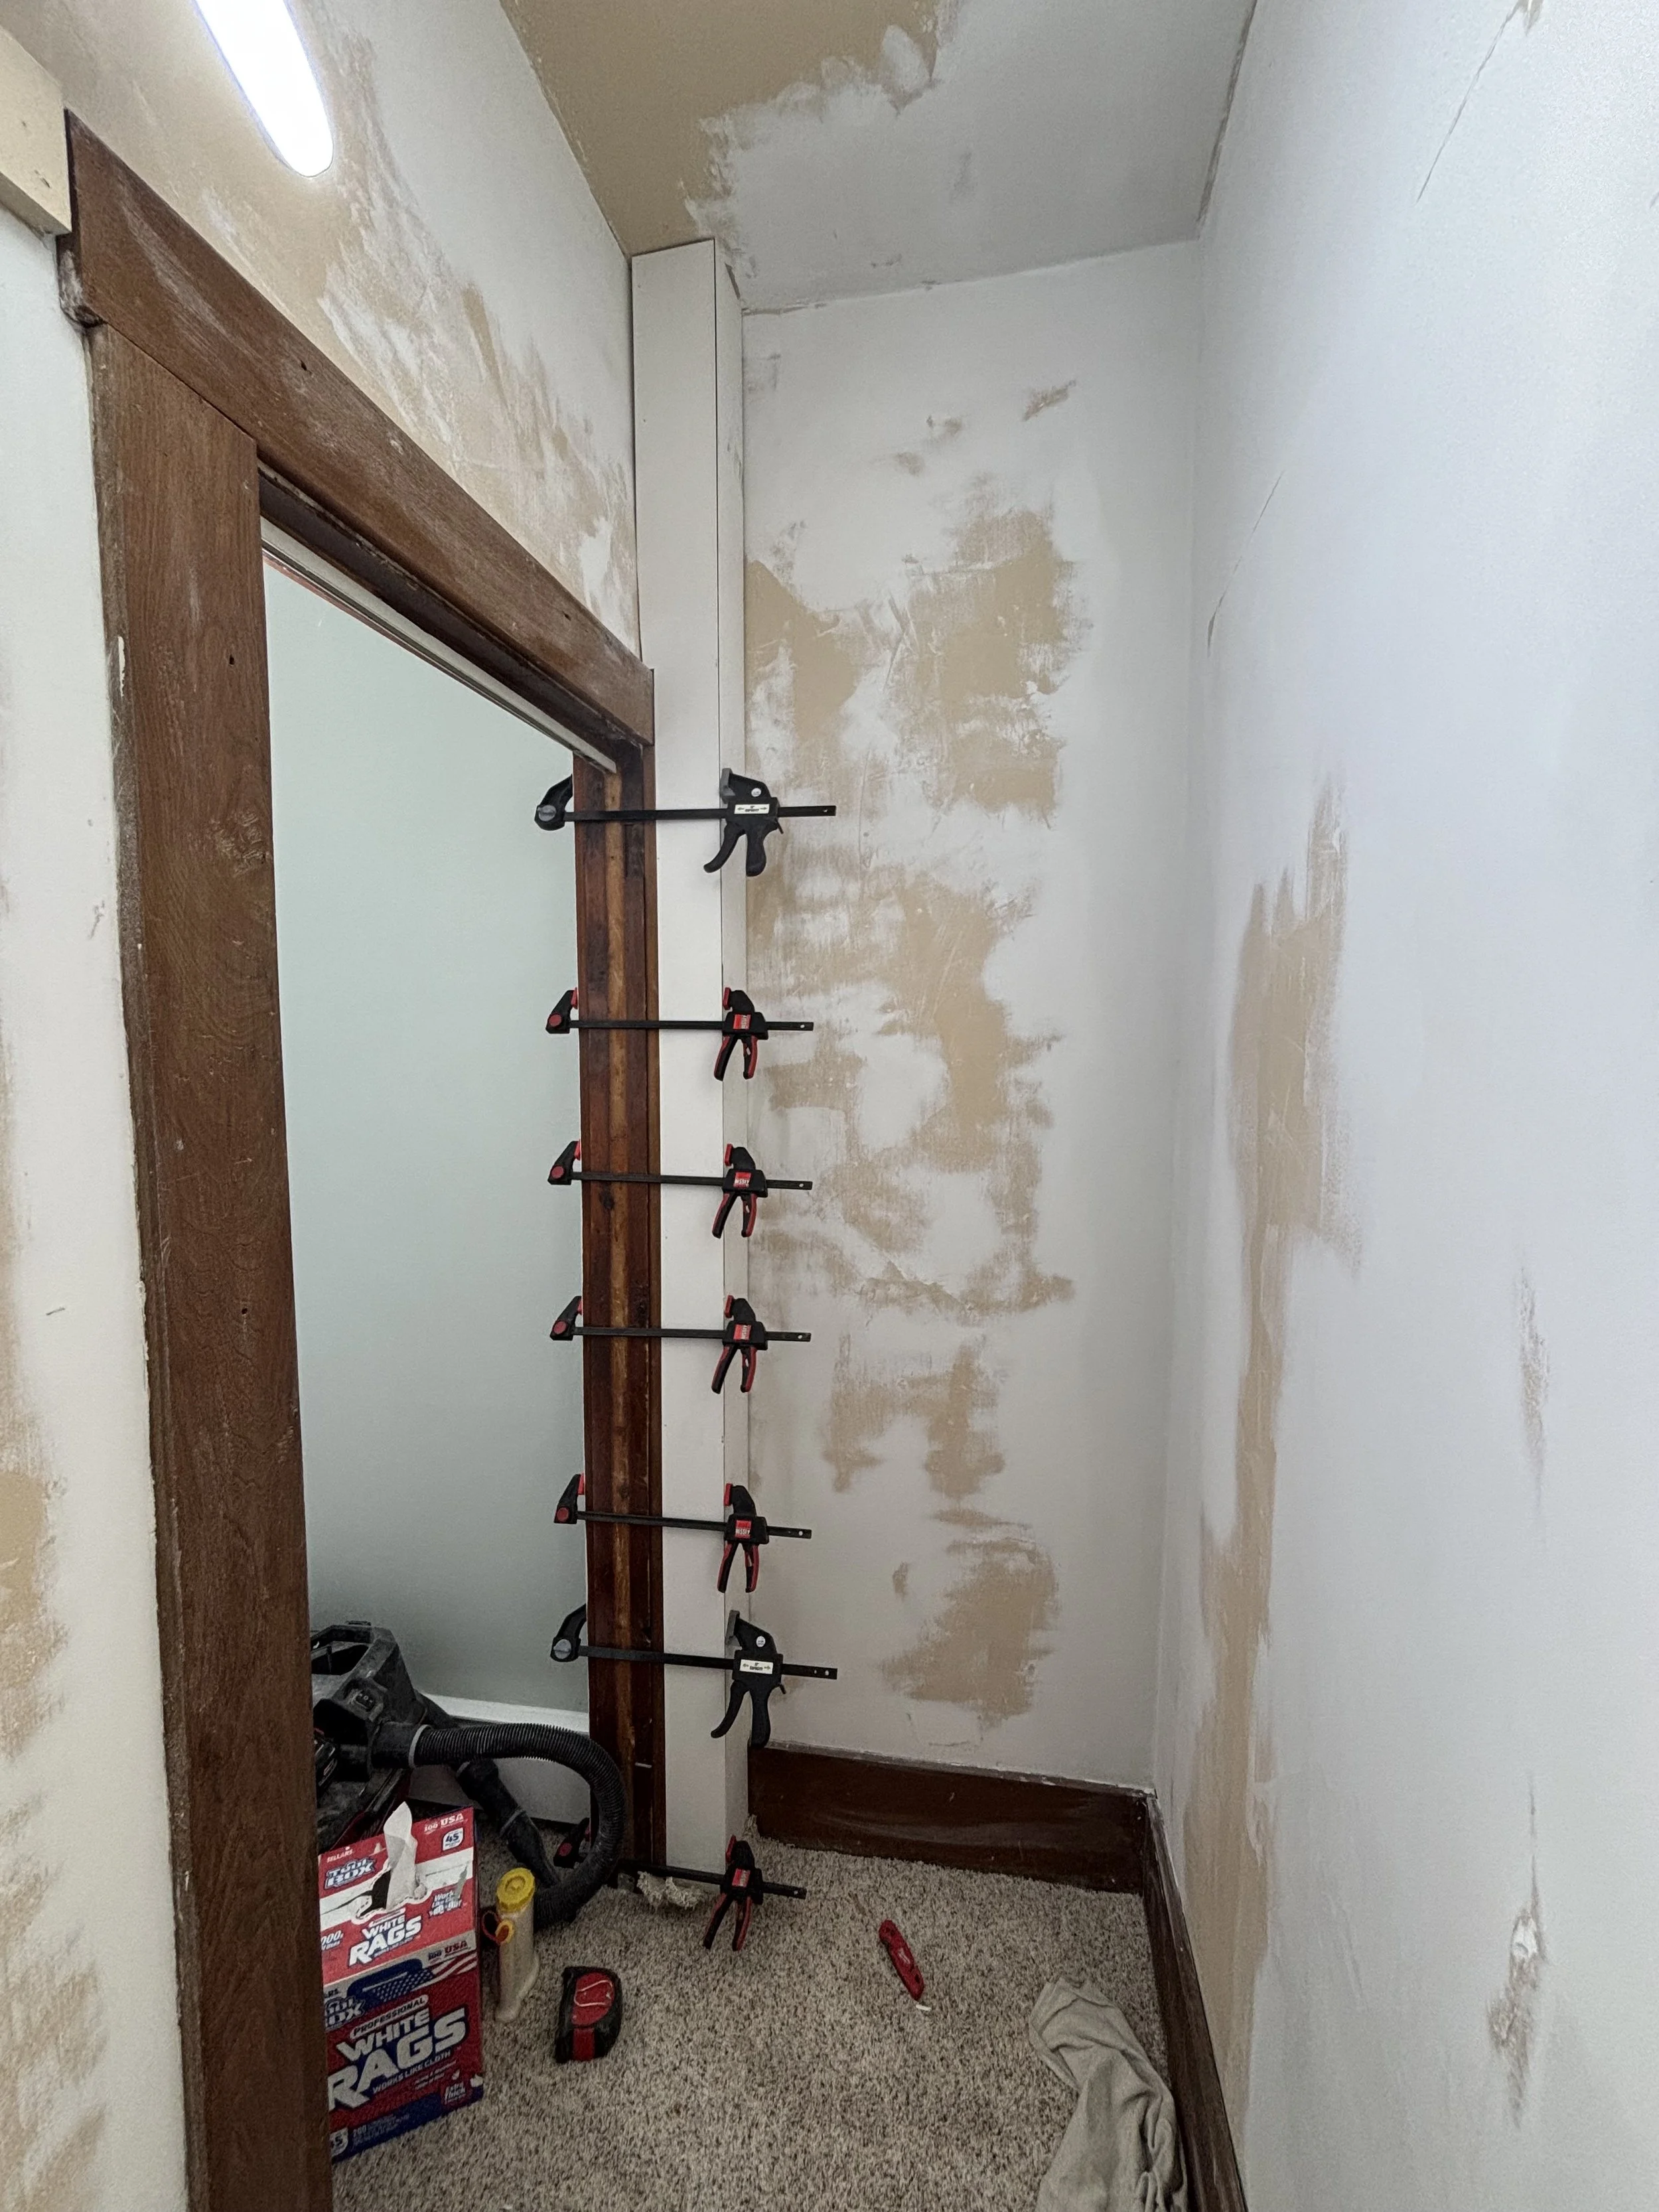
I needed to remove some wood rails, but I was also in no mood to remove the existing walnut trim boards that were about 8” tall. Beautiful wood, to be sure, but the homeowner (rightly) wanted them to match the rest of the home with white painted baseboards. Therefore, they were staying and I was going to float the walls with those boards in place. “What is floating a wall, Jordan?” You see, if you zoom in on this picture, you’ll notice that the plaster has become uneven over the decades and is no longer flat. By building up or “floating” layers of new mud, I can (kinda) flatten the existing wall out. I am by no means a professional mud specialist, as you’ll read later on, but it can be effective. Bring on the mud!
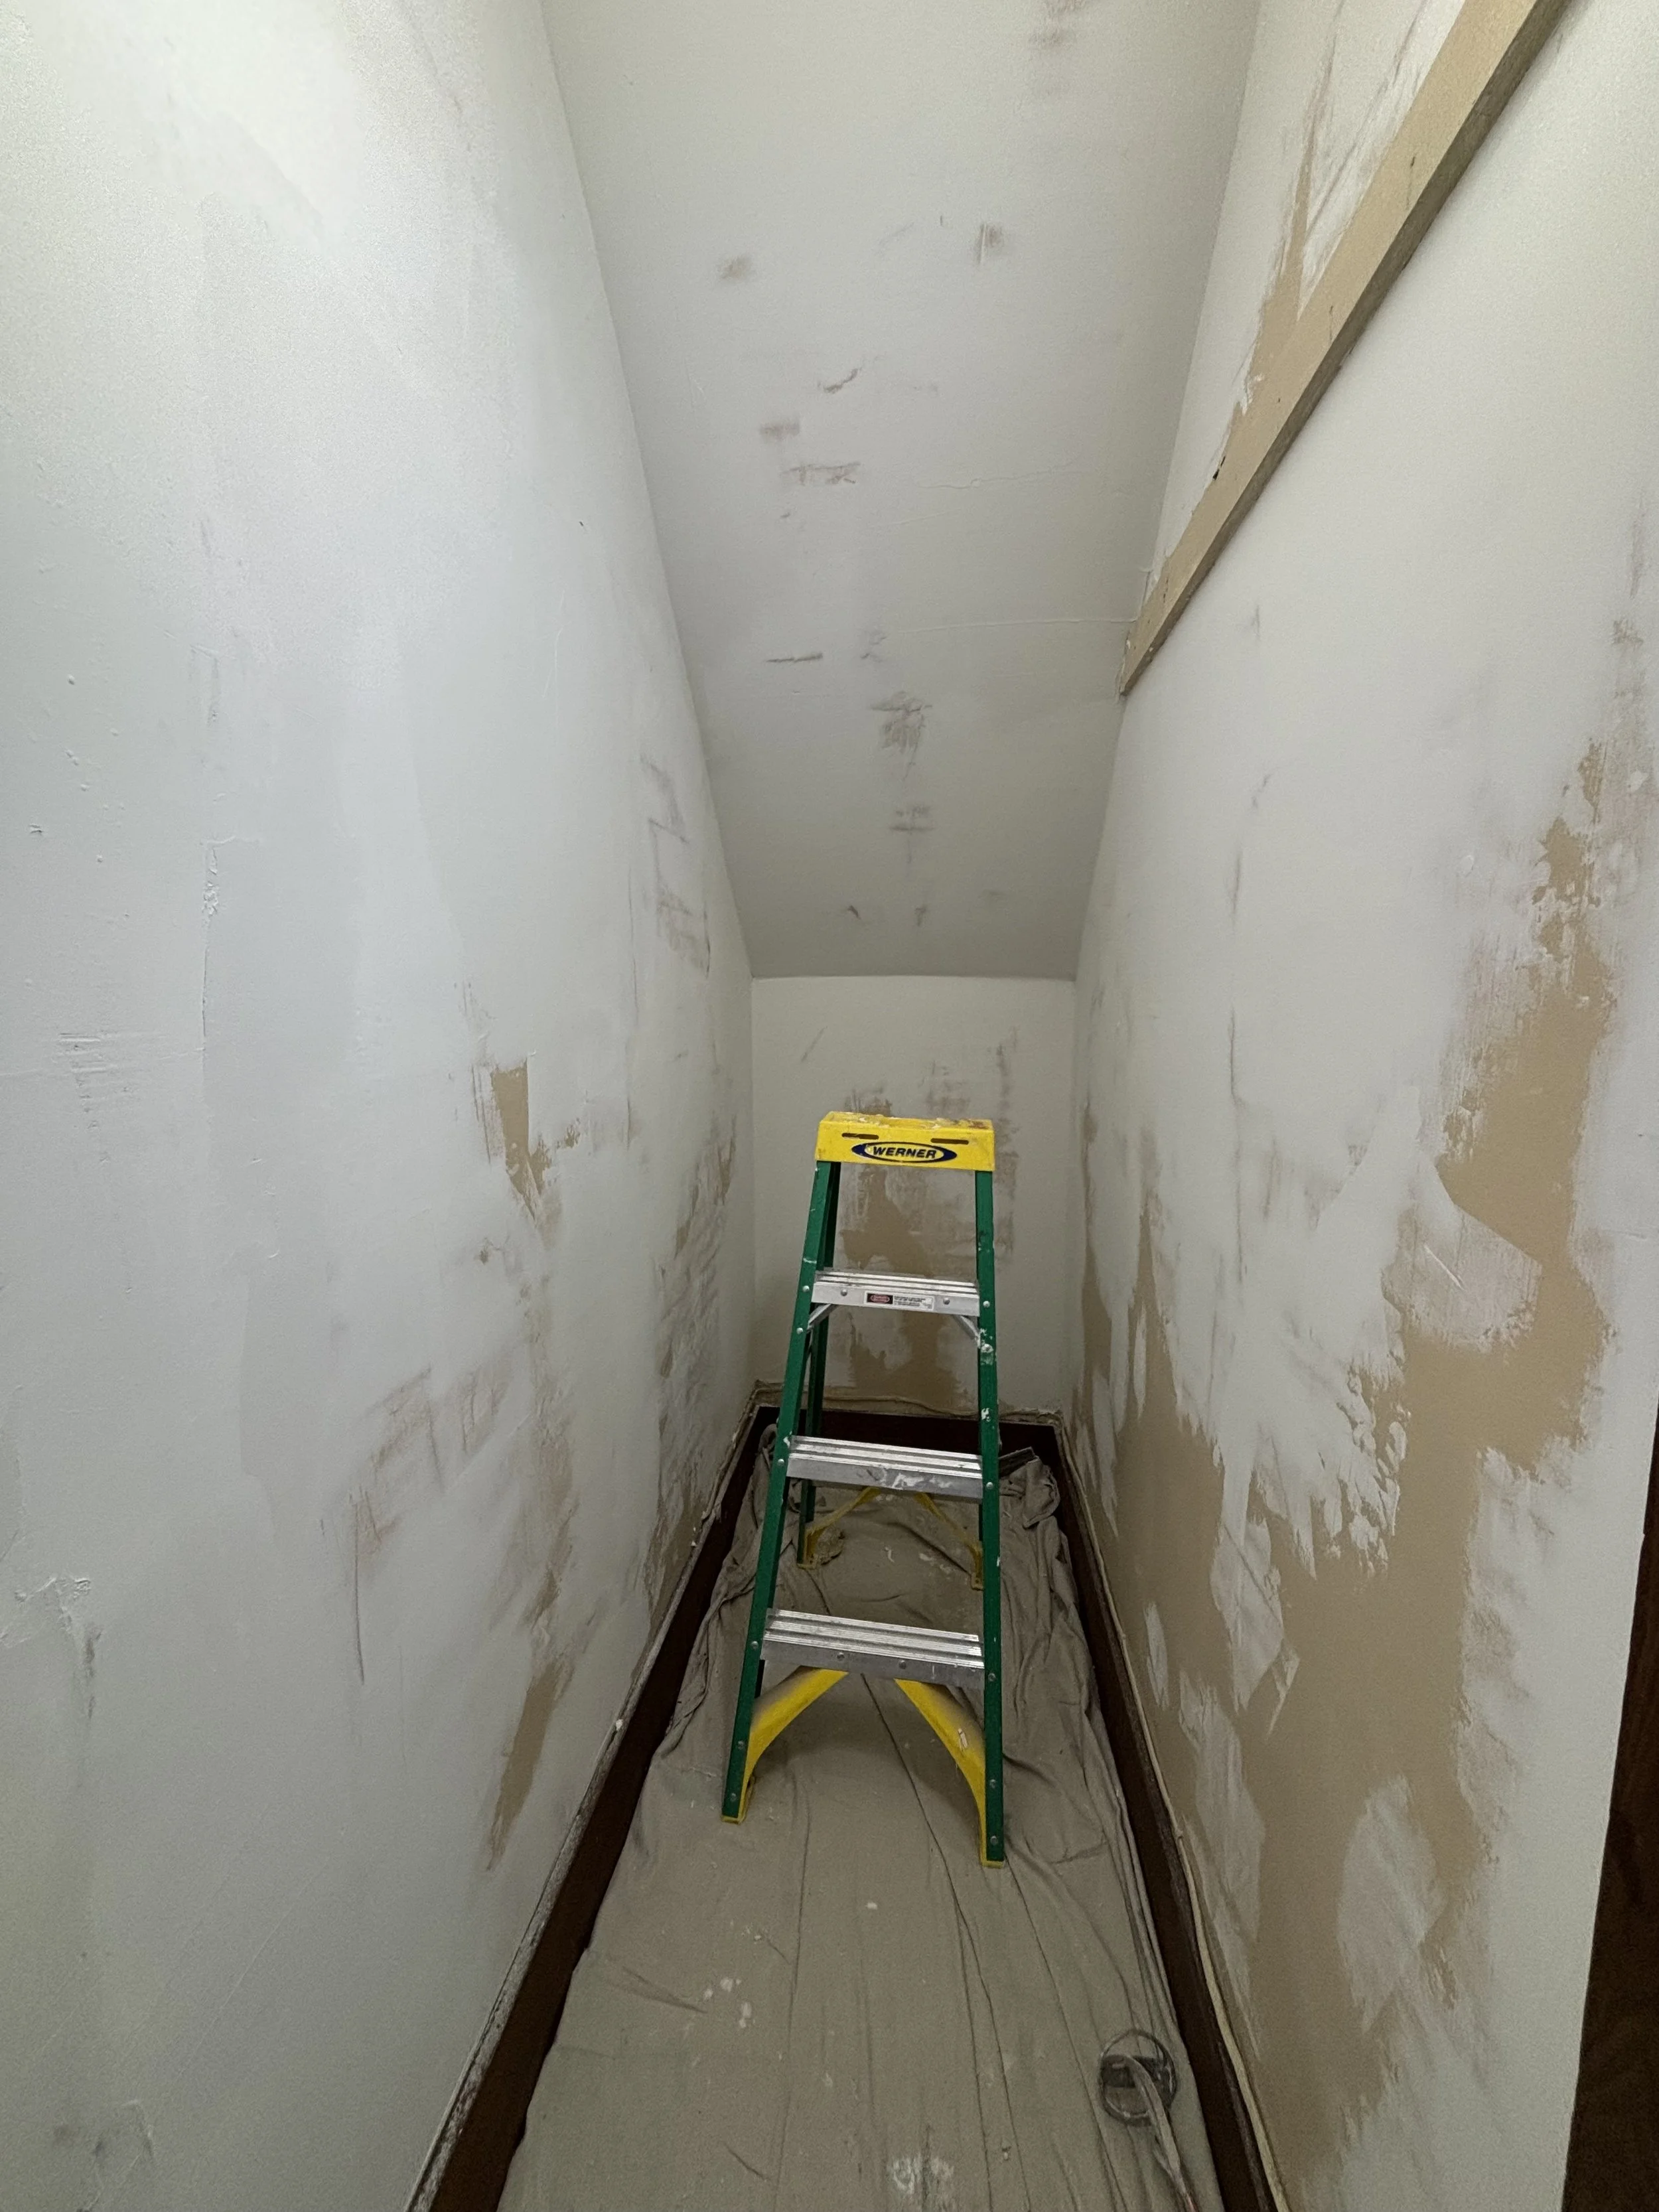
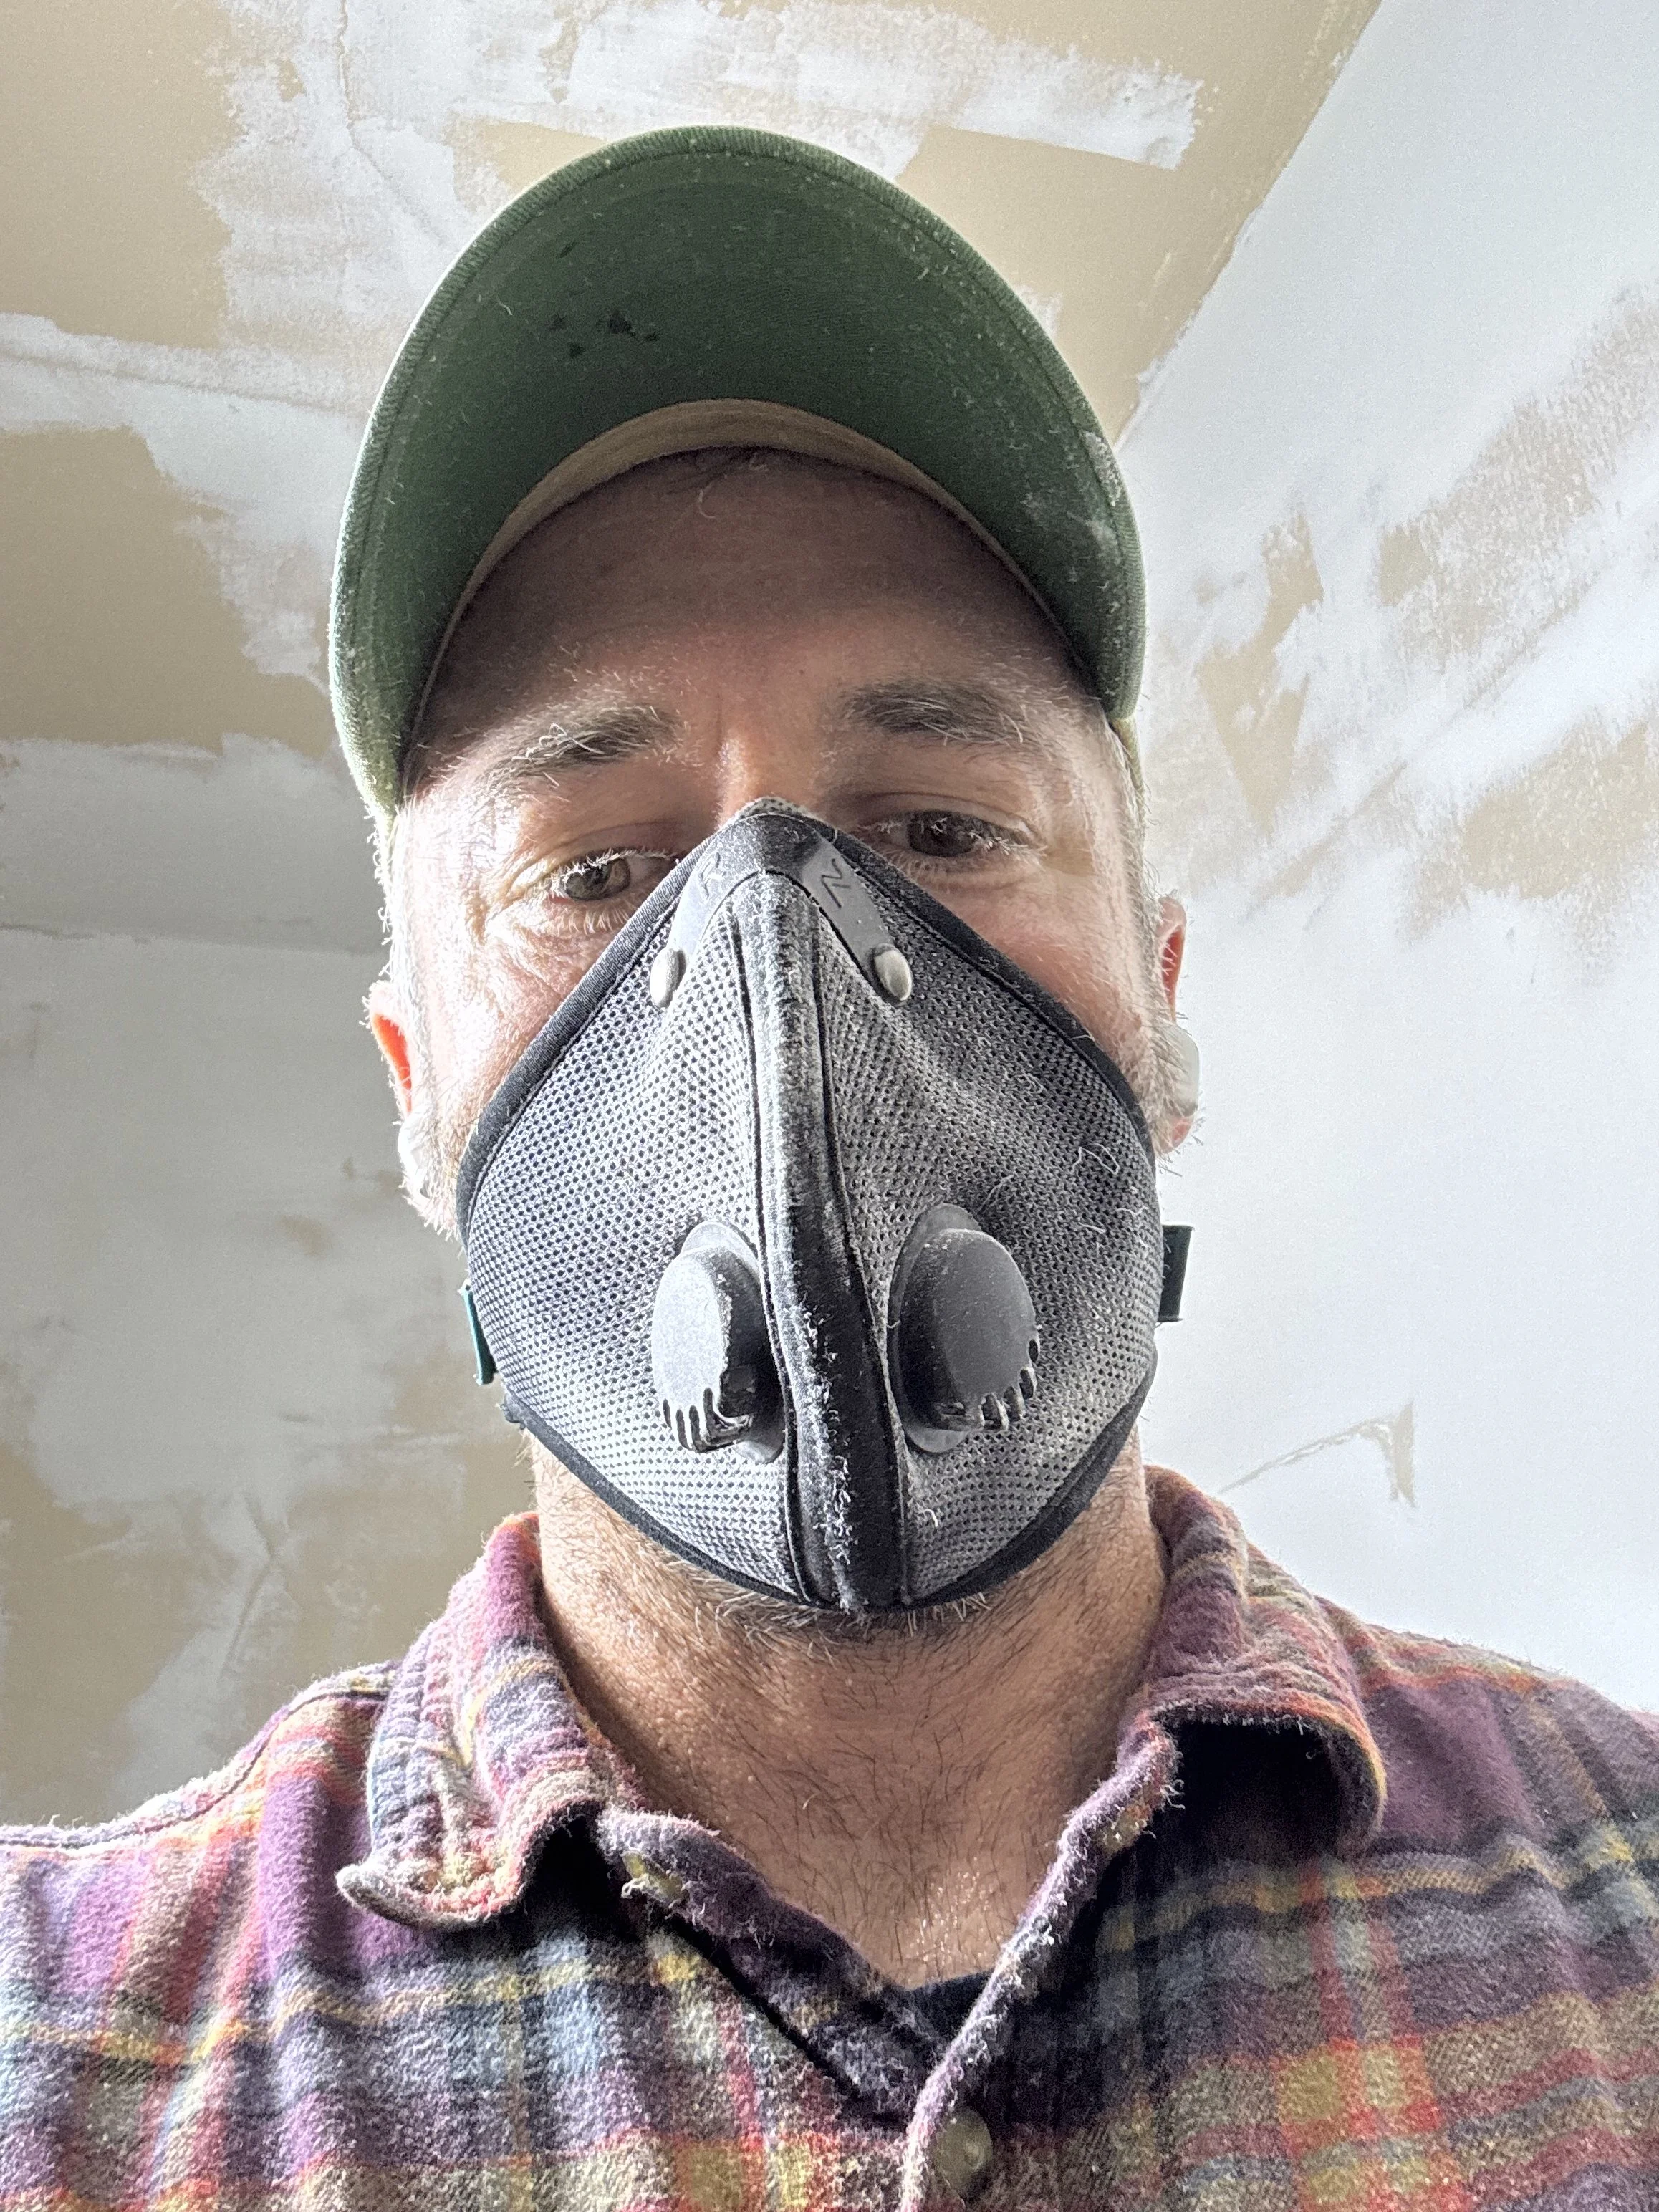
This took a couple days of mudding and sanding, but eventually I got to a place where I felt I could move on to getting the pipes enclosed. I needed to make a couple of decisions about these pipes. What material was I going to use, and how was I going to attach it? I ended up using primed MDF. “Oh no, Jordan! Not MDF! What a crappy material!” No no no. The great thing about MDF is it’s not going to move with changes in relative humidity due to its pressed construction. See, it’s going to be surrounding hot-water-filled pipes, and will undergo a change in temperature often. If I would’ve used pine, it would move and stretch daily and all the joints would crack and look terrible after a week. I did wrap the pipes in foam insulation, but still. The secret sauce of this detail is the use of a locking miter joint that allowed me to glue the miter and have a strong fit at the 90 degree joint. Then, I just needed to install some blocking strips for nailing and I was set. The clamps in the following picture allowed for the glue to dry in place. The other pic is me dying from heatstroke in this sealed up closet while sanding by hand (idiot).
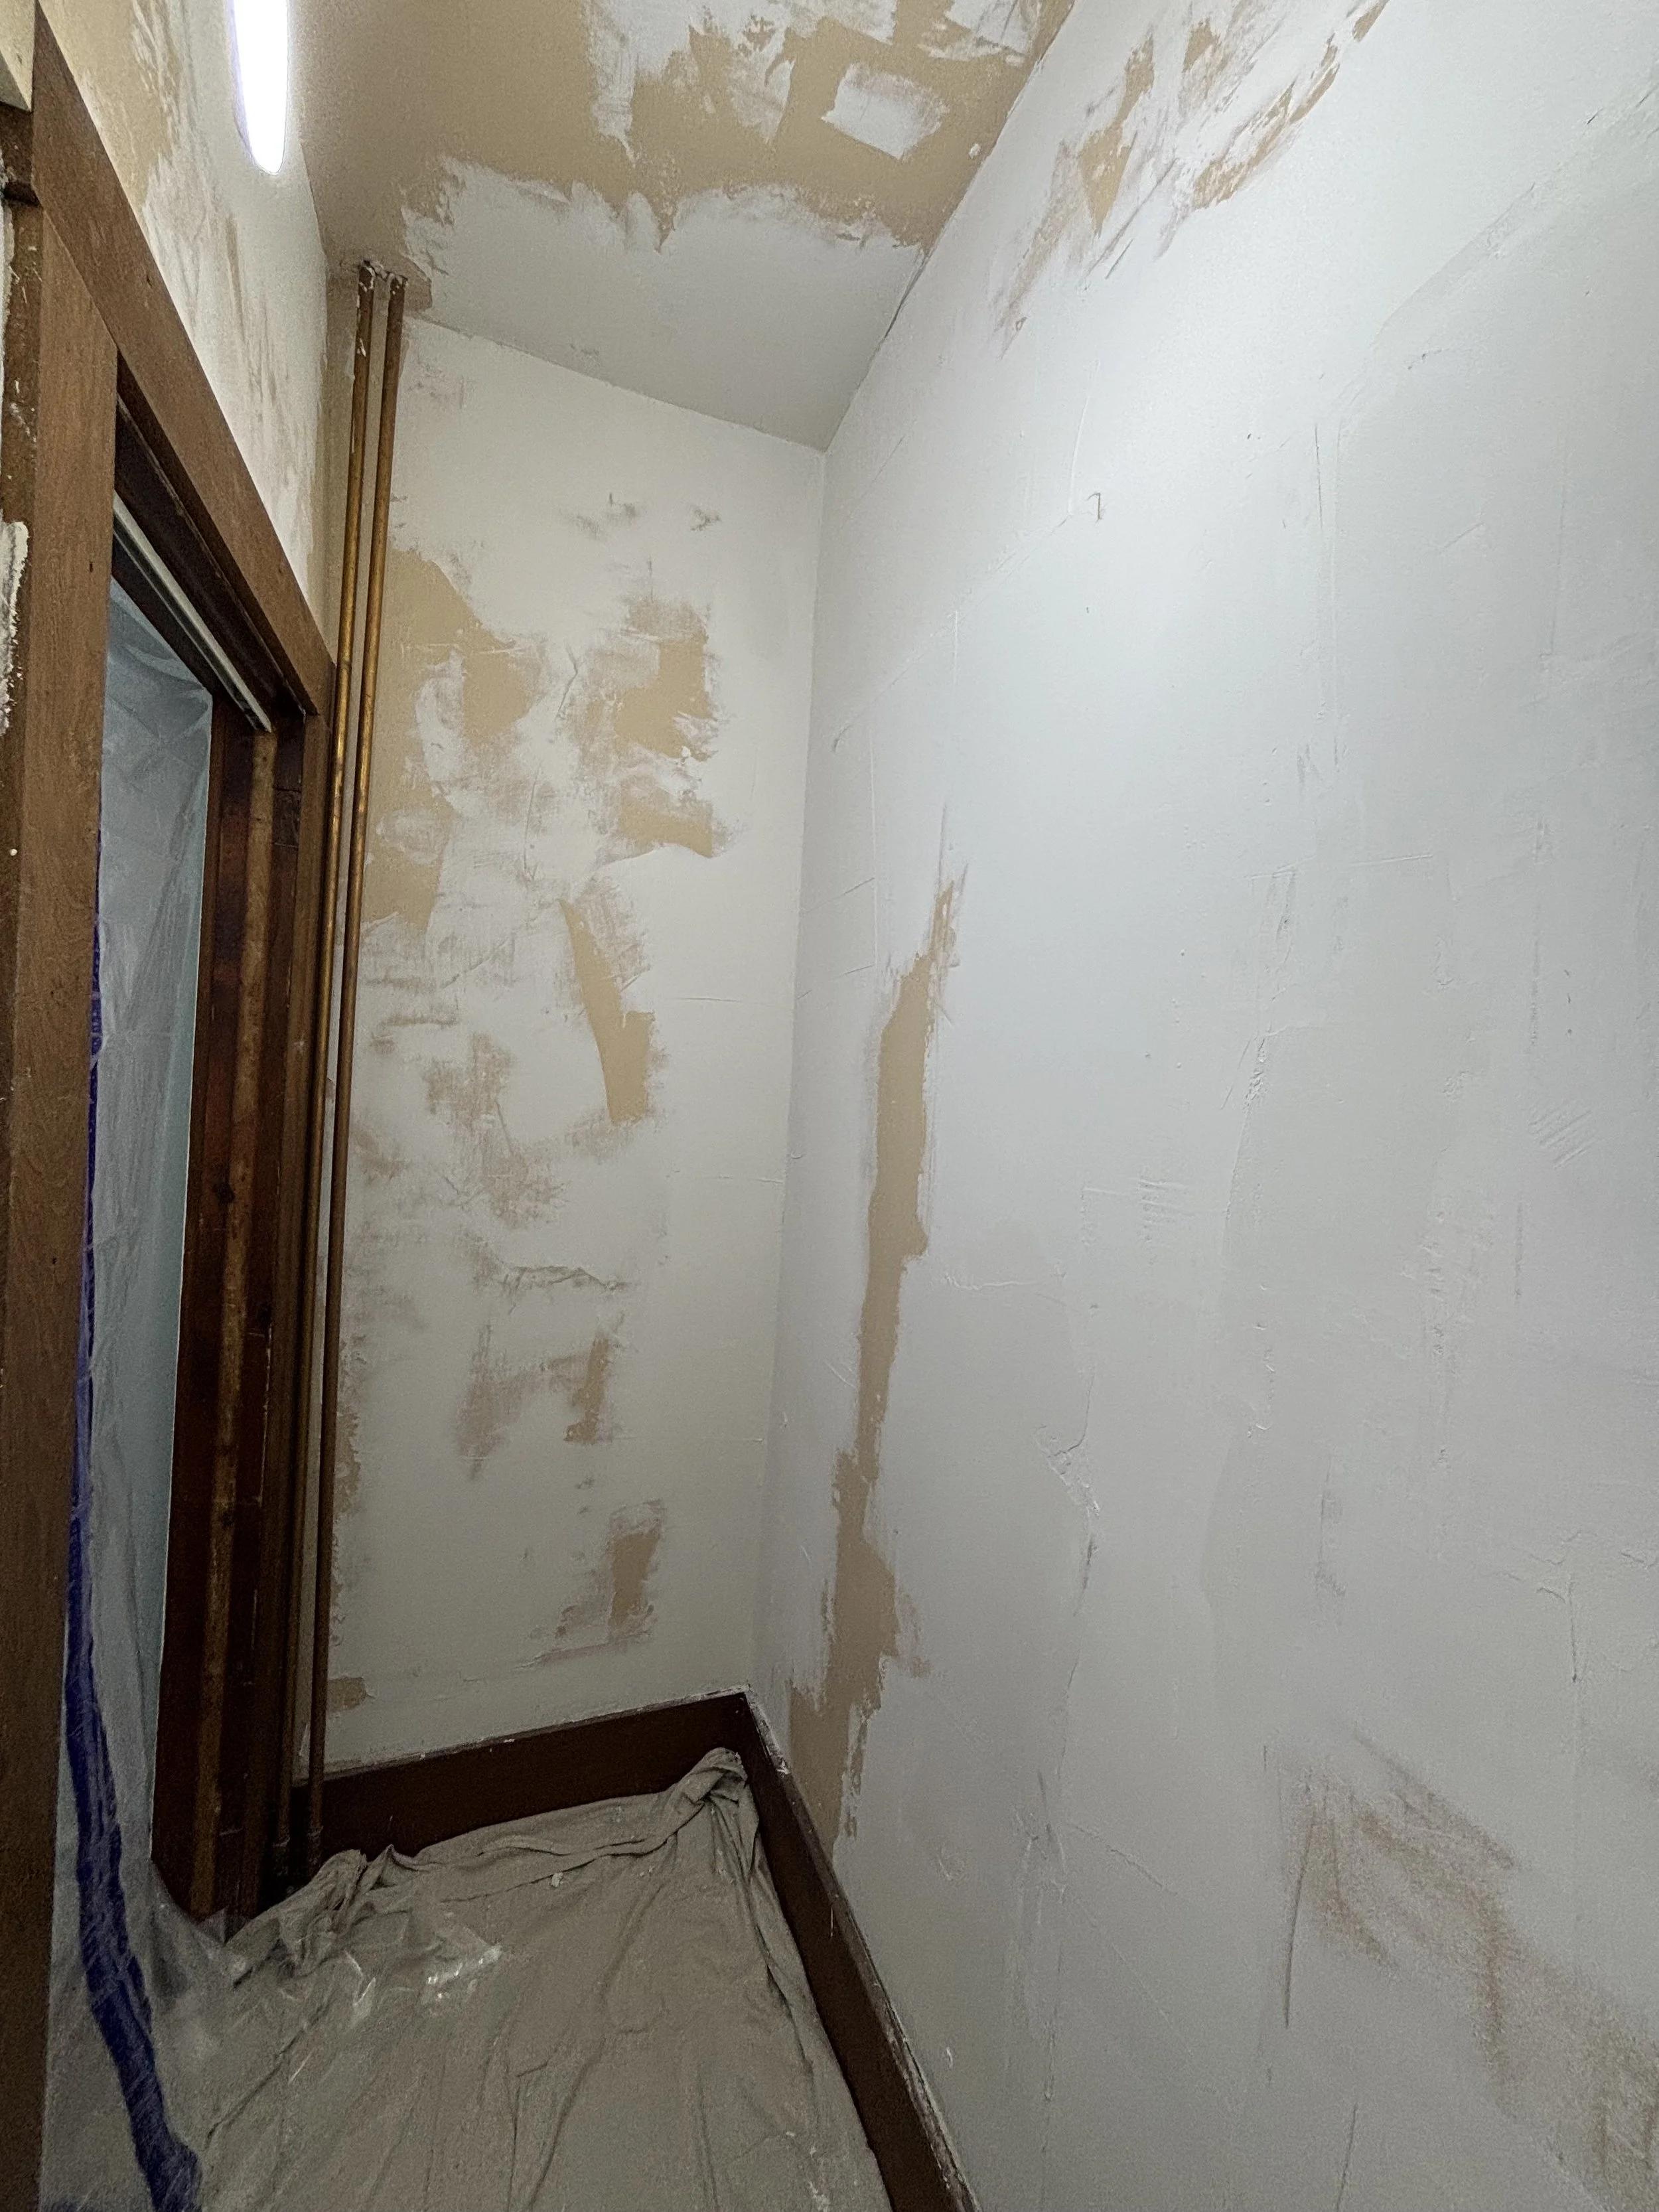
Caulking and paint prep was next on the agenda, followed by some rechecking of my mud work. Here is where my only slightly developed skills let me down; I had to lay the mud on thicker than I would’ve liked in some spots, and the finish ended up being pock-marked in said spots. Lesson learned: Do lighter, more frequent coatings and/or fill pocks in after sanding. The problem is that the marks didn’t show until I’ve primed the walls. The pocks fill with sand residue and were not visible. Such is life. The homeowner didn’t care, and I moved on.
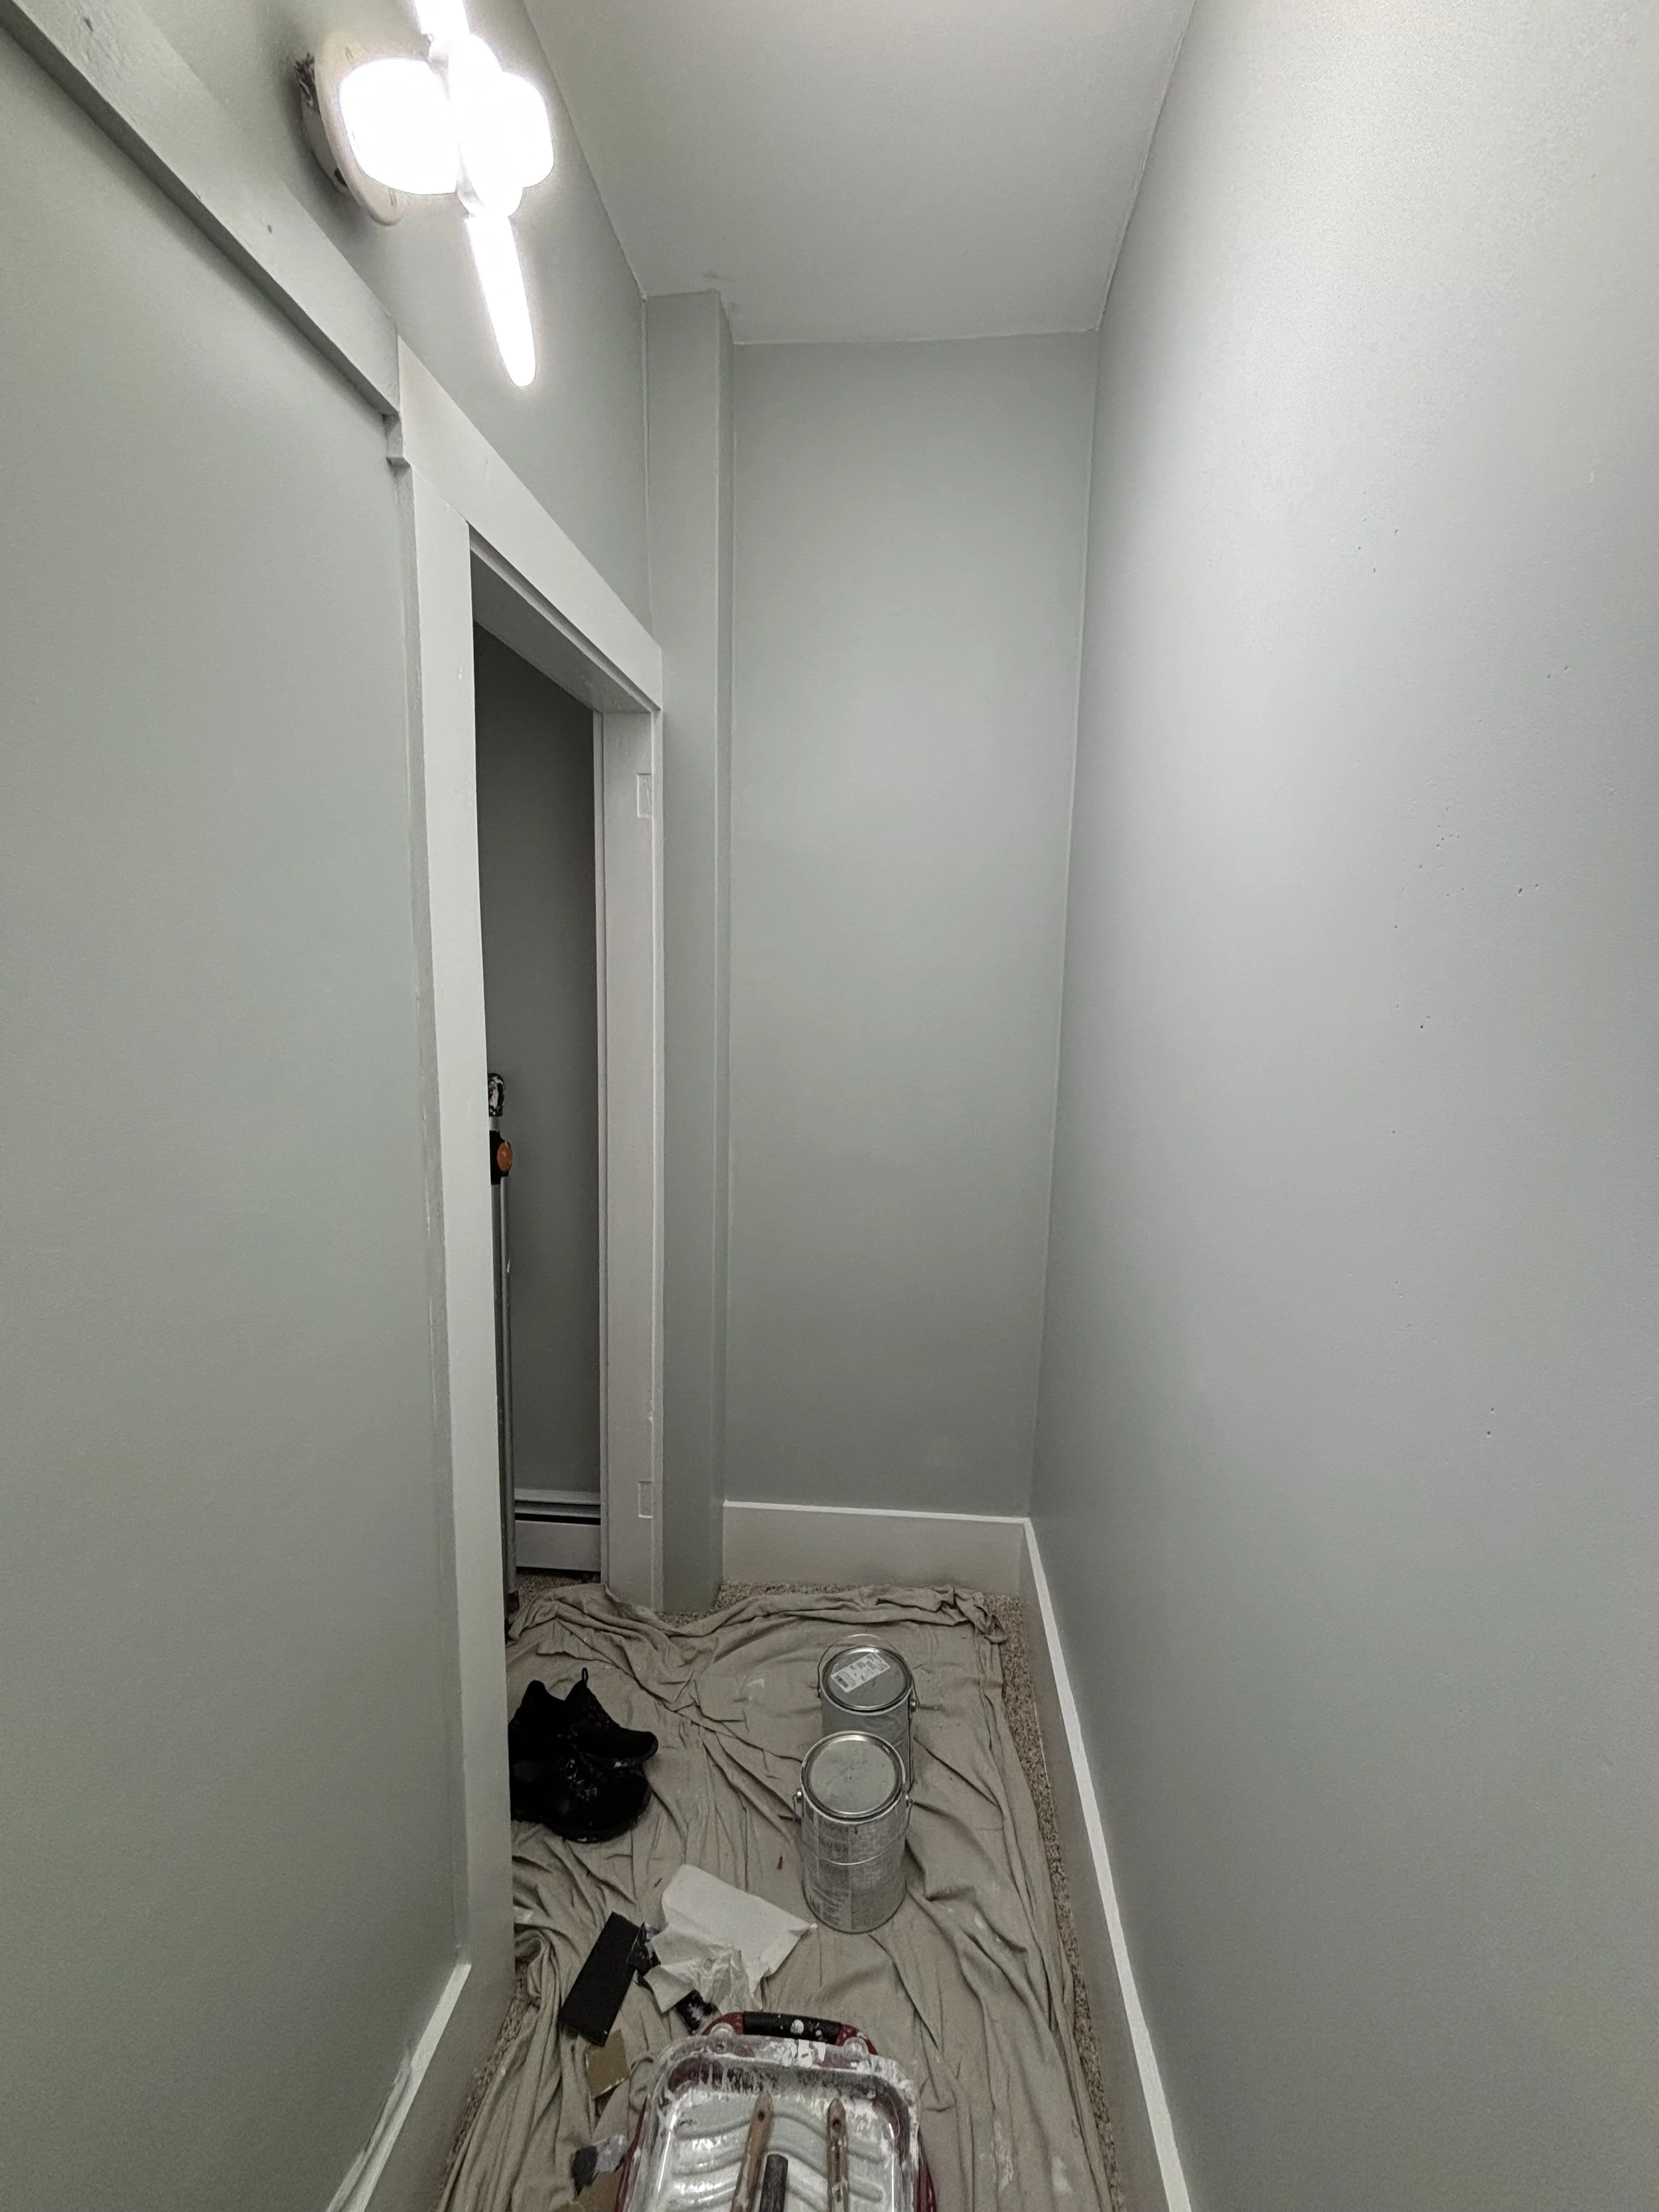
Once the paint went on, the closet really started to take shape. The walls were remarkably flatter, the corners were tighter, and the pipes were enclosed. Another bonus; mice had a super highway around where the pipes were coming out of the floor, and now had to find a new place to enter the home. Win/win. It was now time for the closet system to be installed. I chose the Closet Maid rail system for this particular closet because of its versatility and use case.

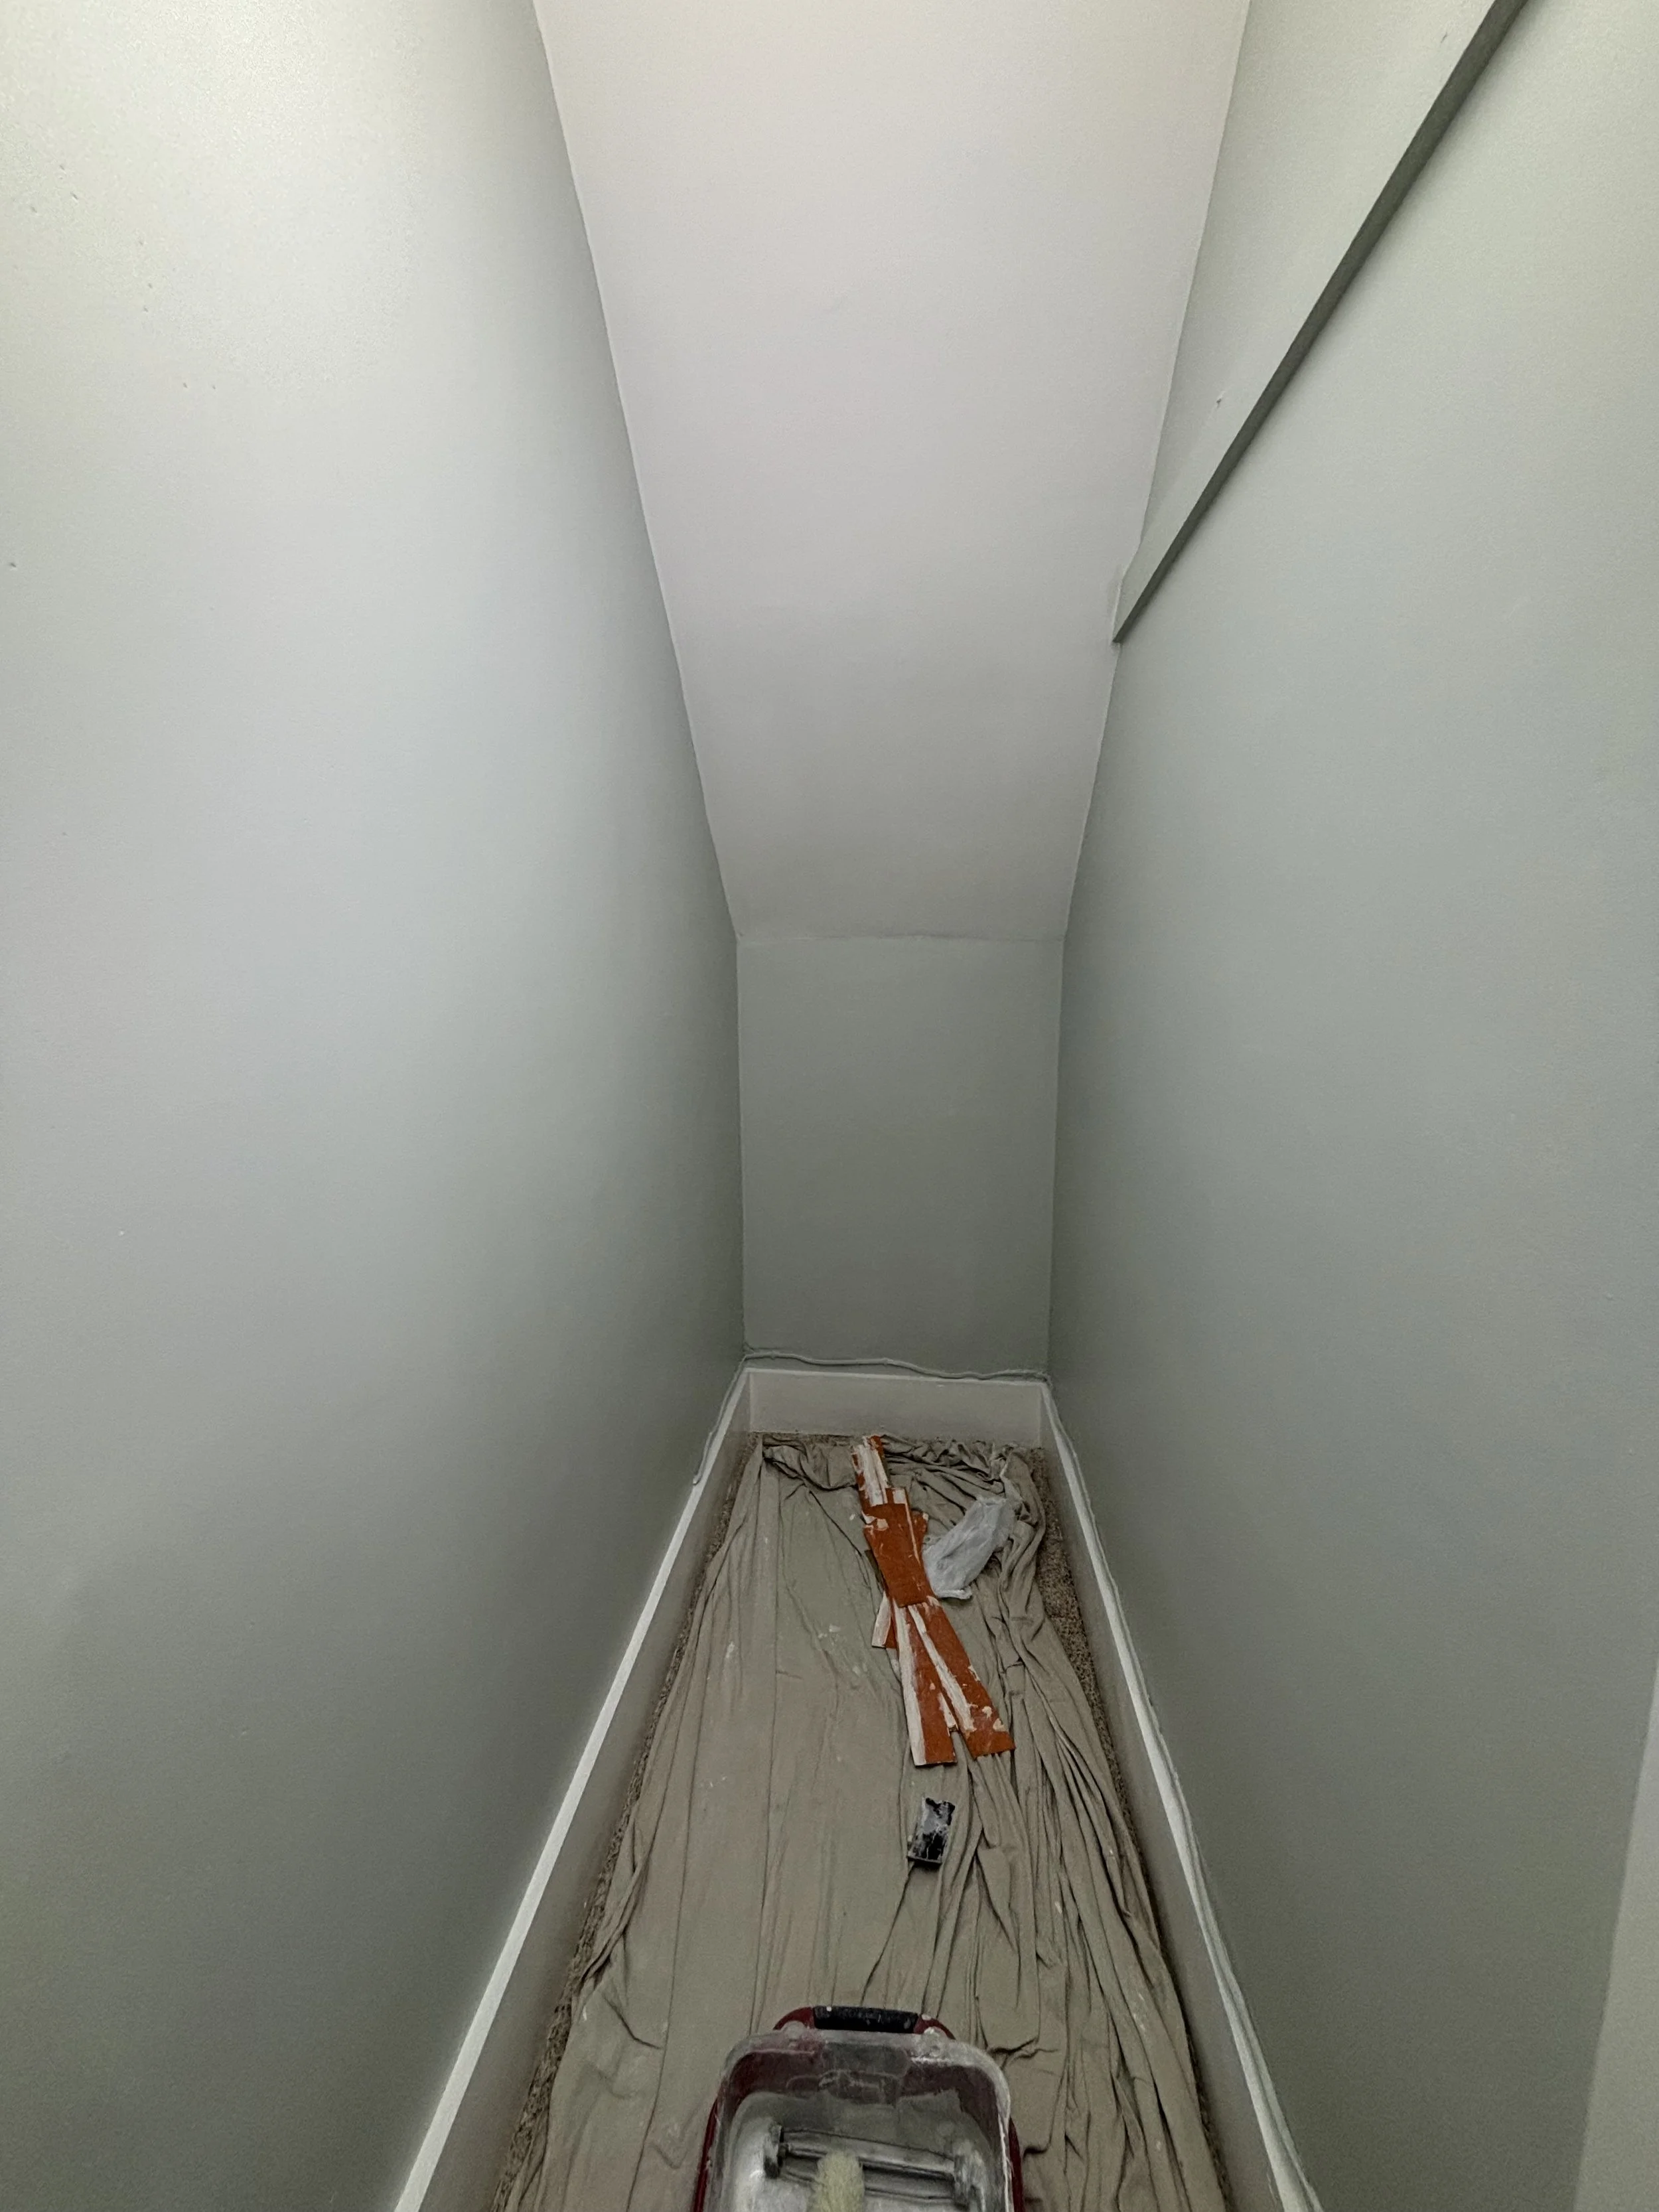
Yes, I could’ve just removed the existing shelving unit and put in a closet system and walked away the same day. The goal of the homeowner though was to improve the space and match it to the existing rooms surrounding it. After installing the last shelf and stepping back, it was clear that this mission was accomplished. This forgotten under-the-stair closet now shines like a new penny (RIP).