
IT’S BEEN 29 YEARS…
IT’S TIME TO FINISH THE BASEMENT
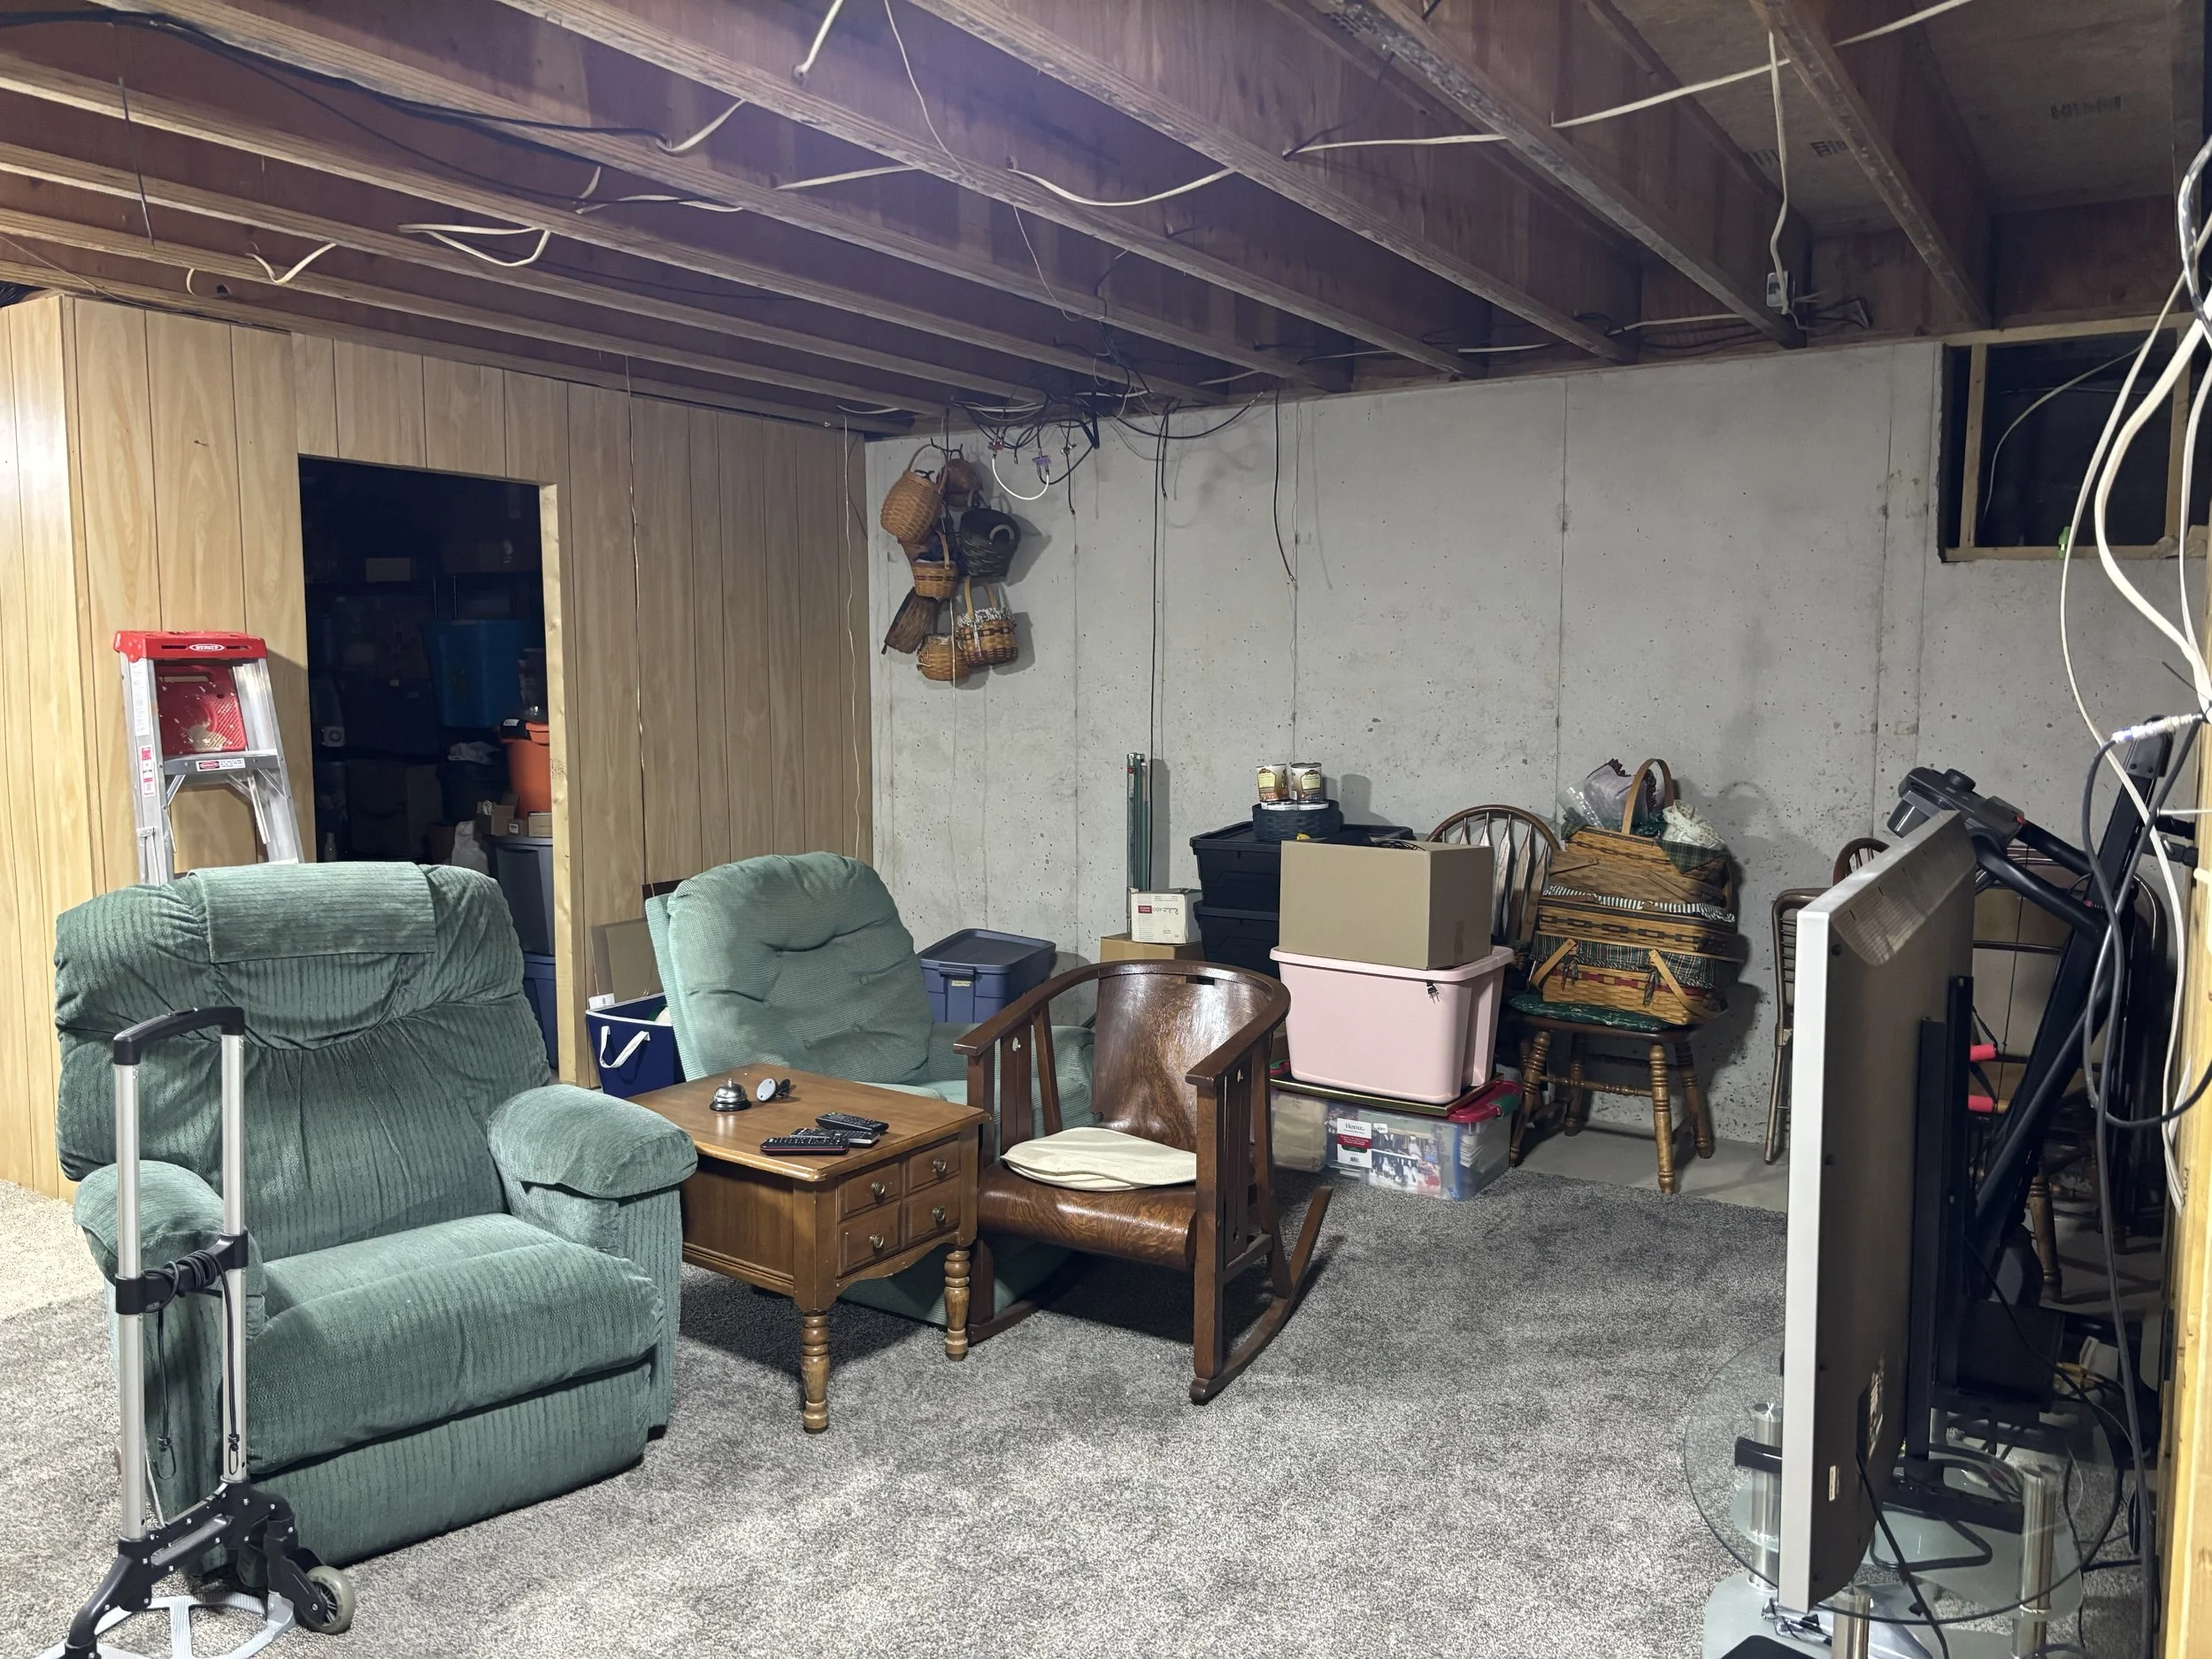
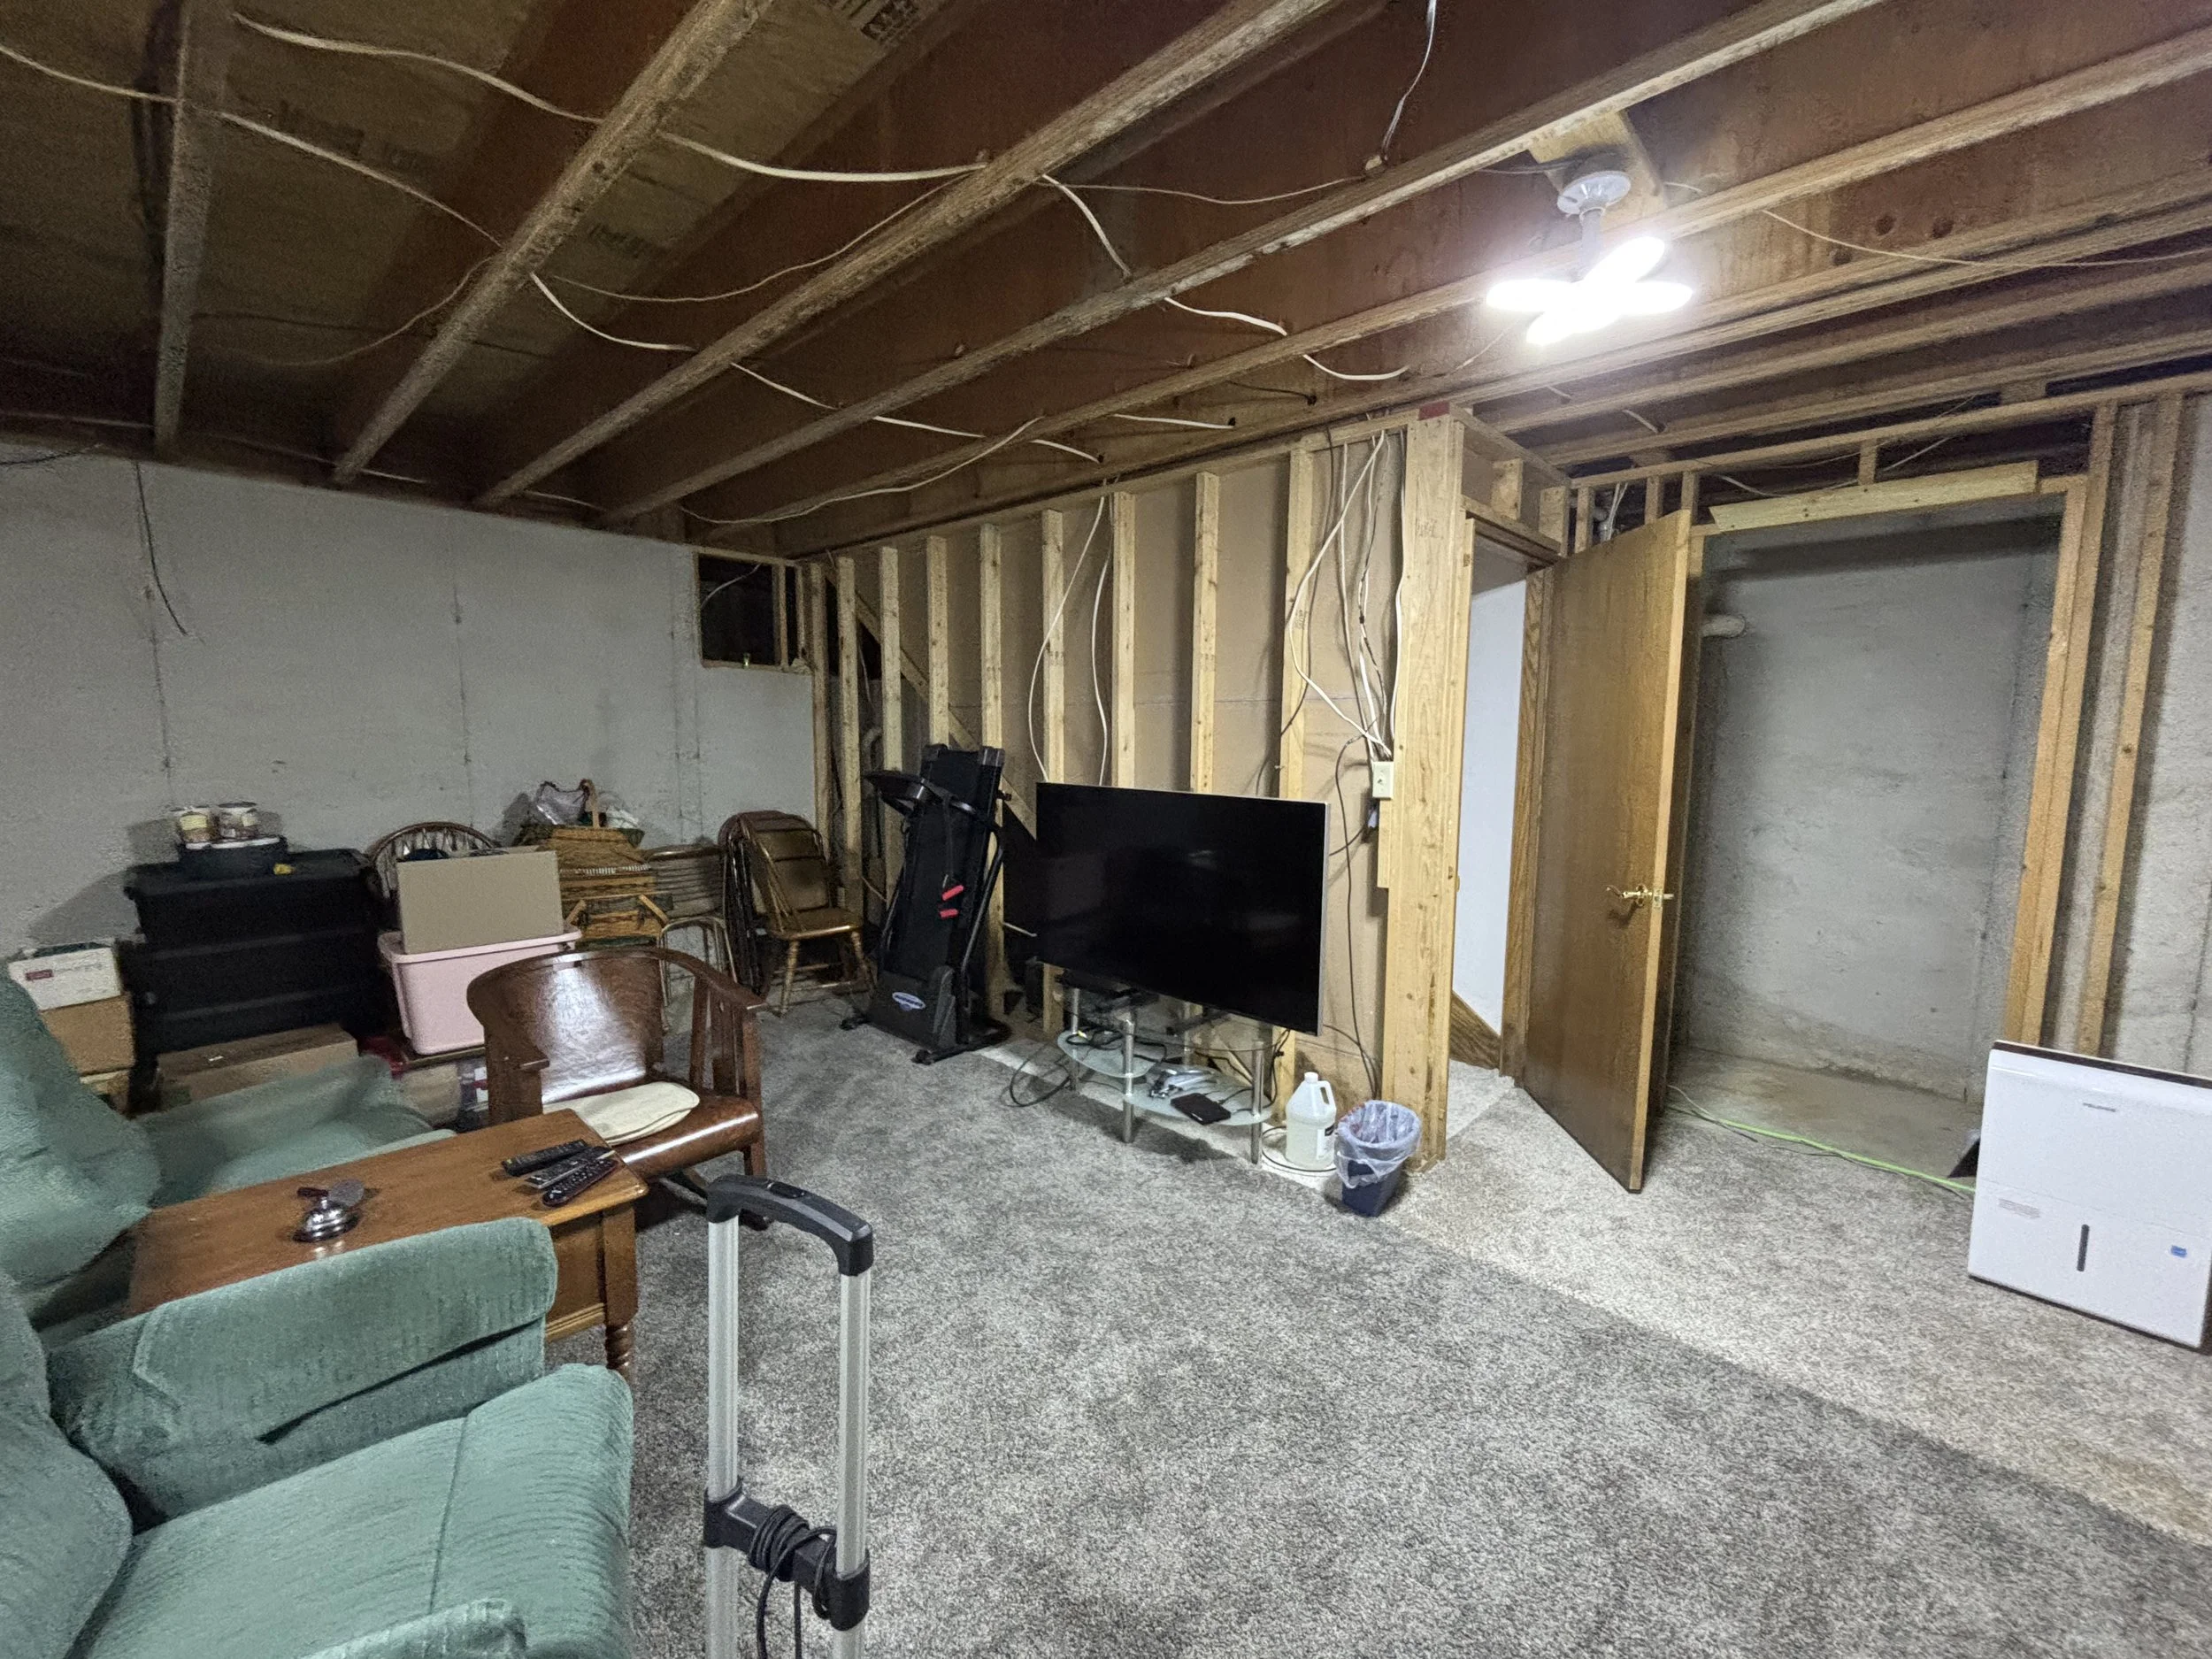
The homeowners have used their basement under their addition sparingly over the years. When the addition was originally designed, the basement was a crucial selling point. The existing home didn’t have one, and the kids would need a place to play and enjoy. The spring of 1997 proved wet and the basement flooded, putting a major damper on the hopes that it would be a haven for the kids as much of their toys, books, and other unsecured items were covered in a muddy film. After the great flood, two smaller instances occurred involving failed sump pumps and the whole enterprise was wrote off, with door closed and useful only for Christmas decor storage and old furniture. Now, the grandkids want a place to hang out and play. The last major flood being in the distant rearview, the homeowners have decided that maybe it was time to finish the basement the way they had envisioned it all those years ago when their kids didn’t have kids of their own.
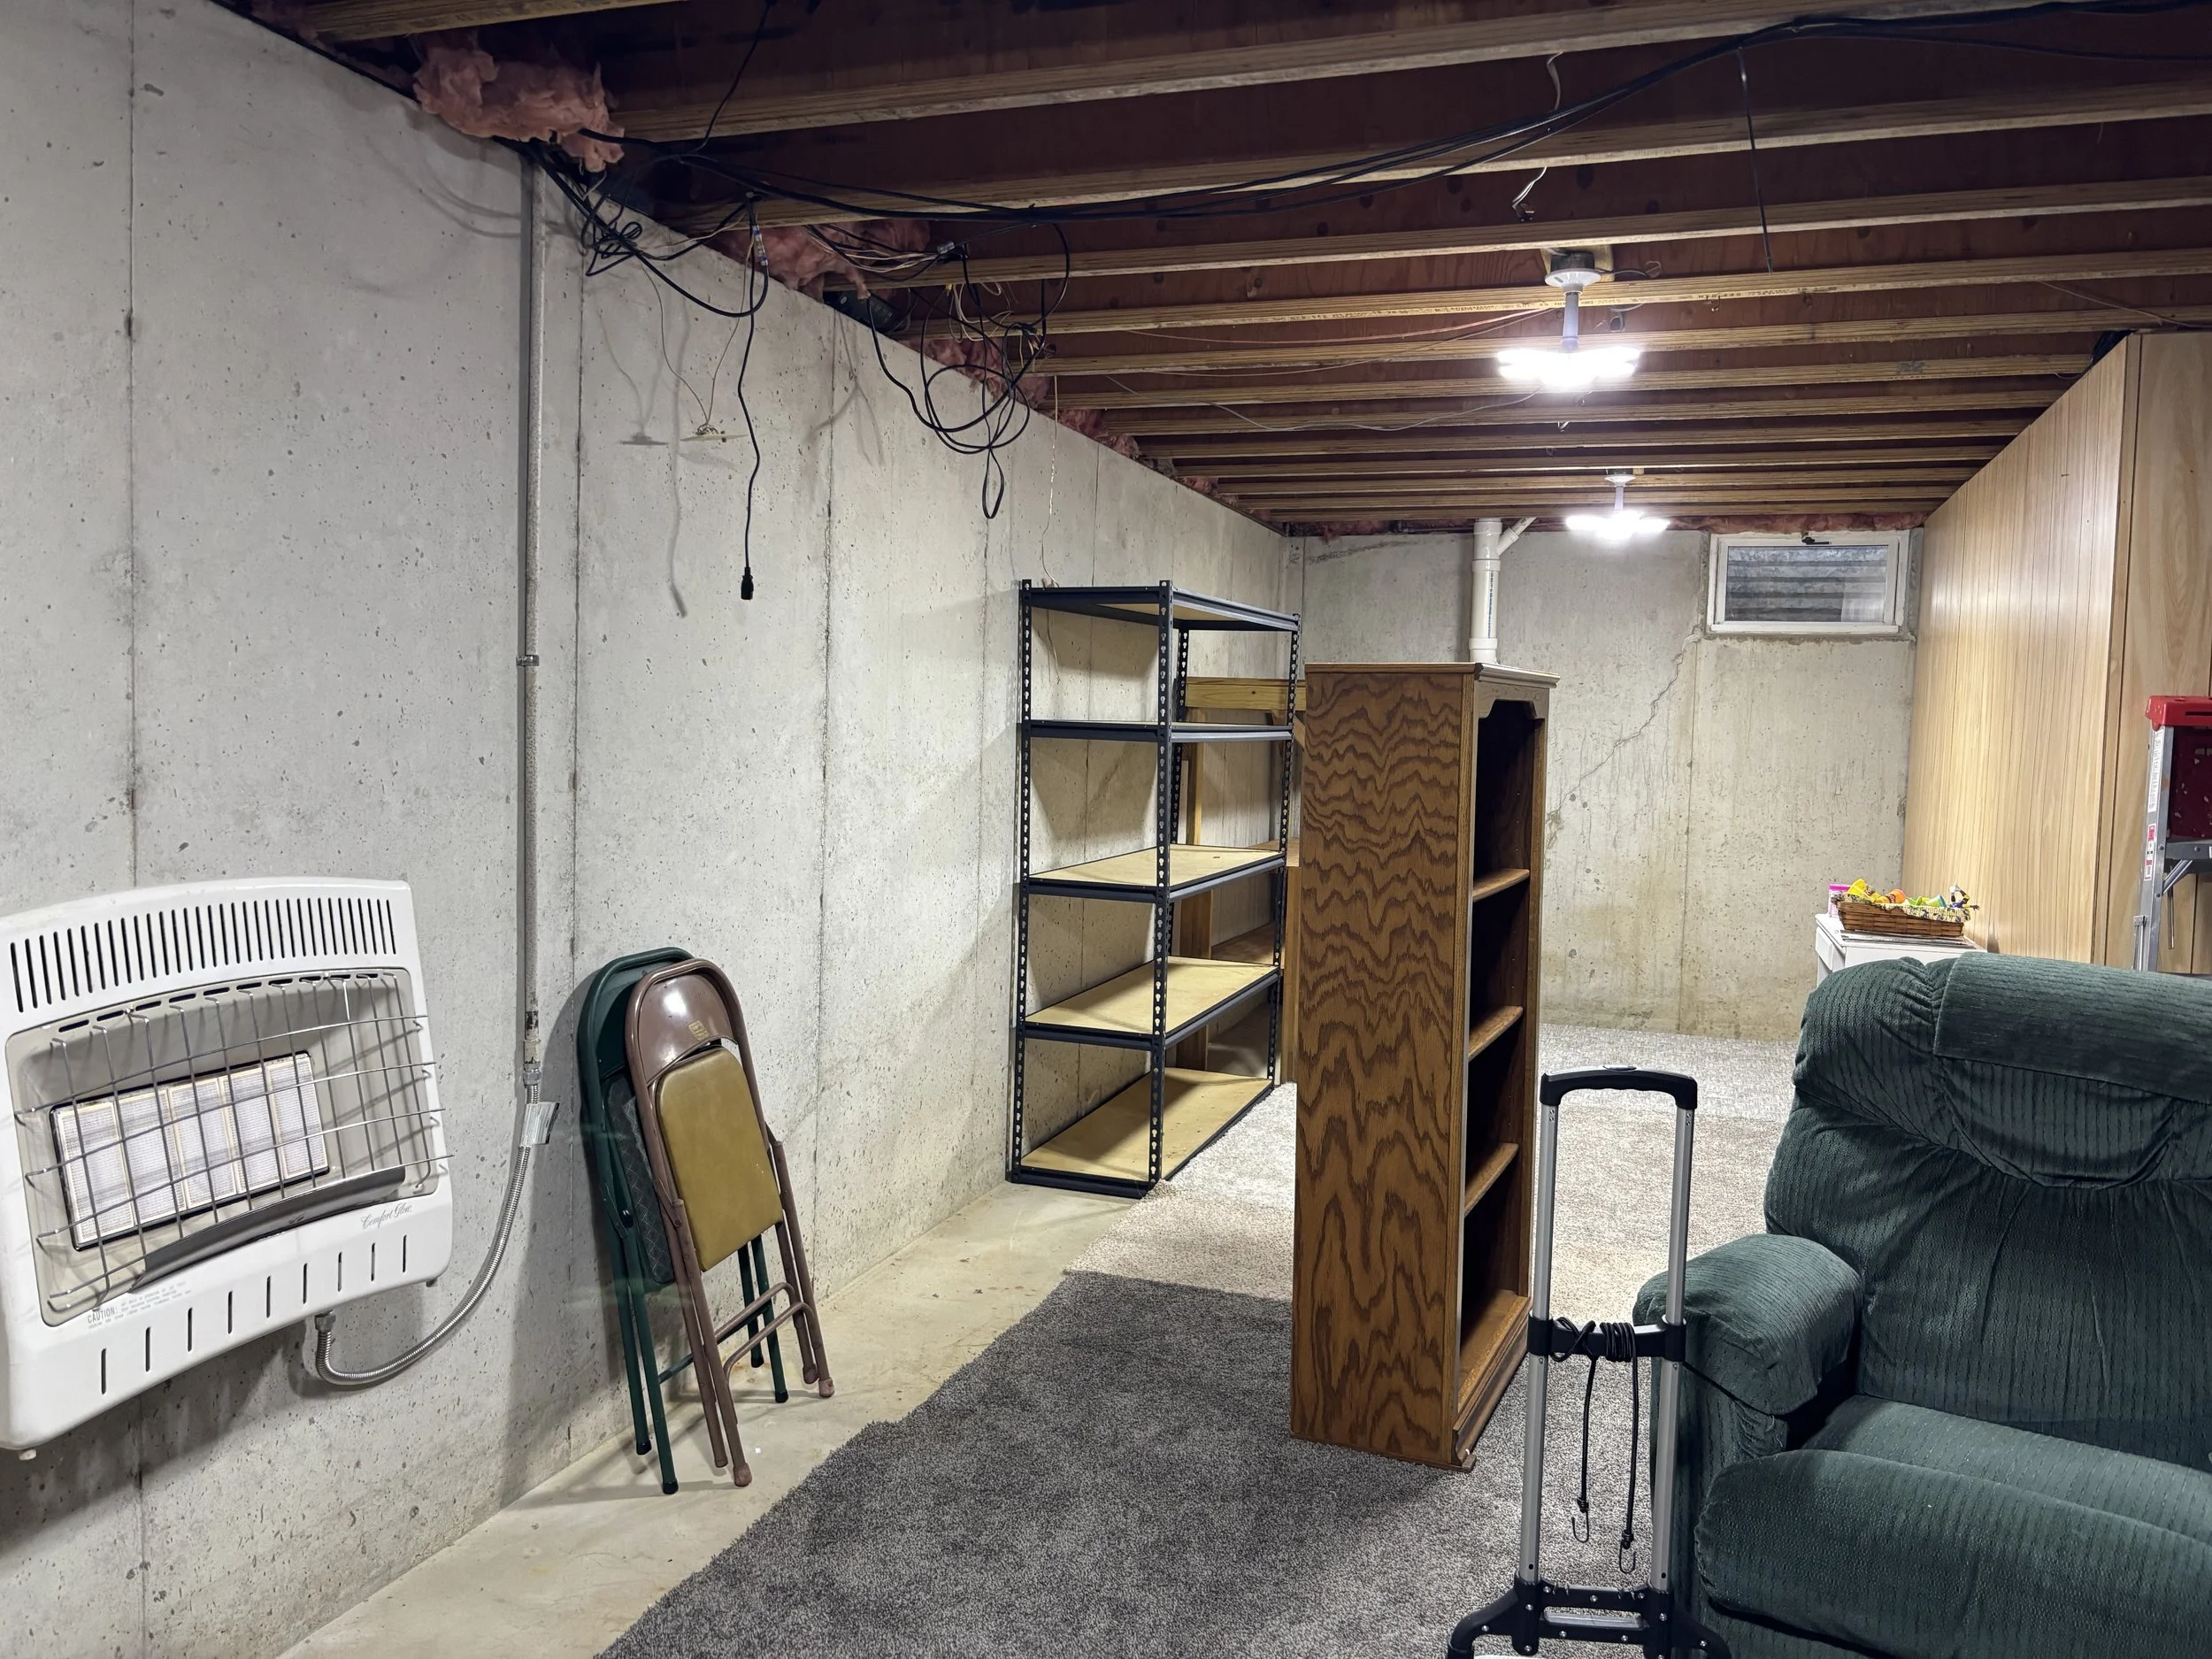
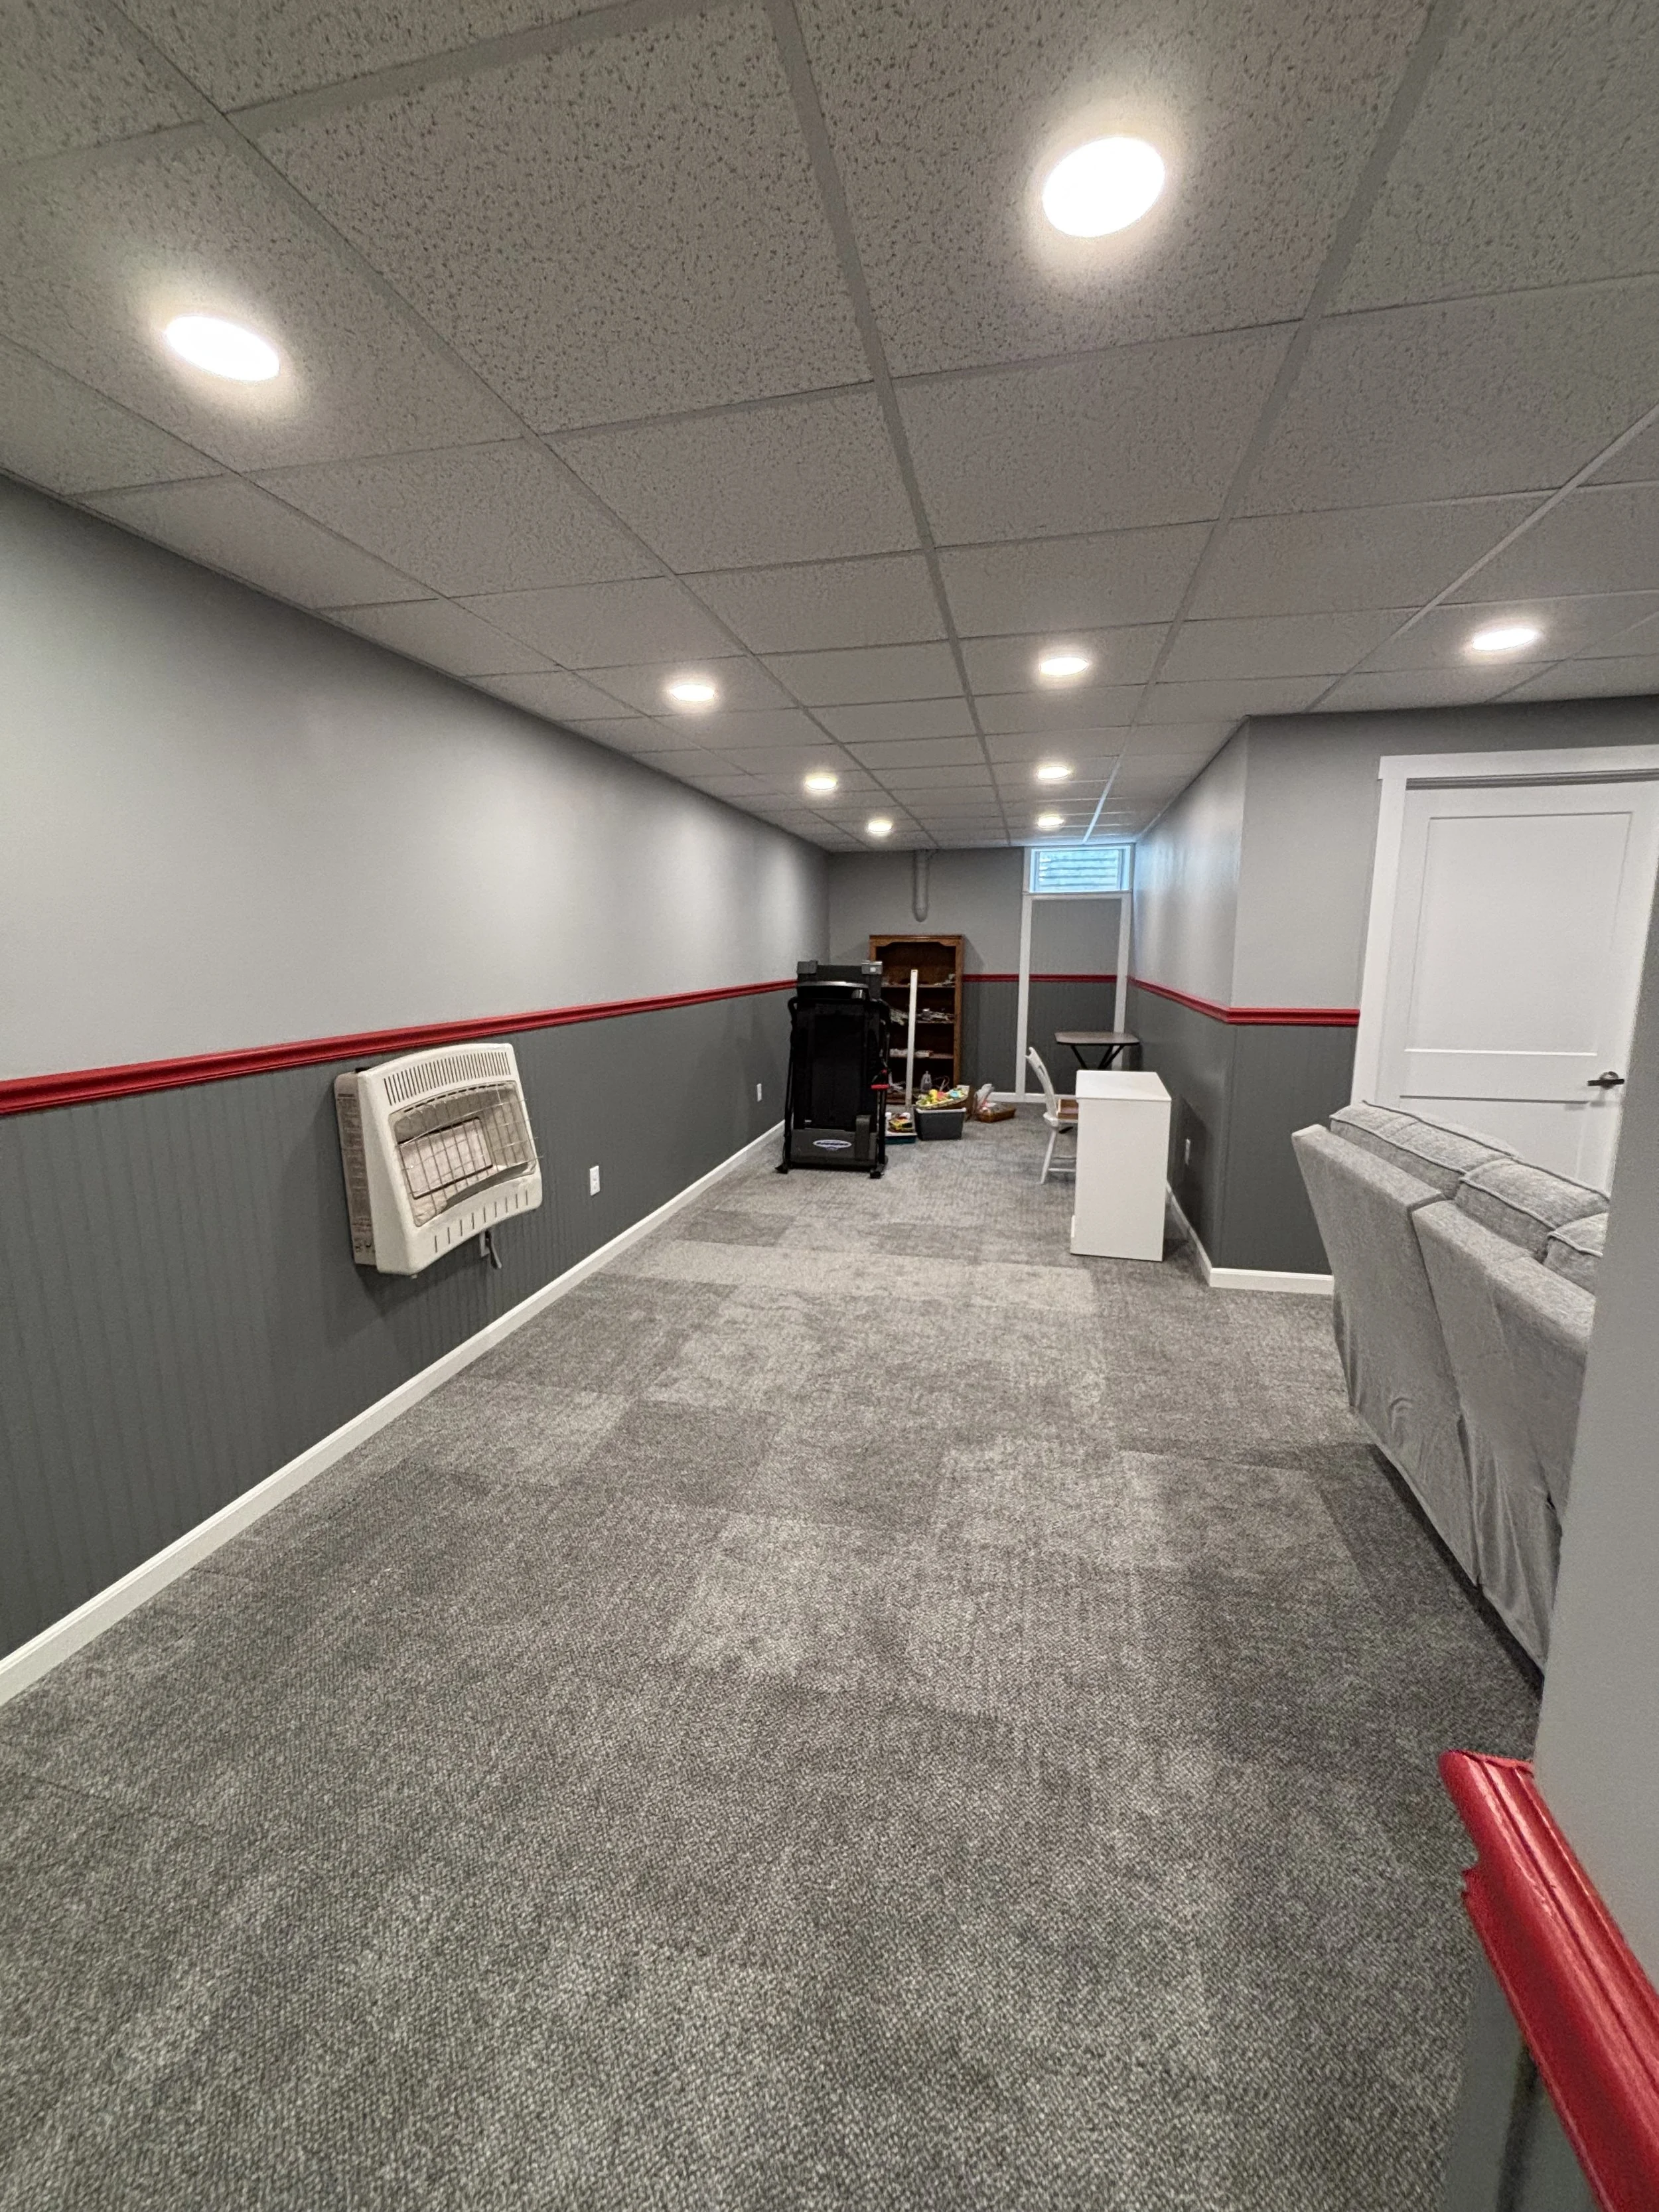
The homeowner wanted to see the following: 1) An enlarged and closed off storage area to keep the main room free of shelving. 2) Close off the sump pump mechanical room. 3) Allow an access panel for the crawlspace. 4) Allow for the only window to be able to be “dried out” in the event of a flood in the window well. 5) Be as waterproof as possible without breaking the bank.
Got it. Let’s get to work!
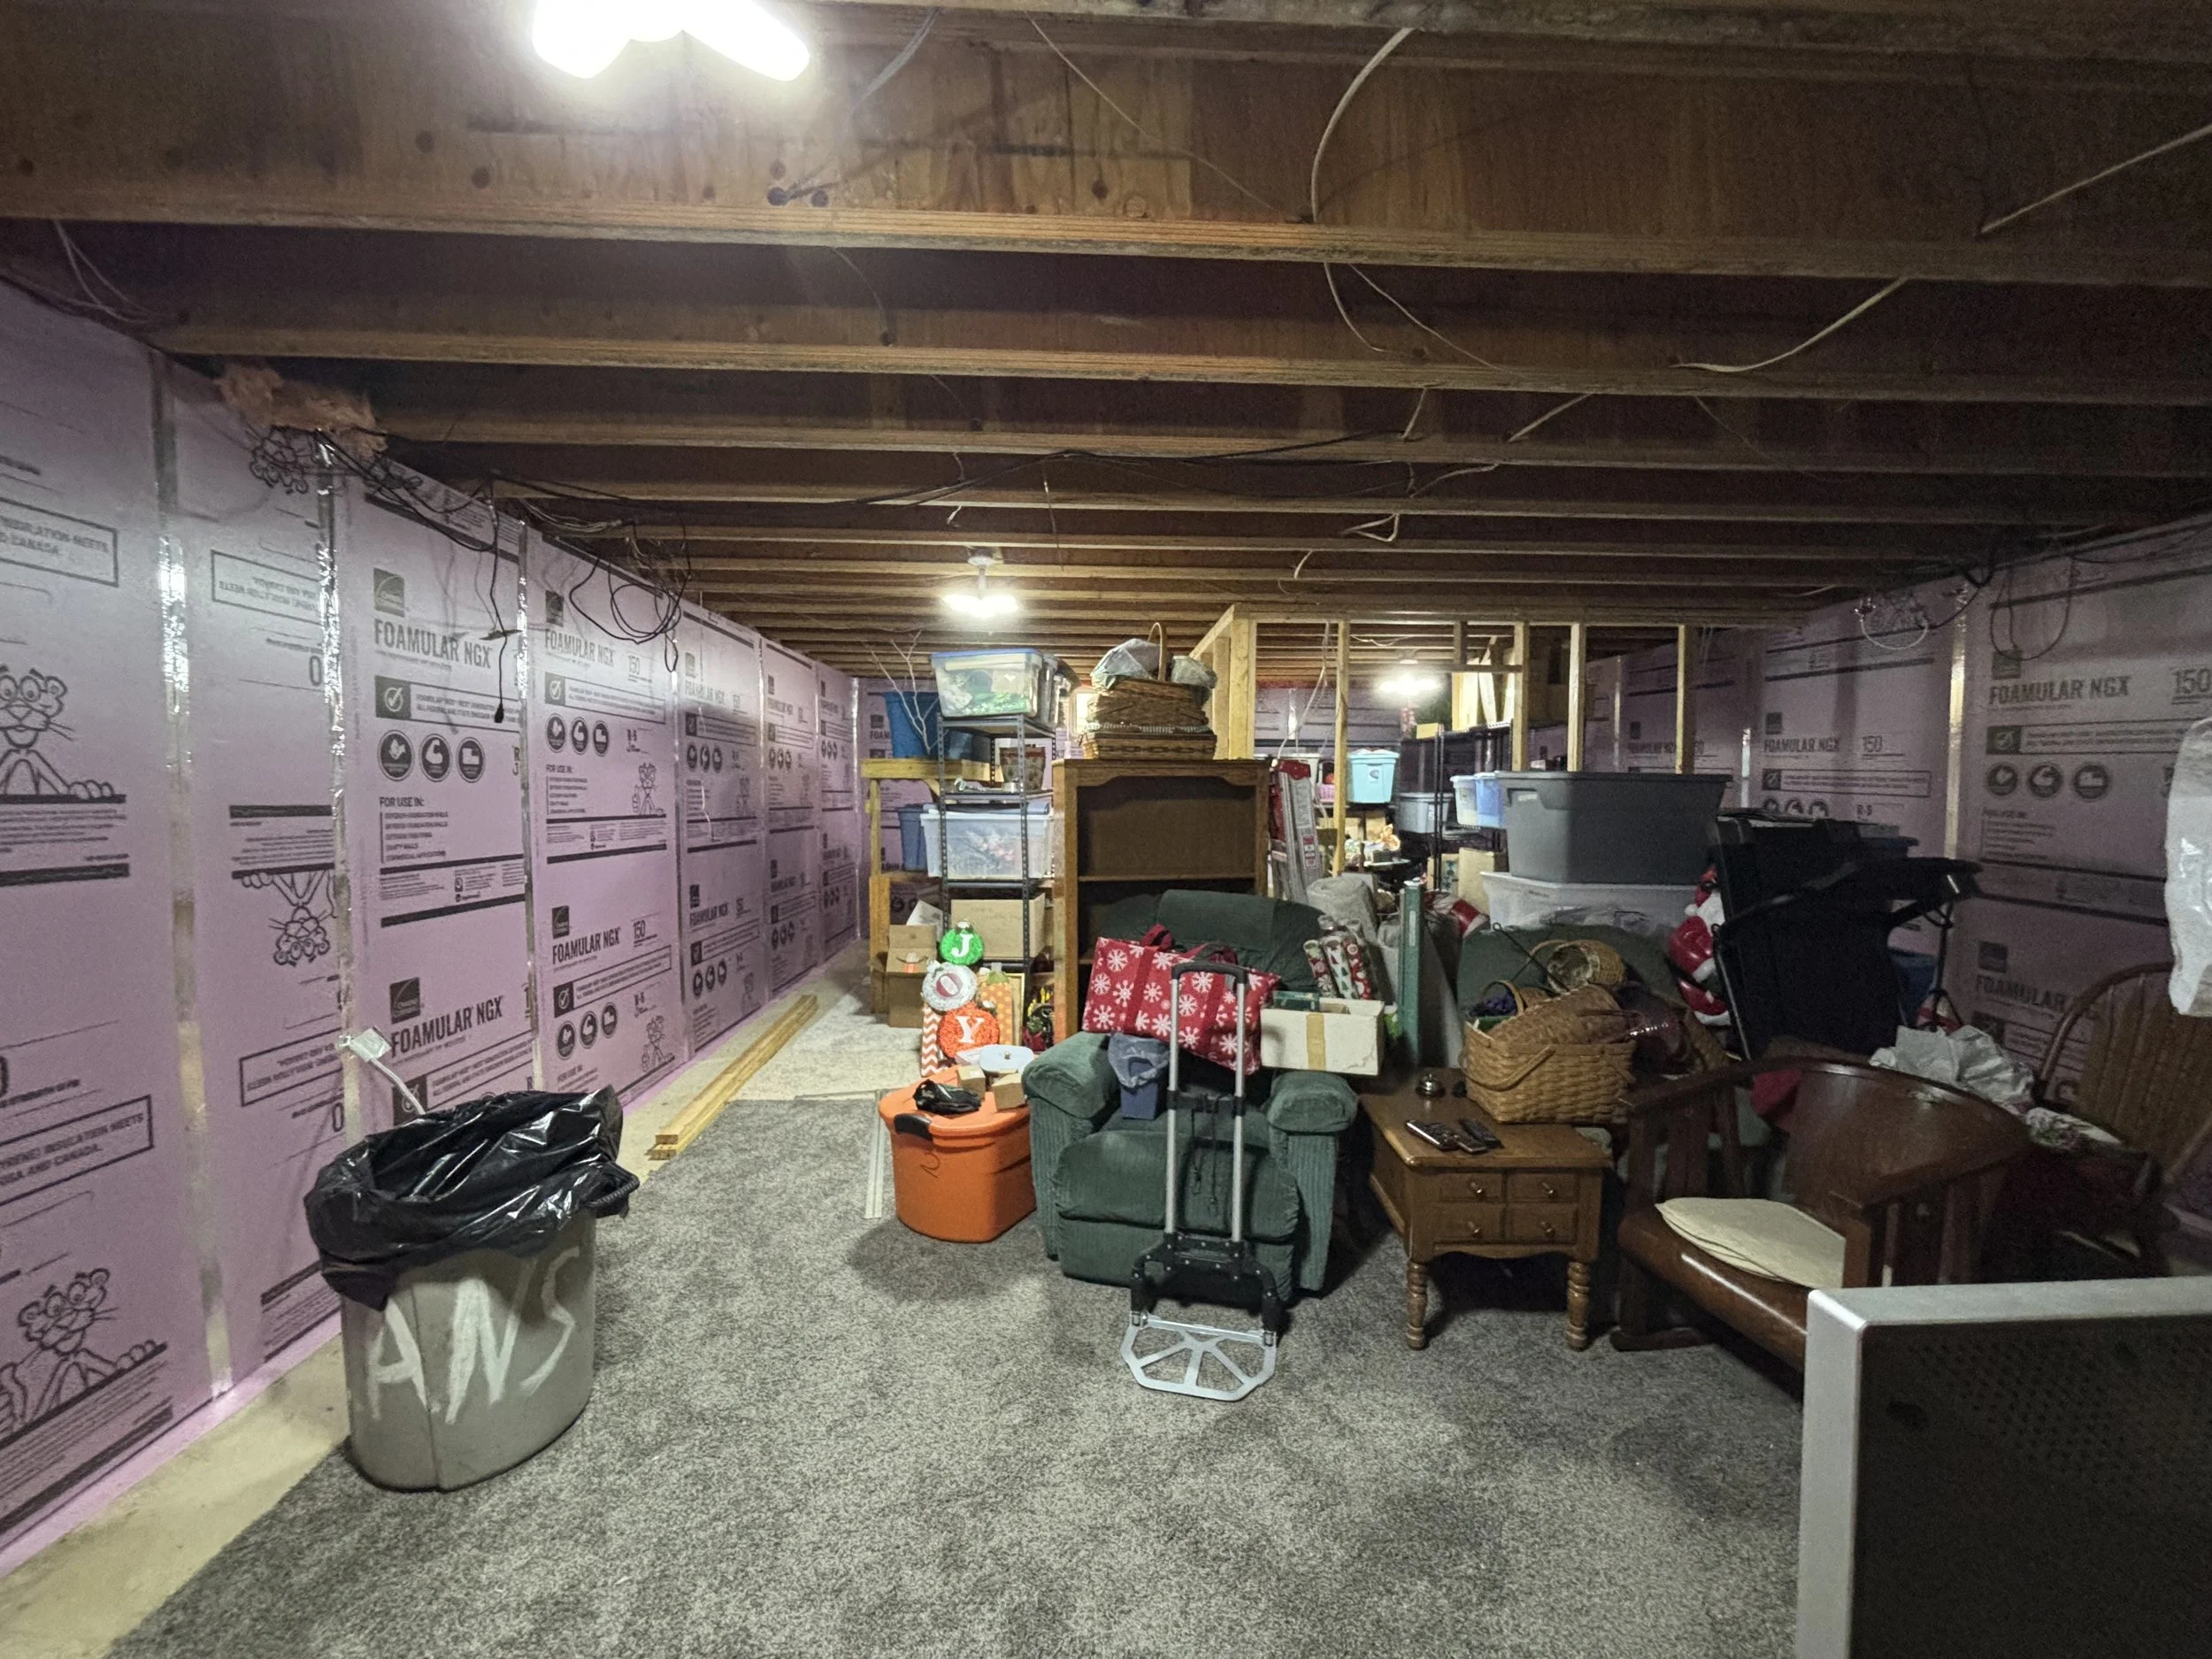
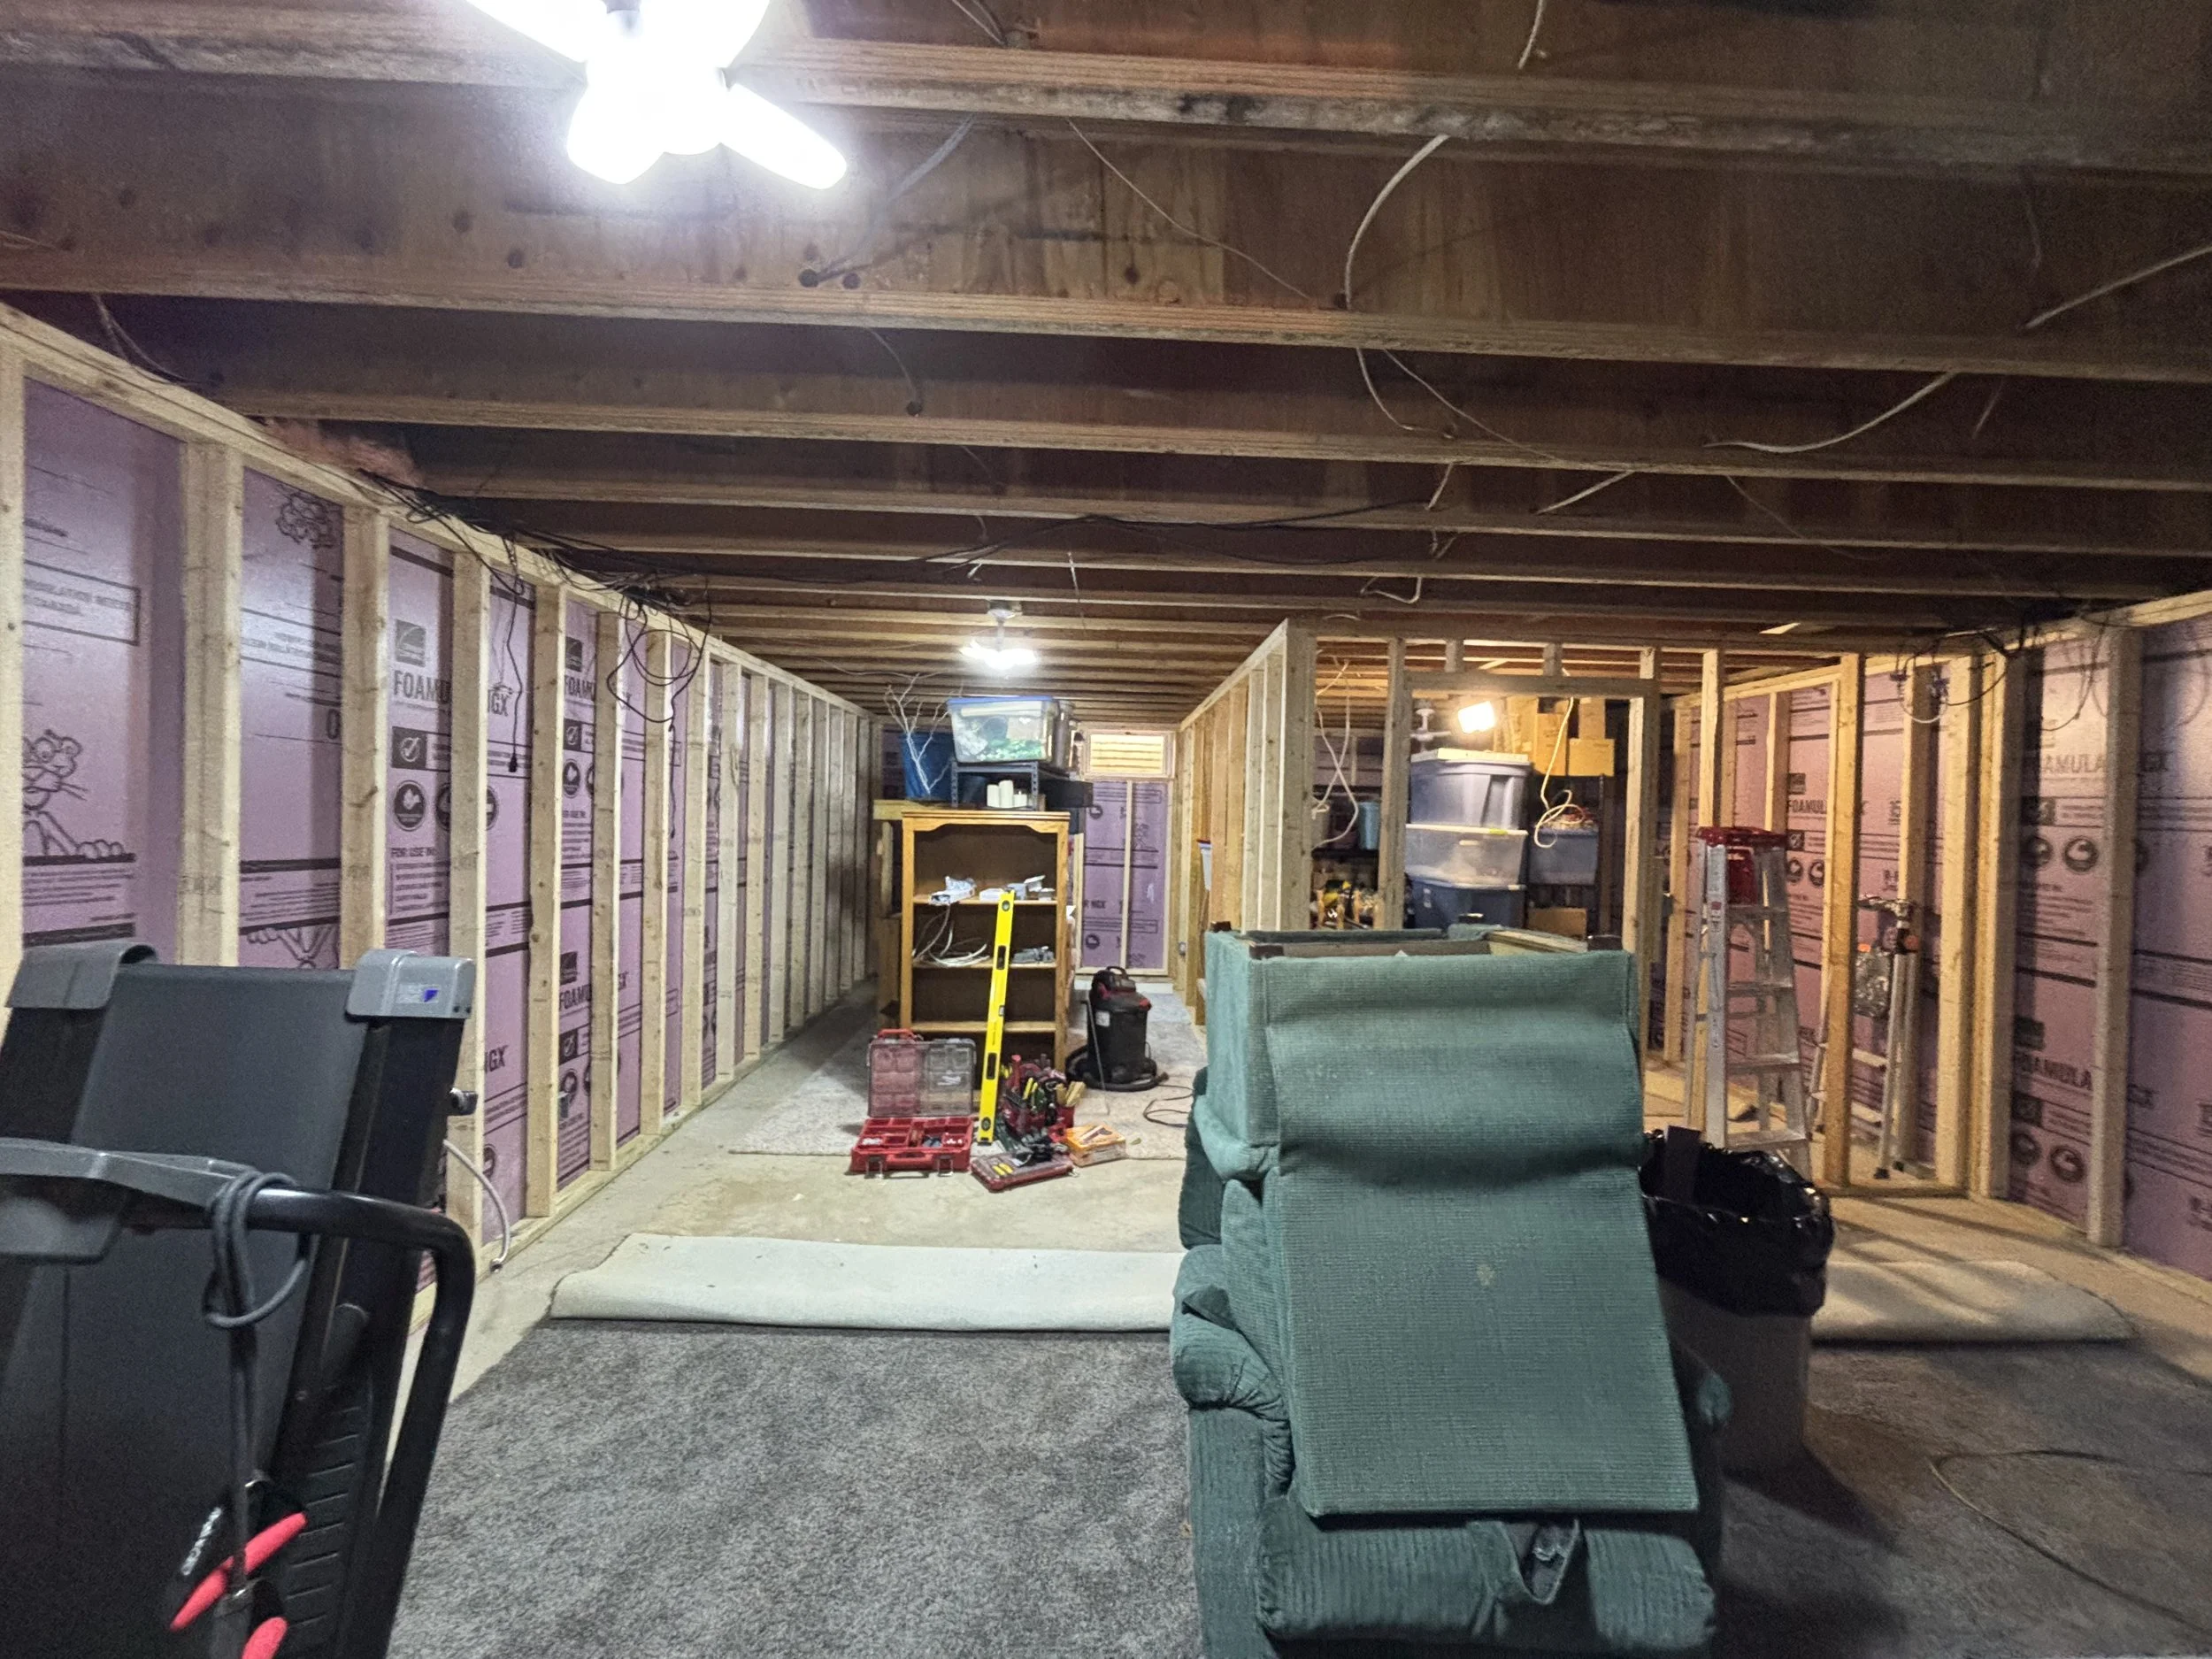
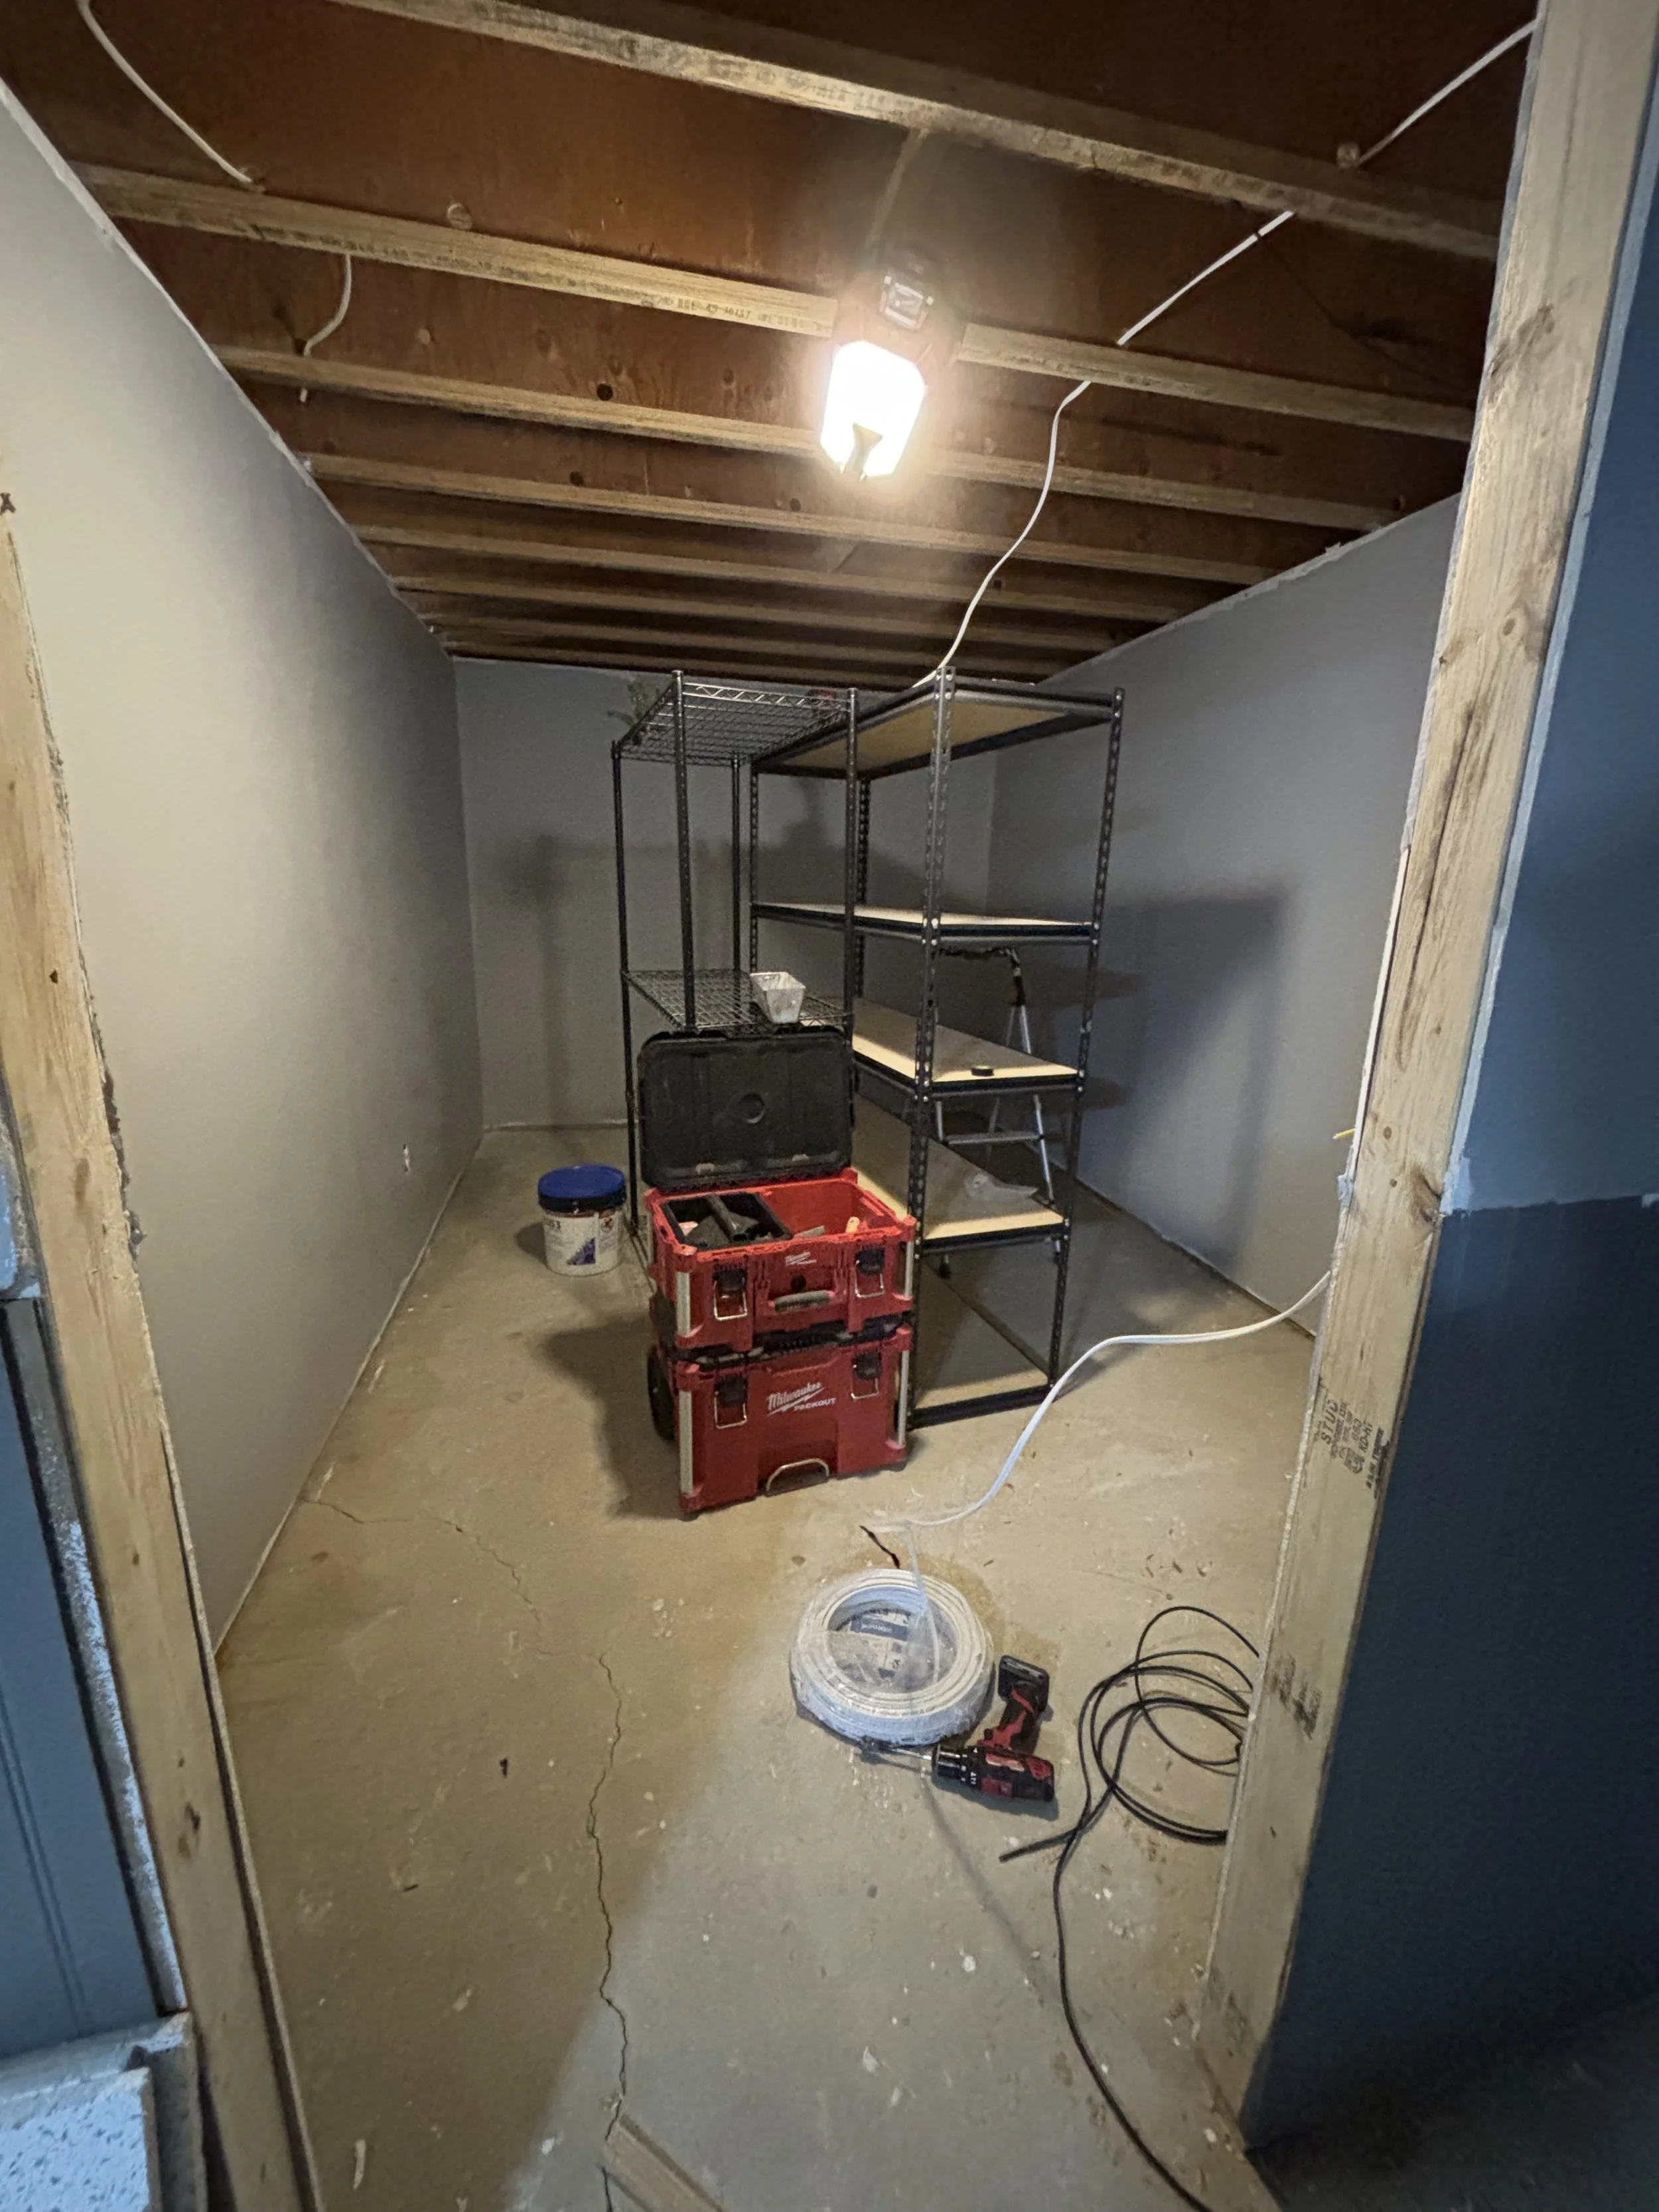
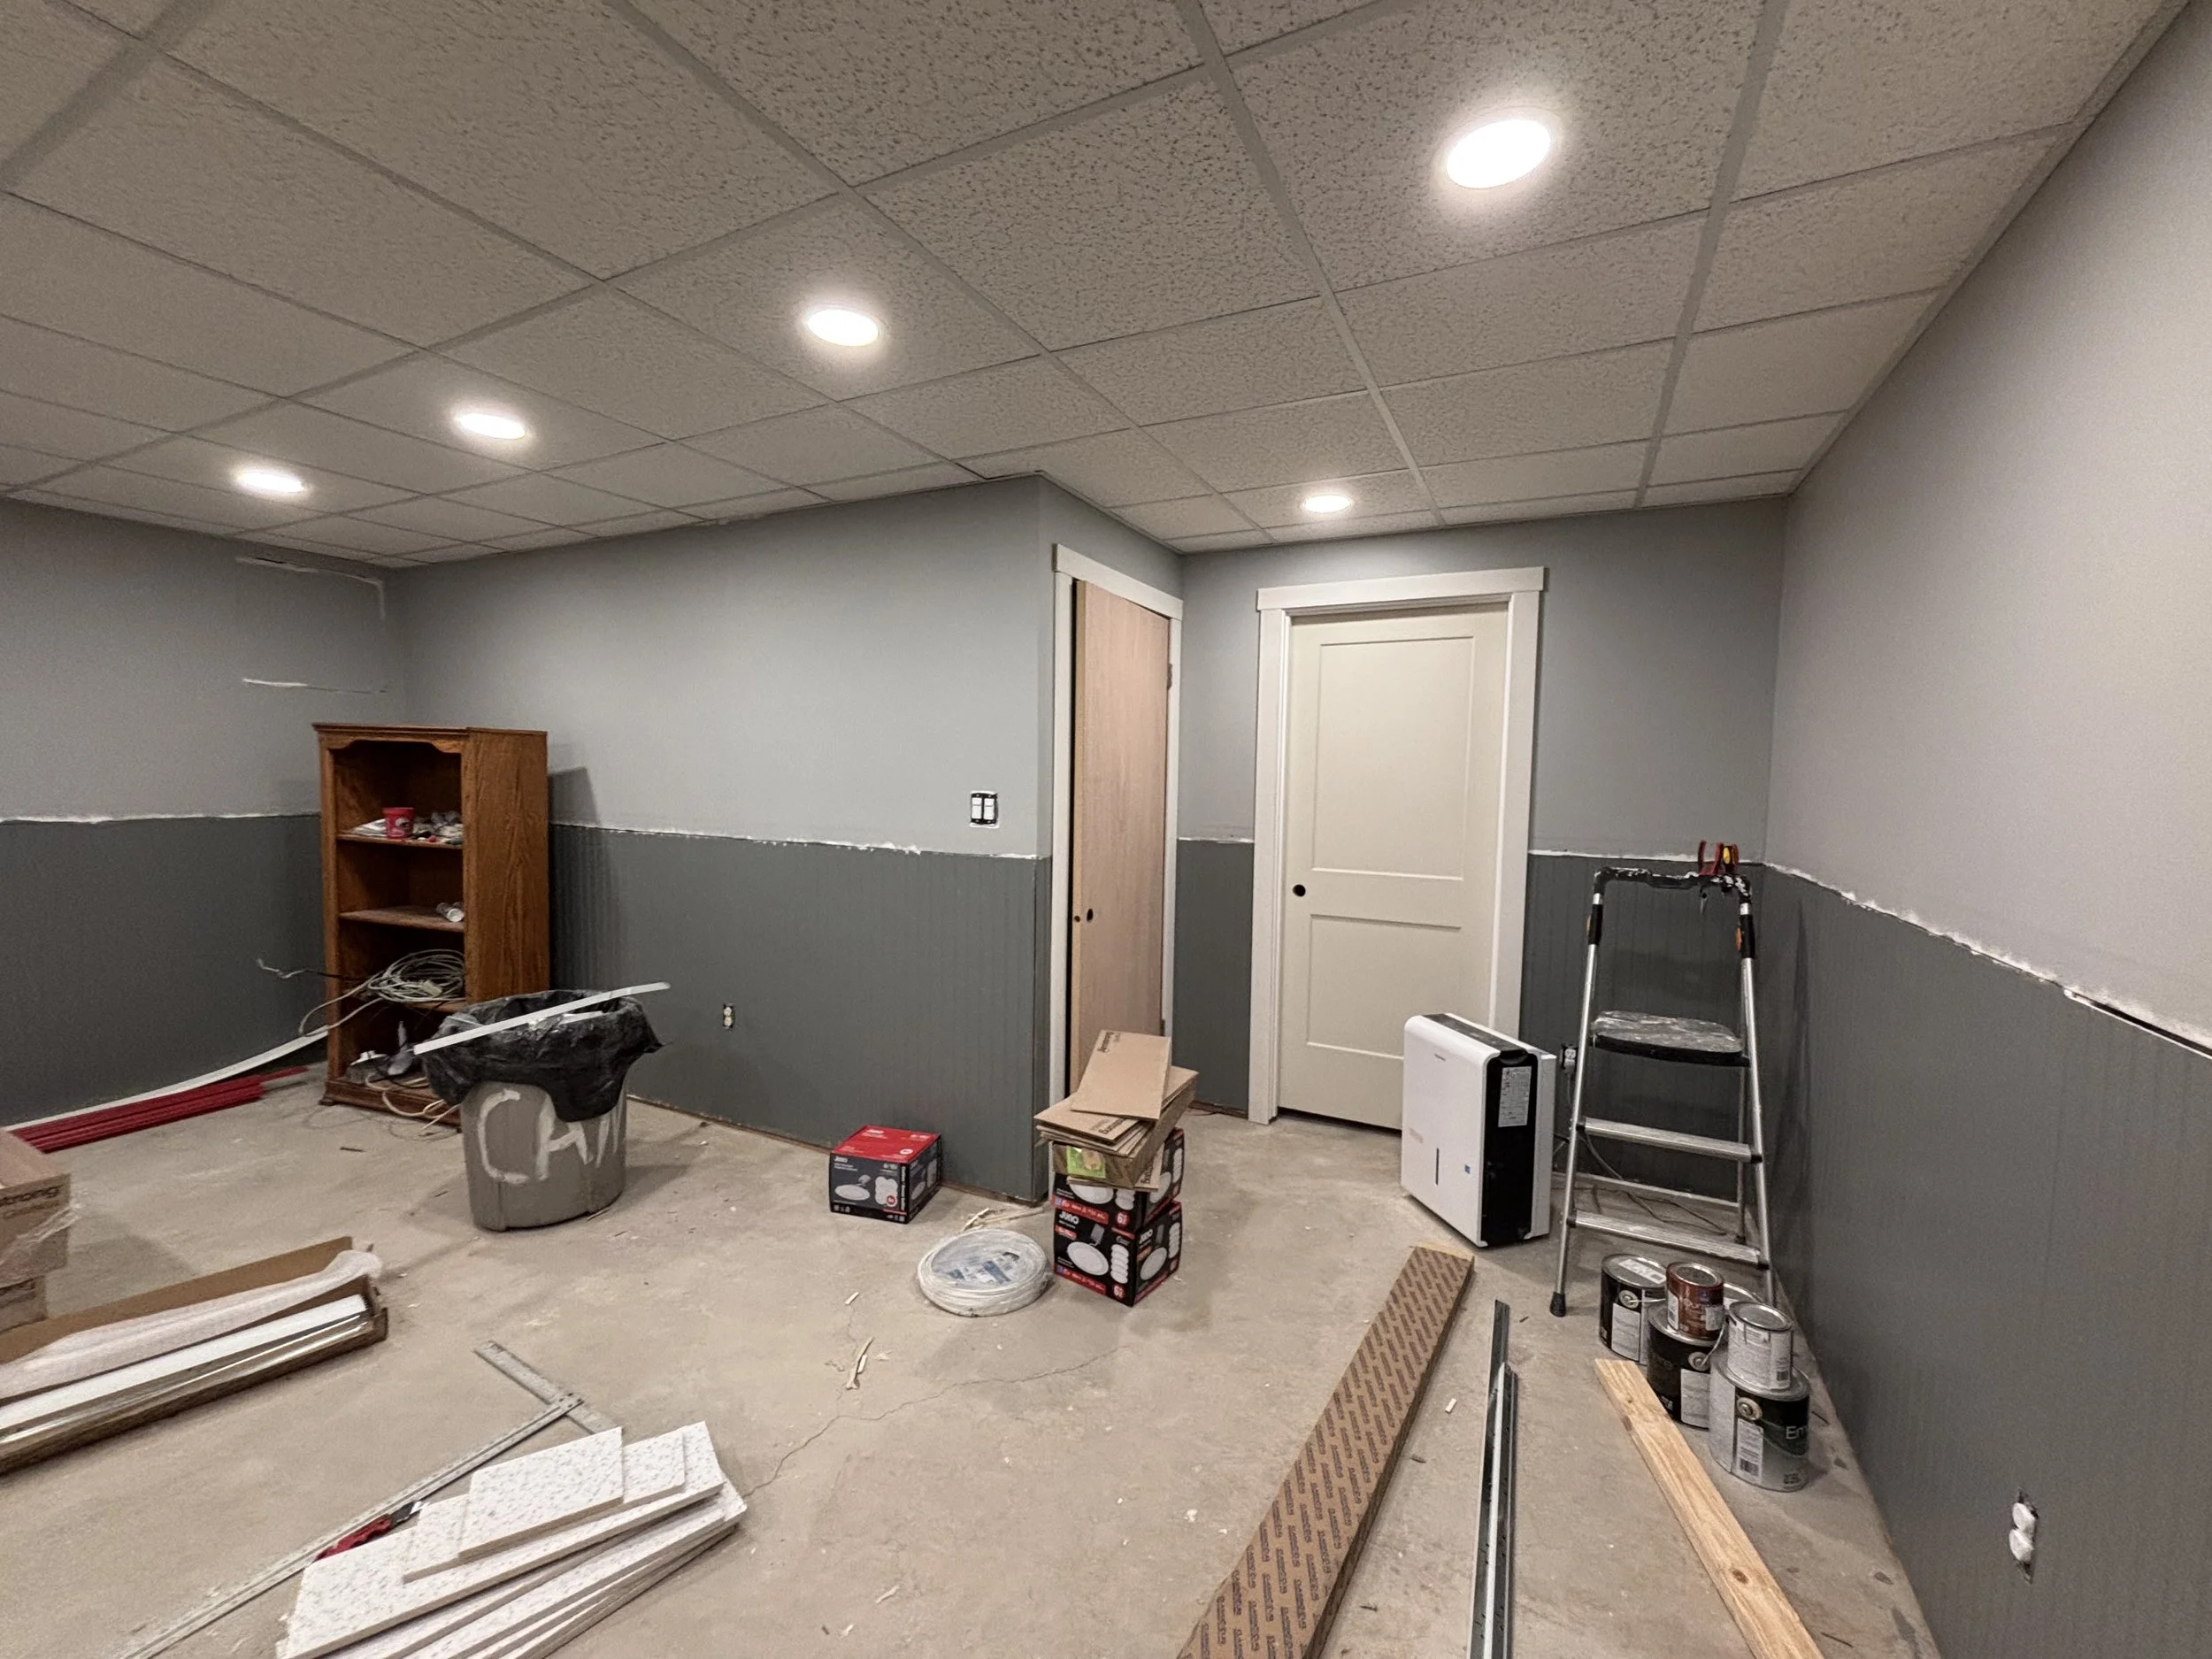
I began by having the existing concrete walls clad with 1” Foam board. It is an R-5, but it also provided a crucial separation between concrete and studs that were going in next.
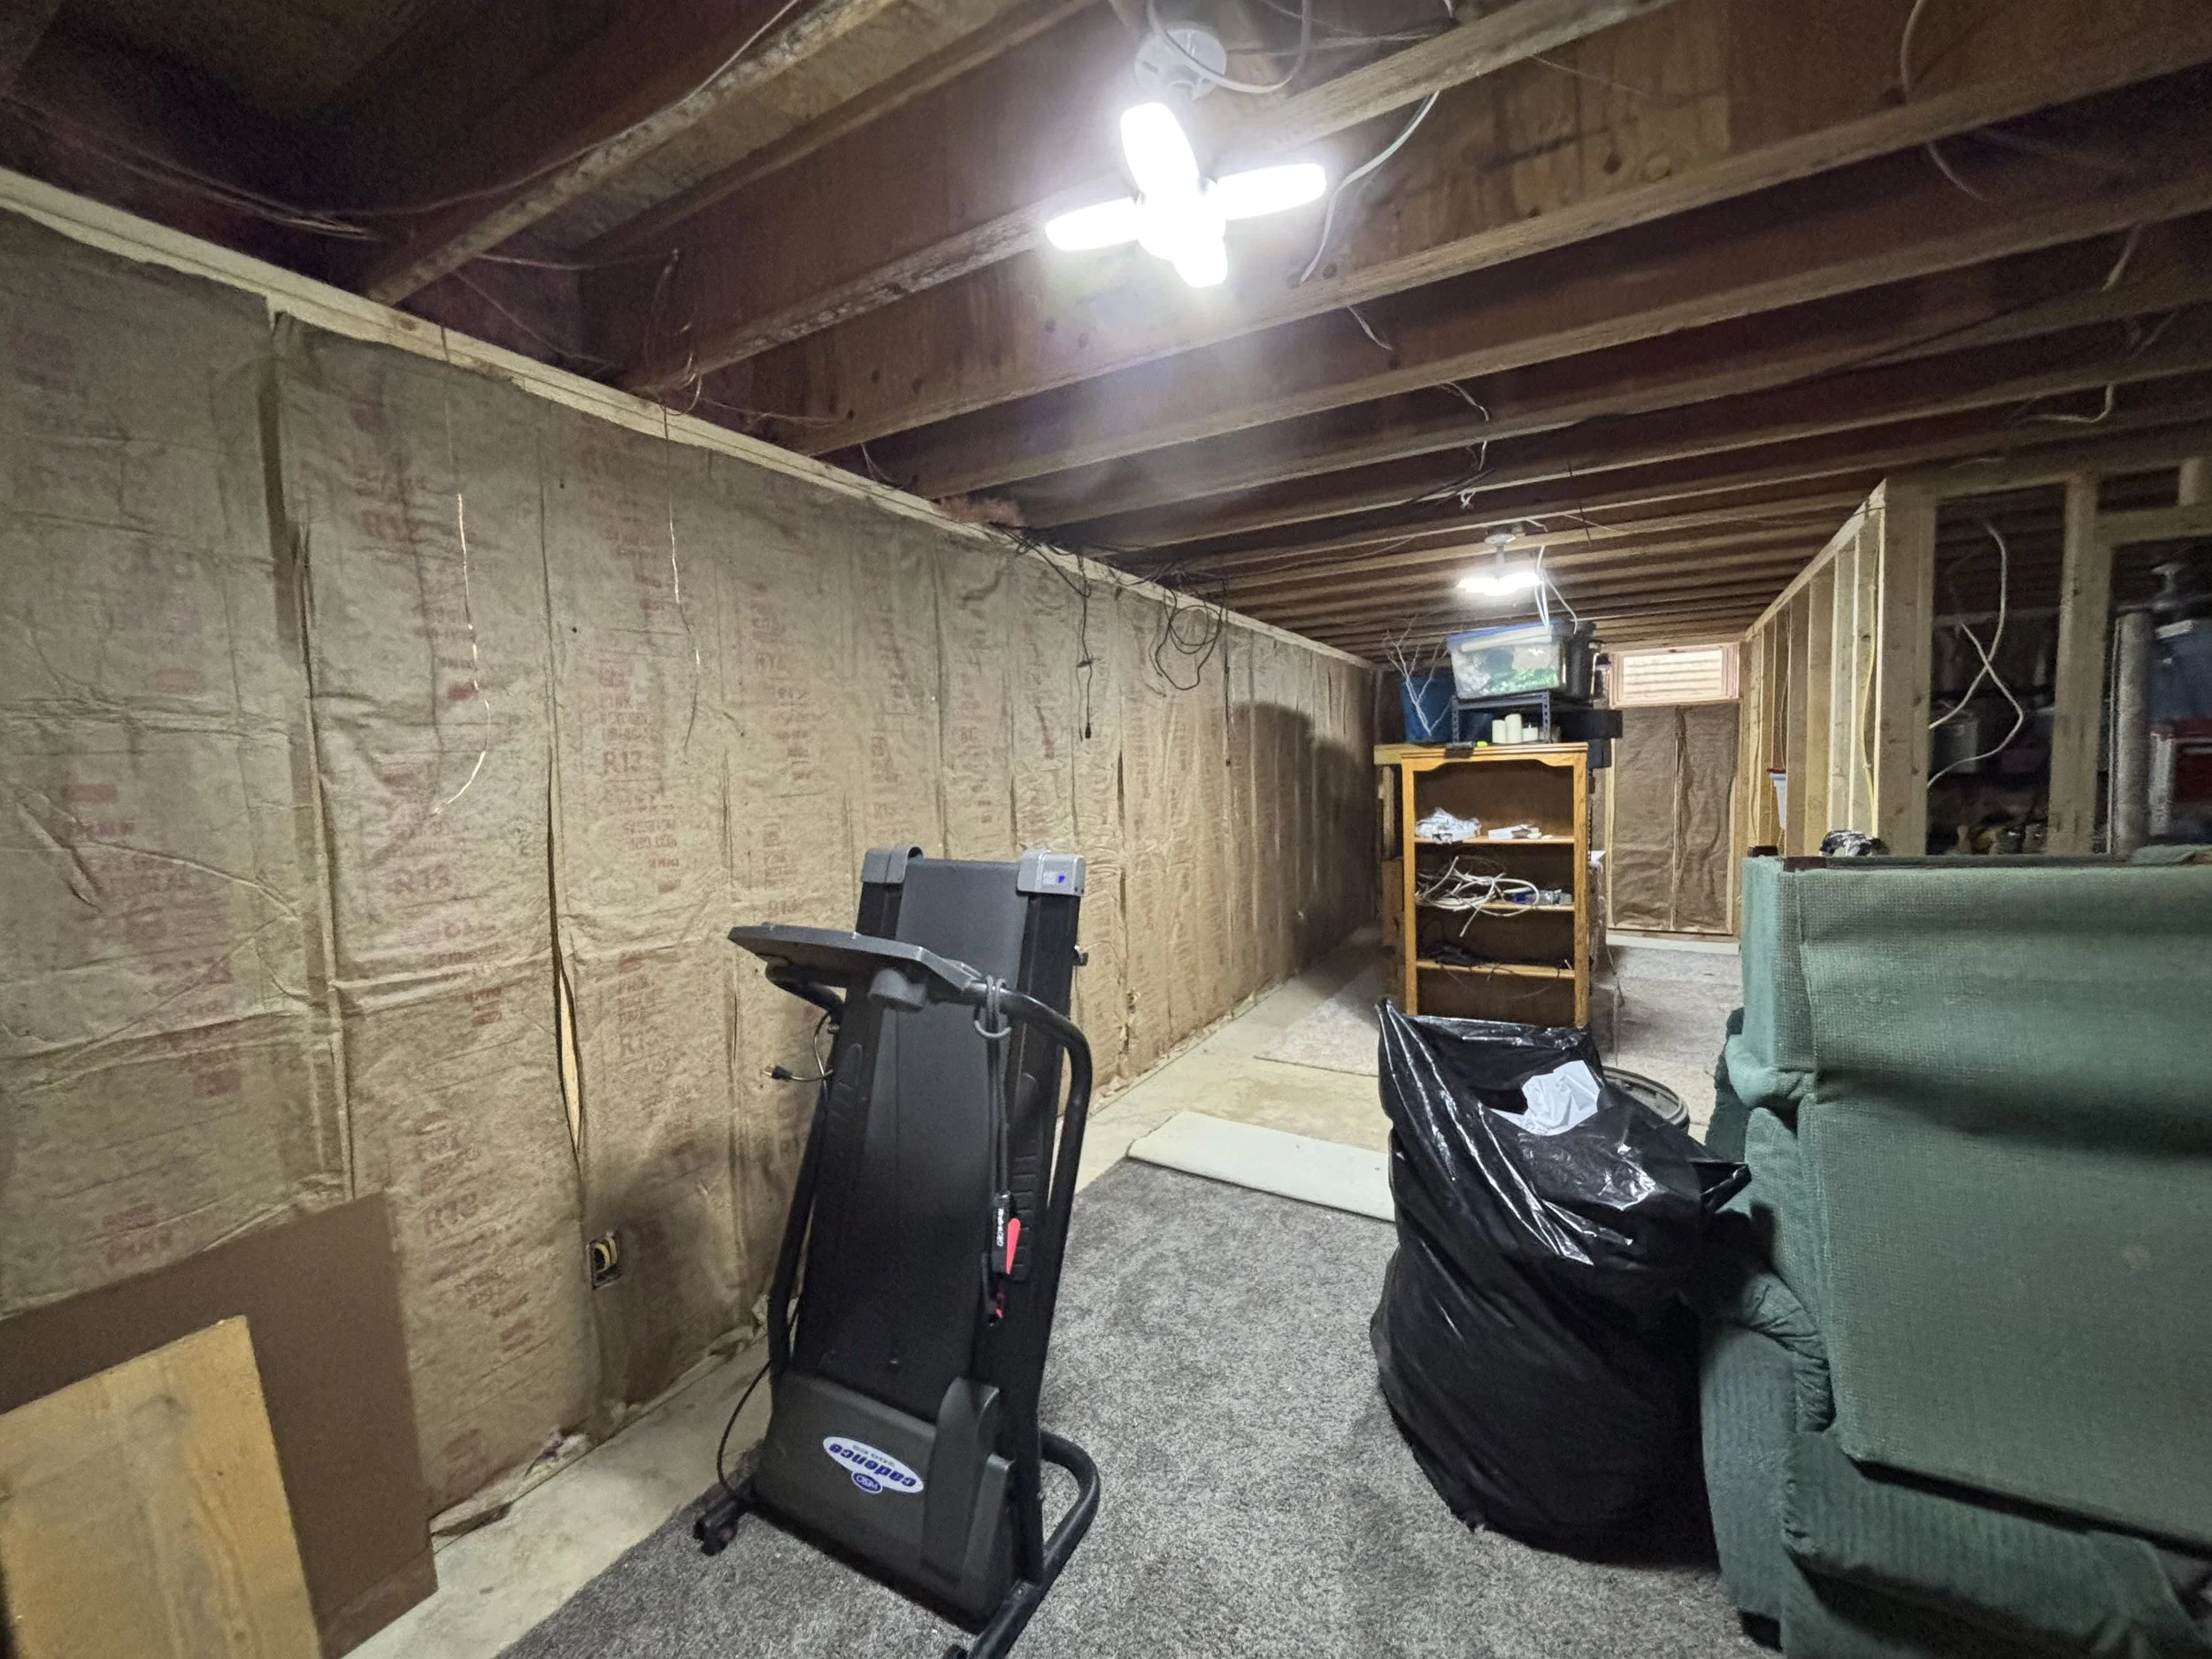
All studded up, it was time to run electrical. 10 outlets and a double outlet and networking installed (for the TV) later, it was time to insulate. Now, I could’ve used unfaced batts, but I went with faced. I still wanted to keep moisture out of the walls, and the face helps (a bit). I also needed to enlarge the existing closet by about 5 feet and reframe the rough opening of the door to accommodate a 36” interior door.

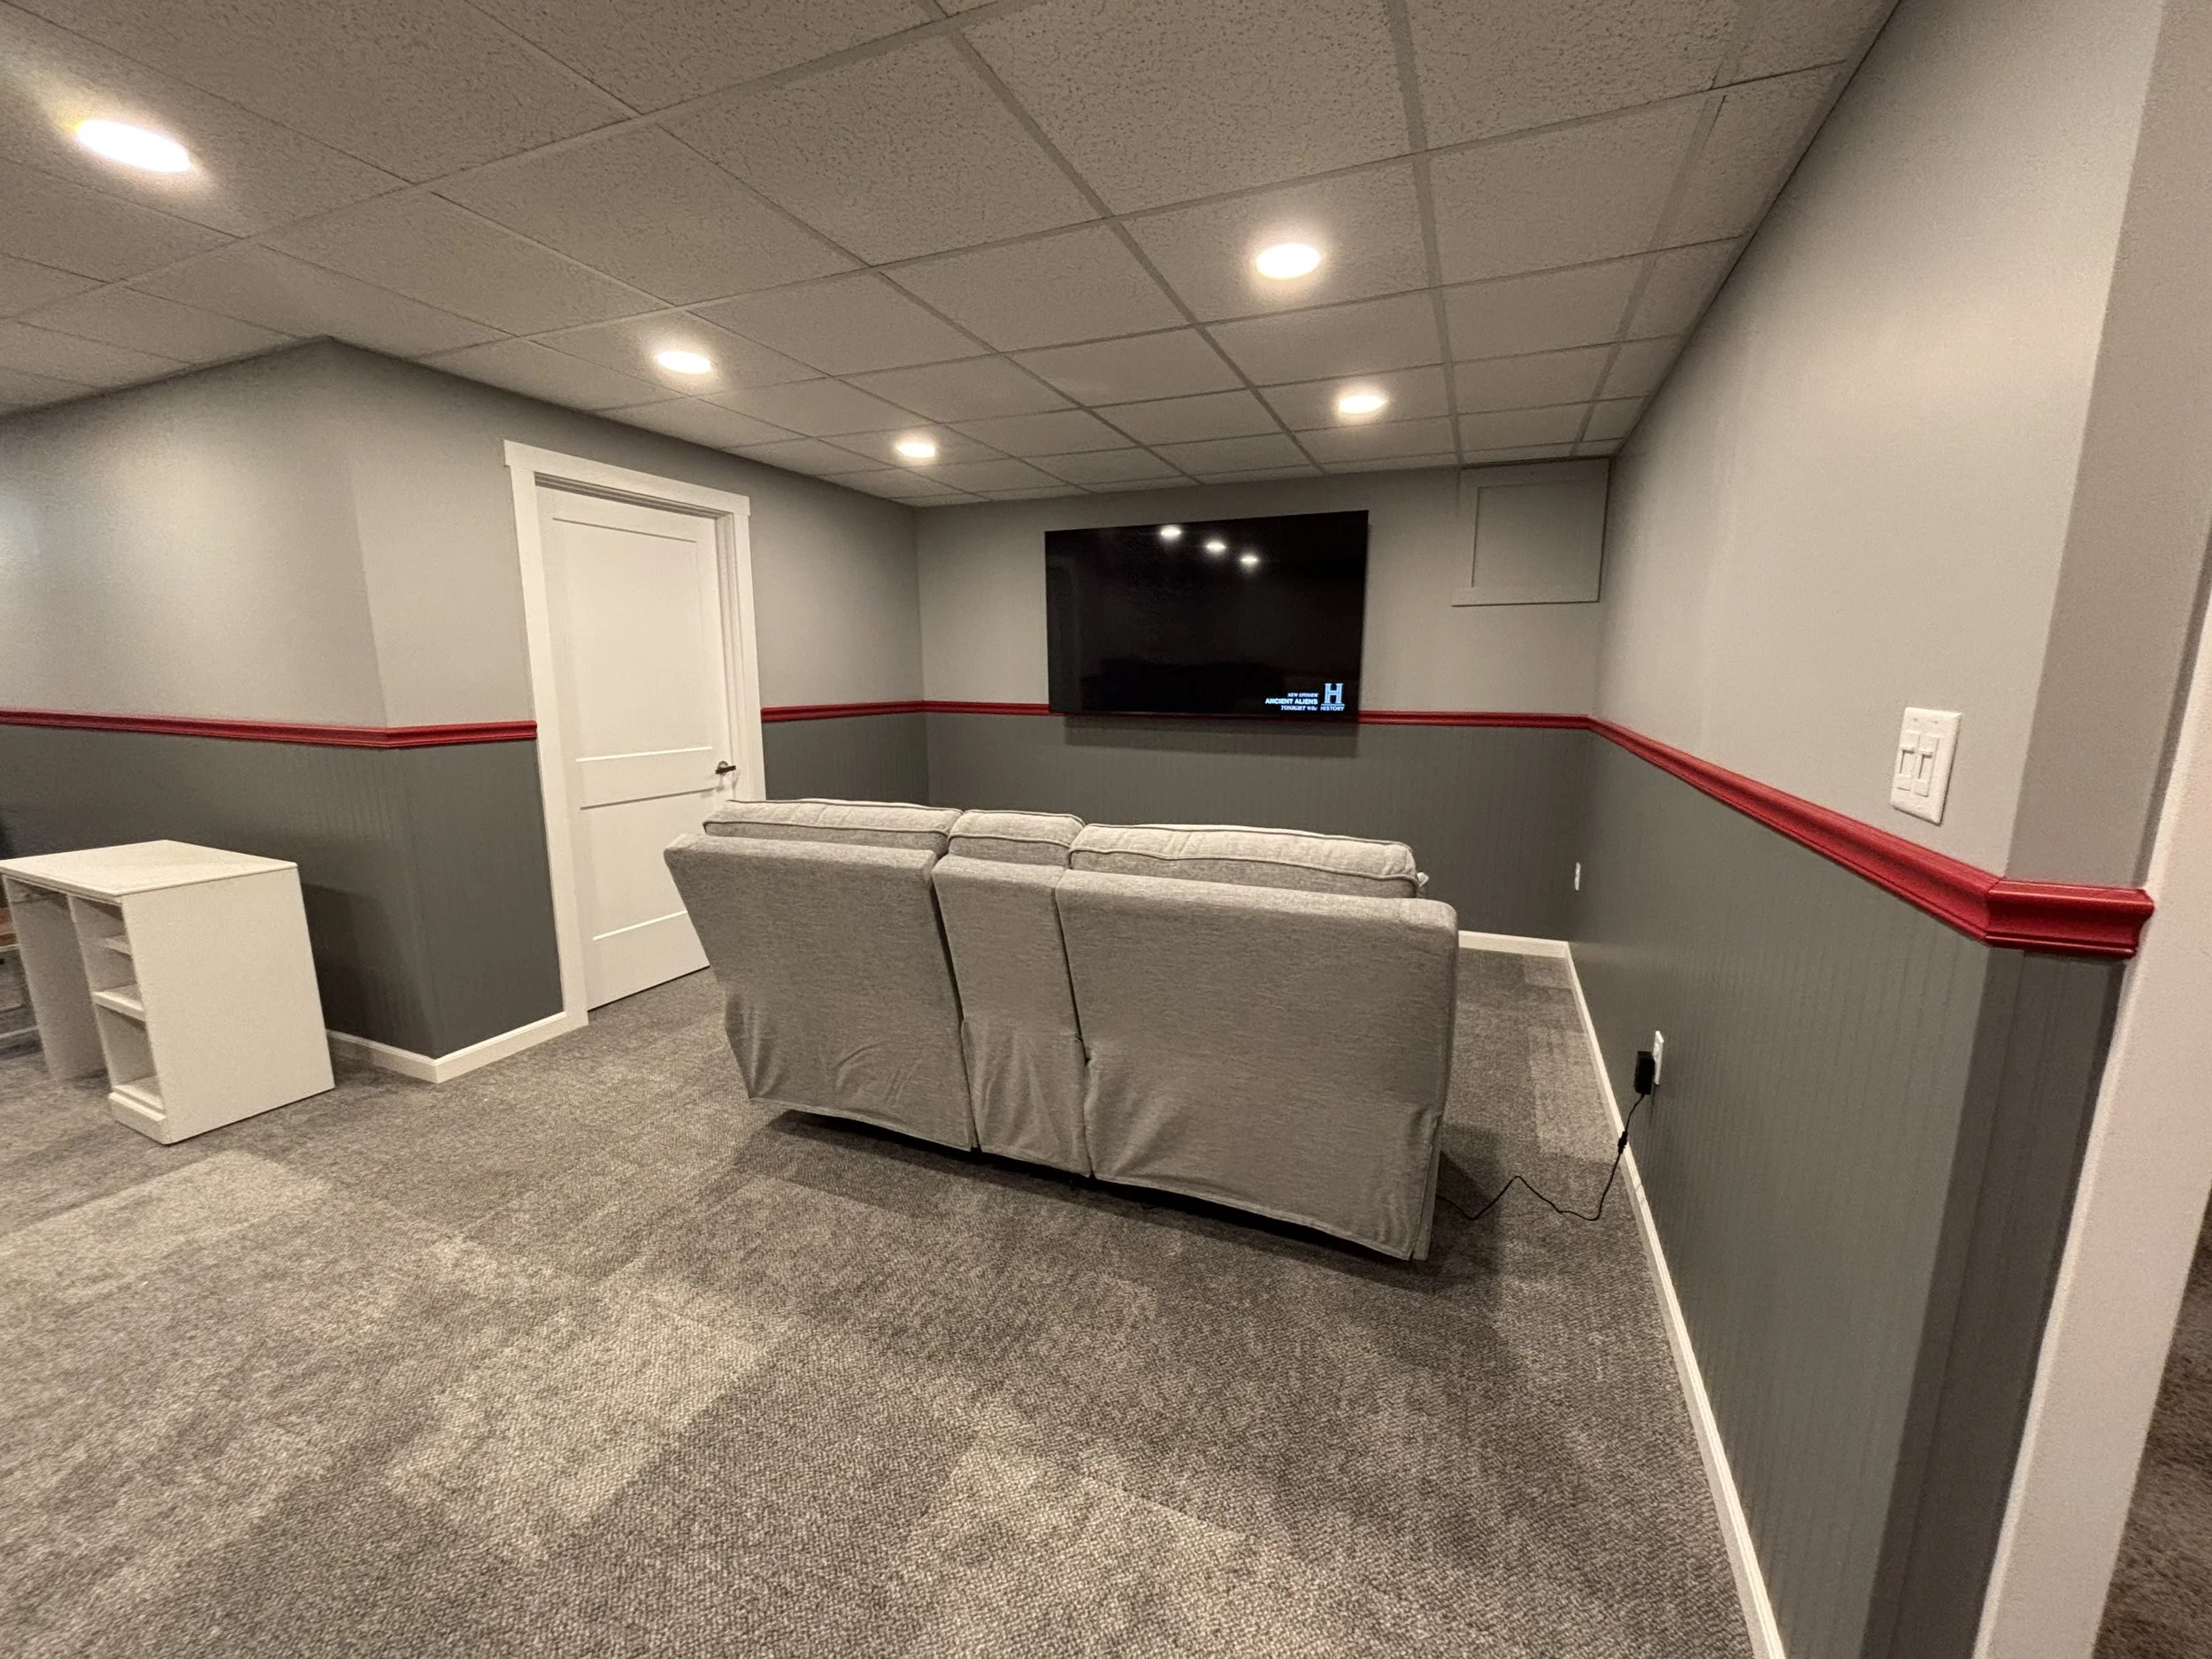
Decision time: How would they like it finished? We landed on drywall above, and a beaded wainscoting below with a chair rail. Love it. Oh, and we want it to be two-toned and Ohio State colors. Love that too. Let’s do it.
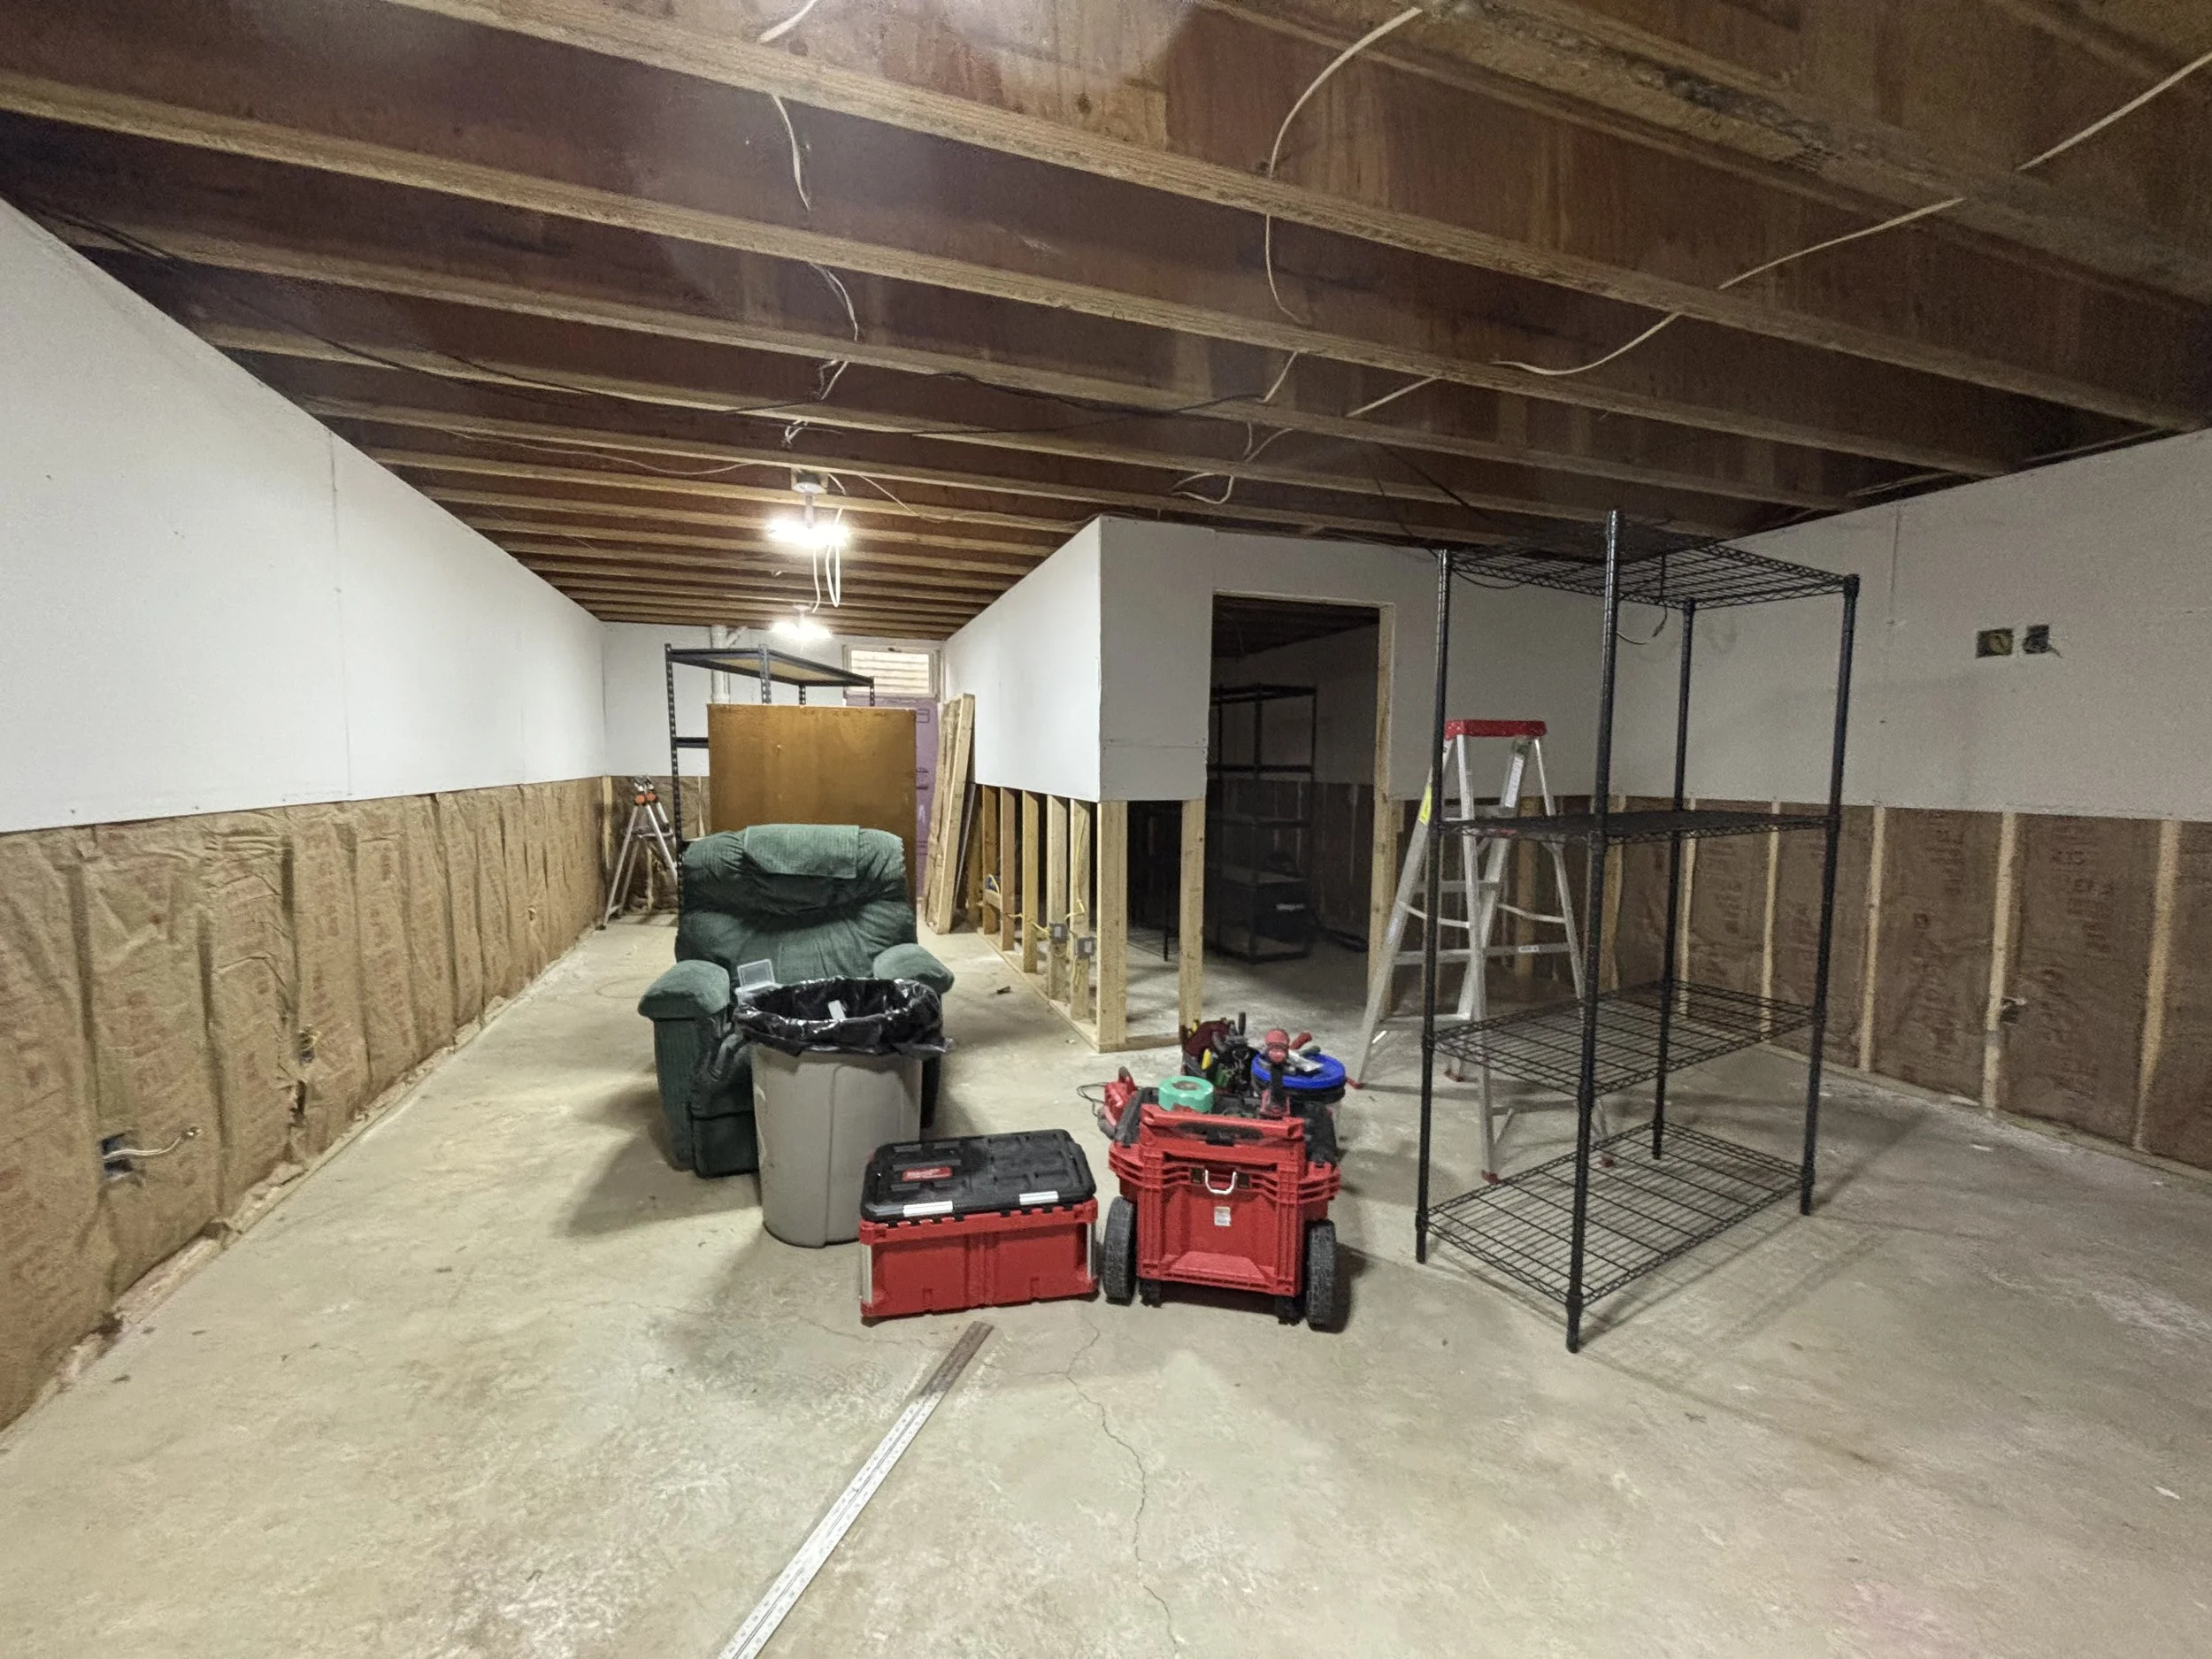
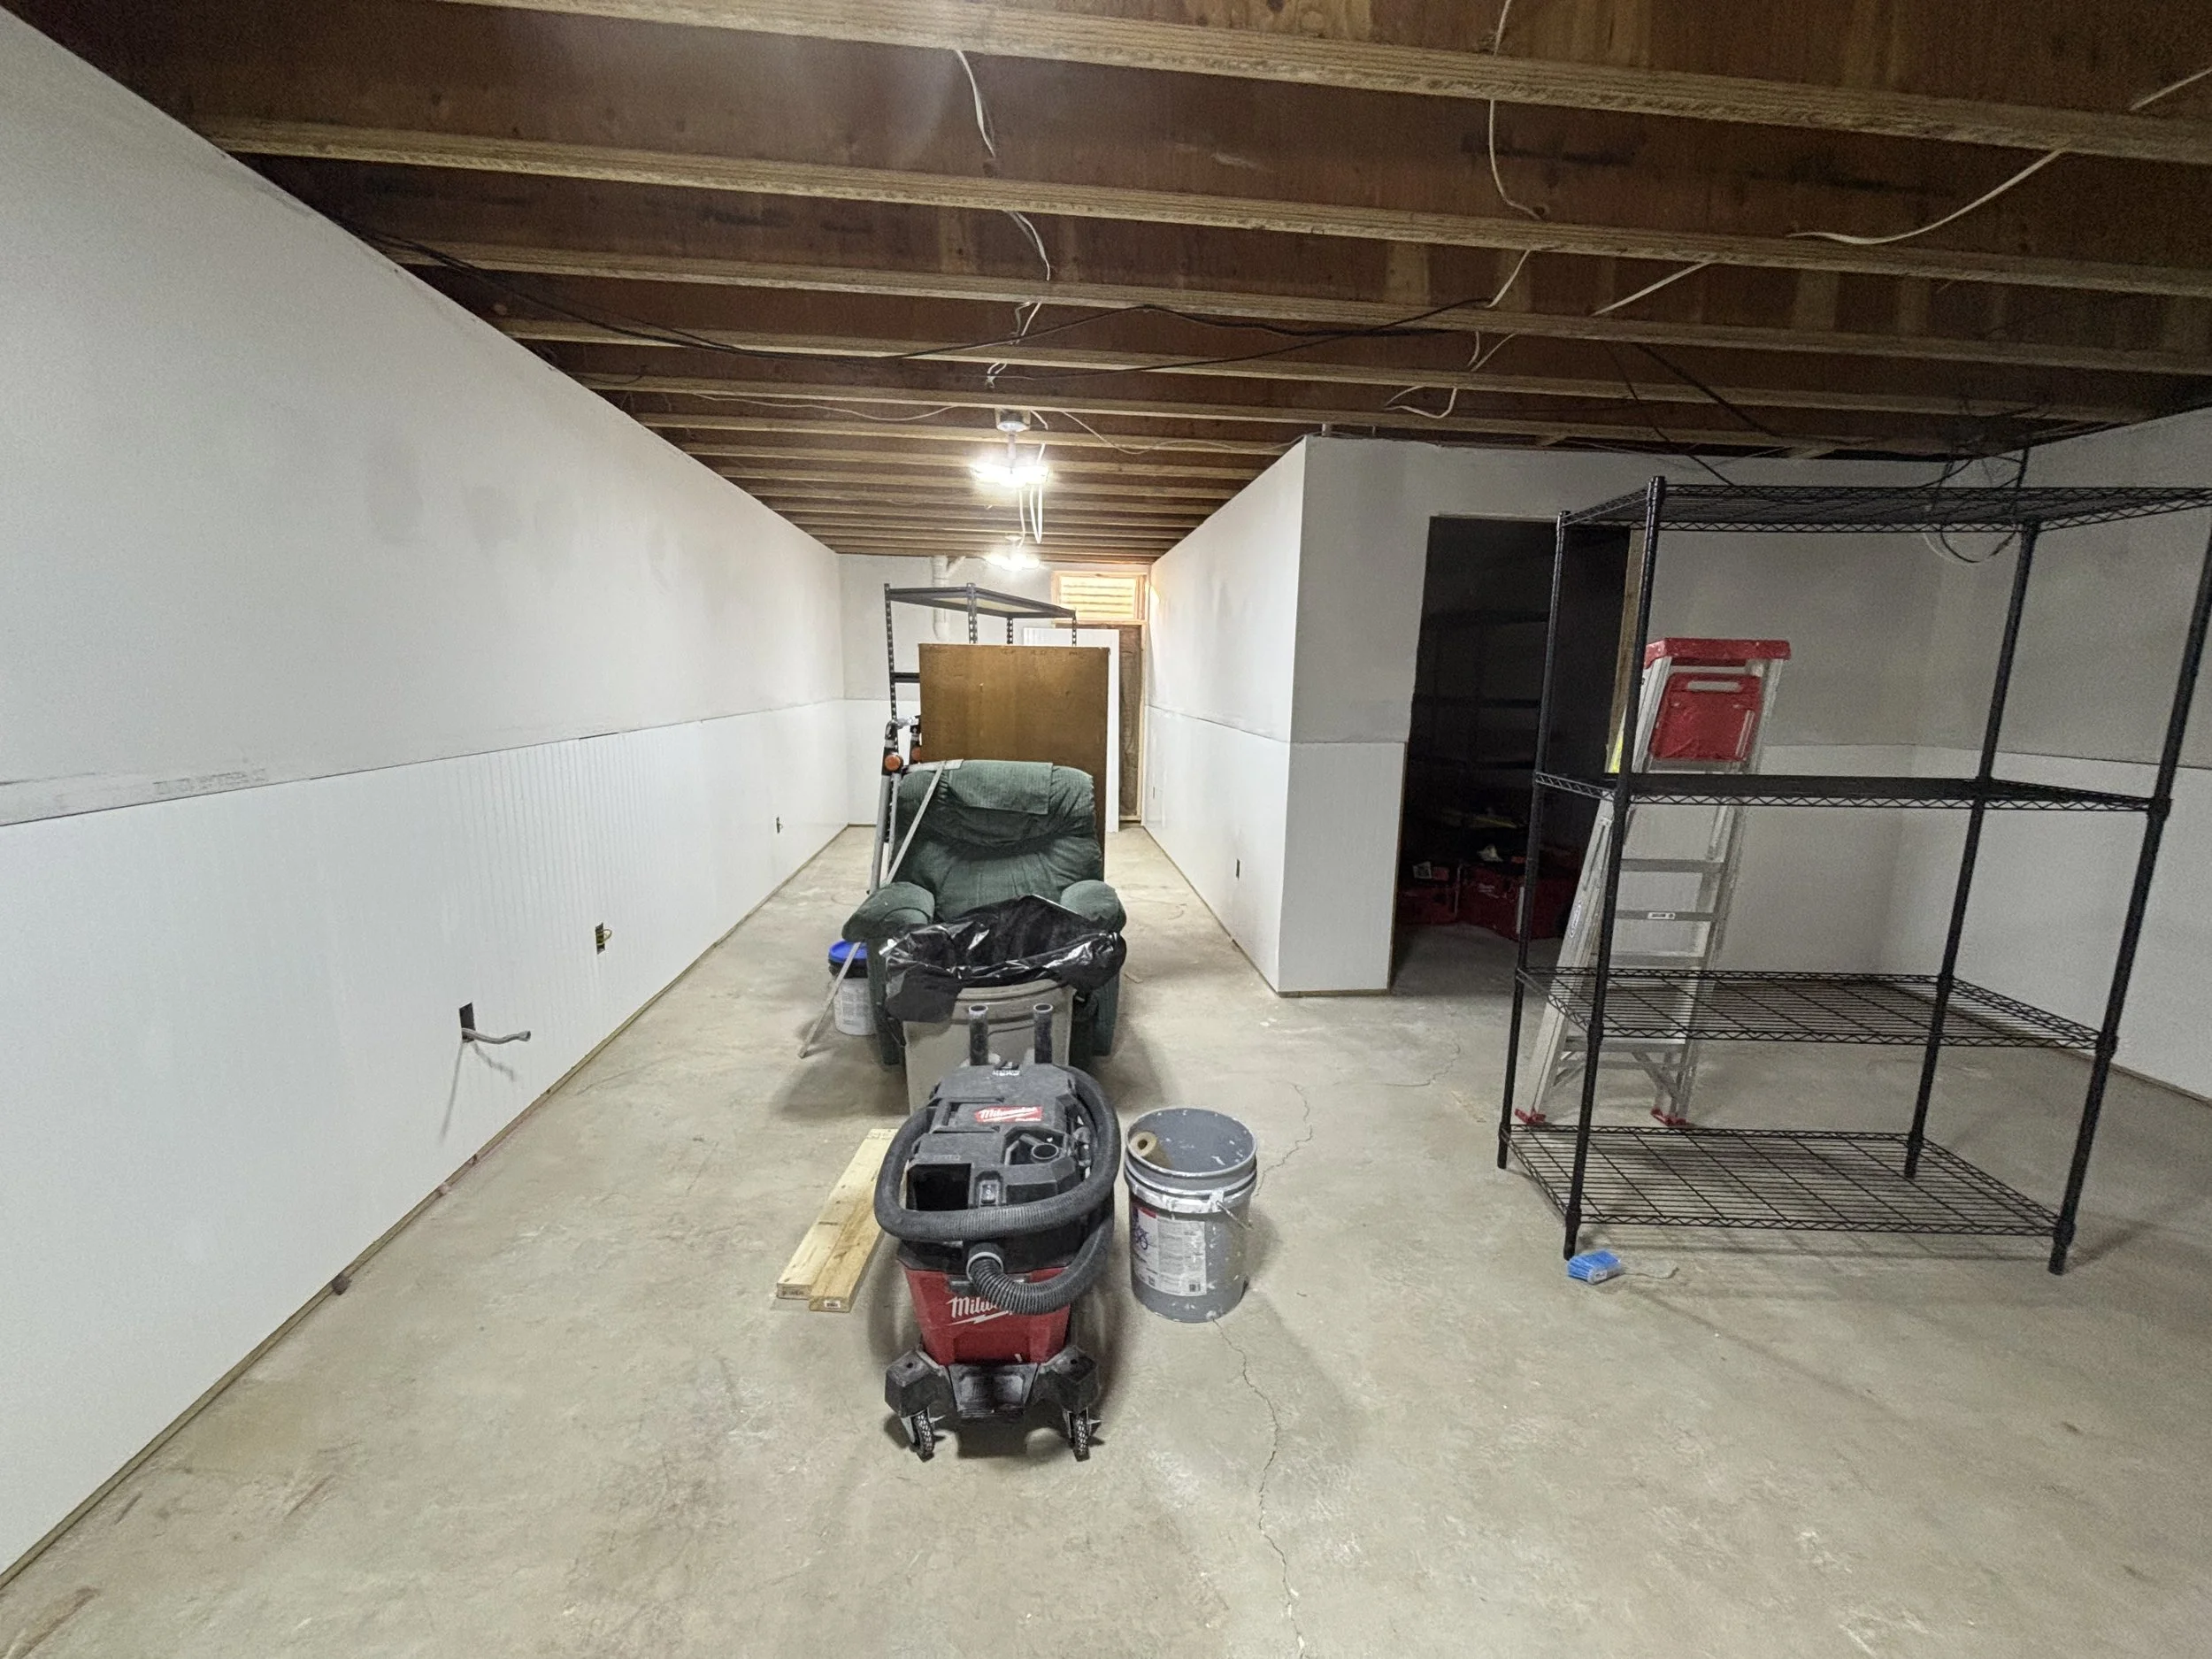
Boards are in and now it’s time to tape, mud, sand, prime, paint. I got P&J Services to come help out with the priming of the walls (they had most of the week off school due to the previous weekend snowstorm). The homeowners also (smartly) decided on a drop ceiling, so that would be going in after the walls were painted. I had ran the electrical for lighting previously, so we were good to go.

It’s now time for the closet to get done. The homeowners endured a 10 day stretch with all their Christmas decor in the living room, so they were ready. First, the ceiling. The before-and-after below is striking.
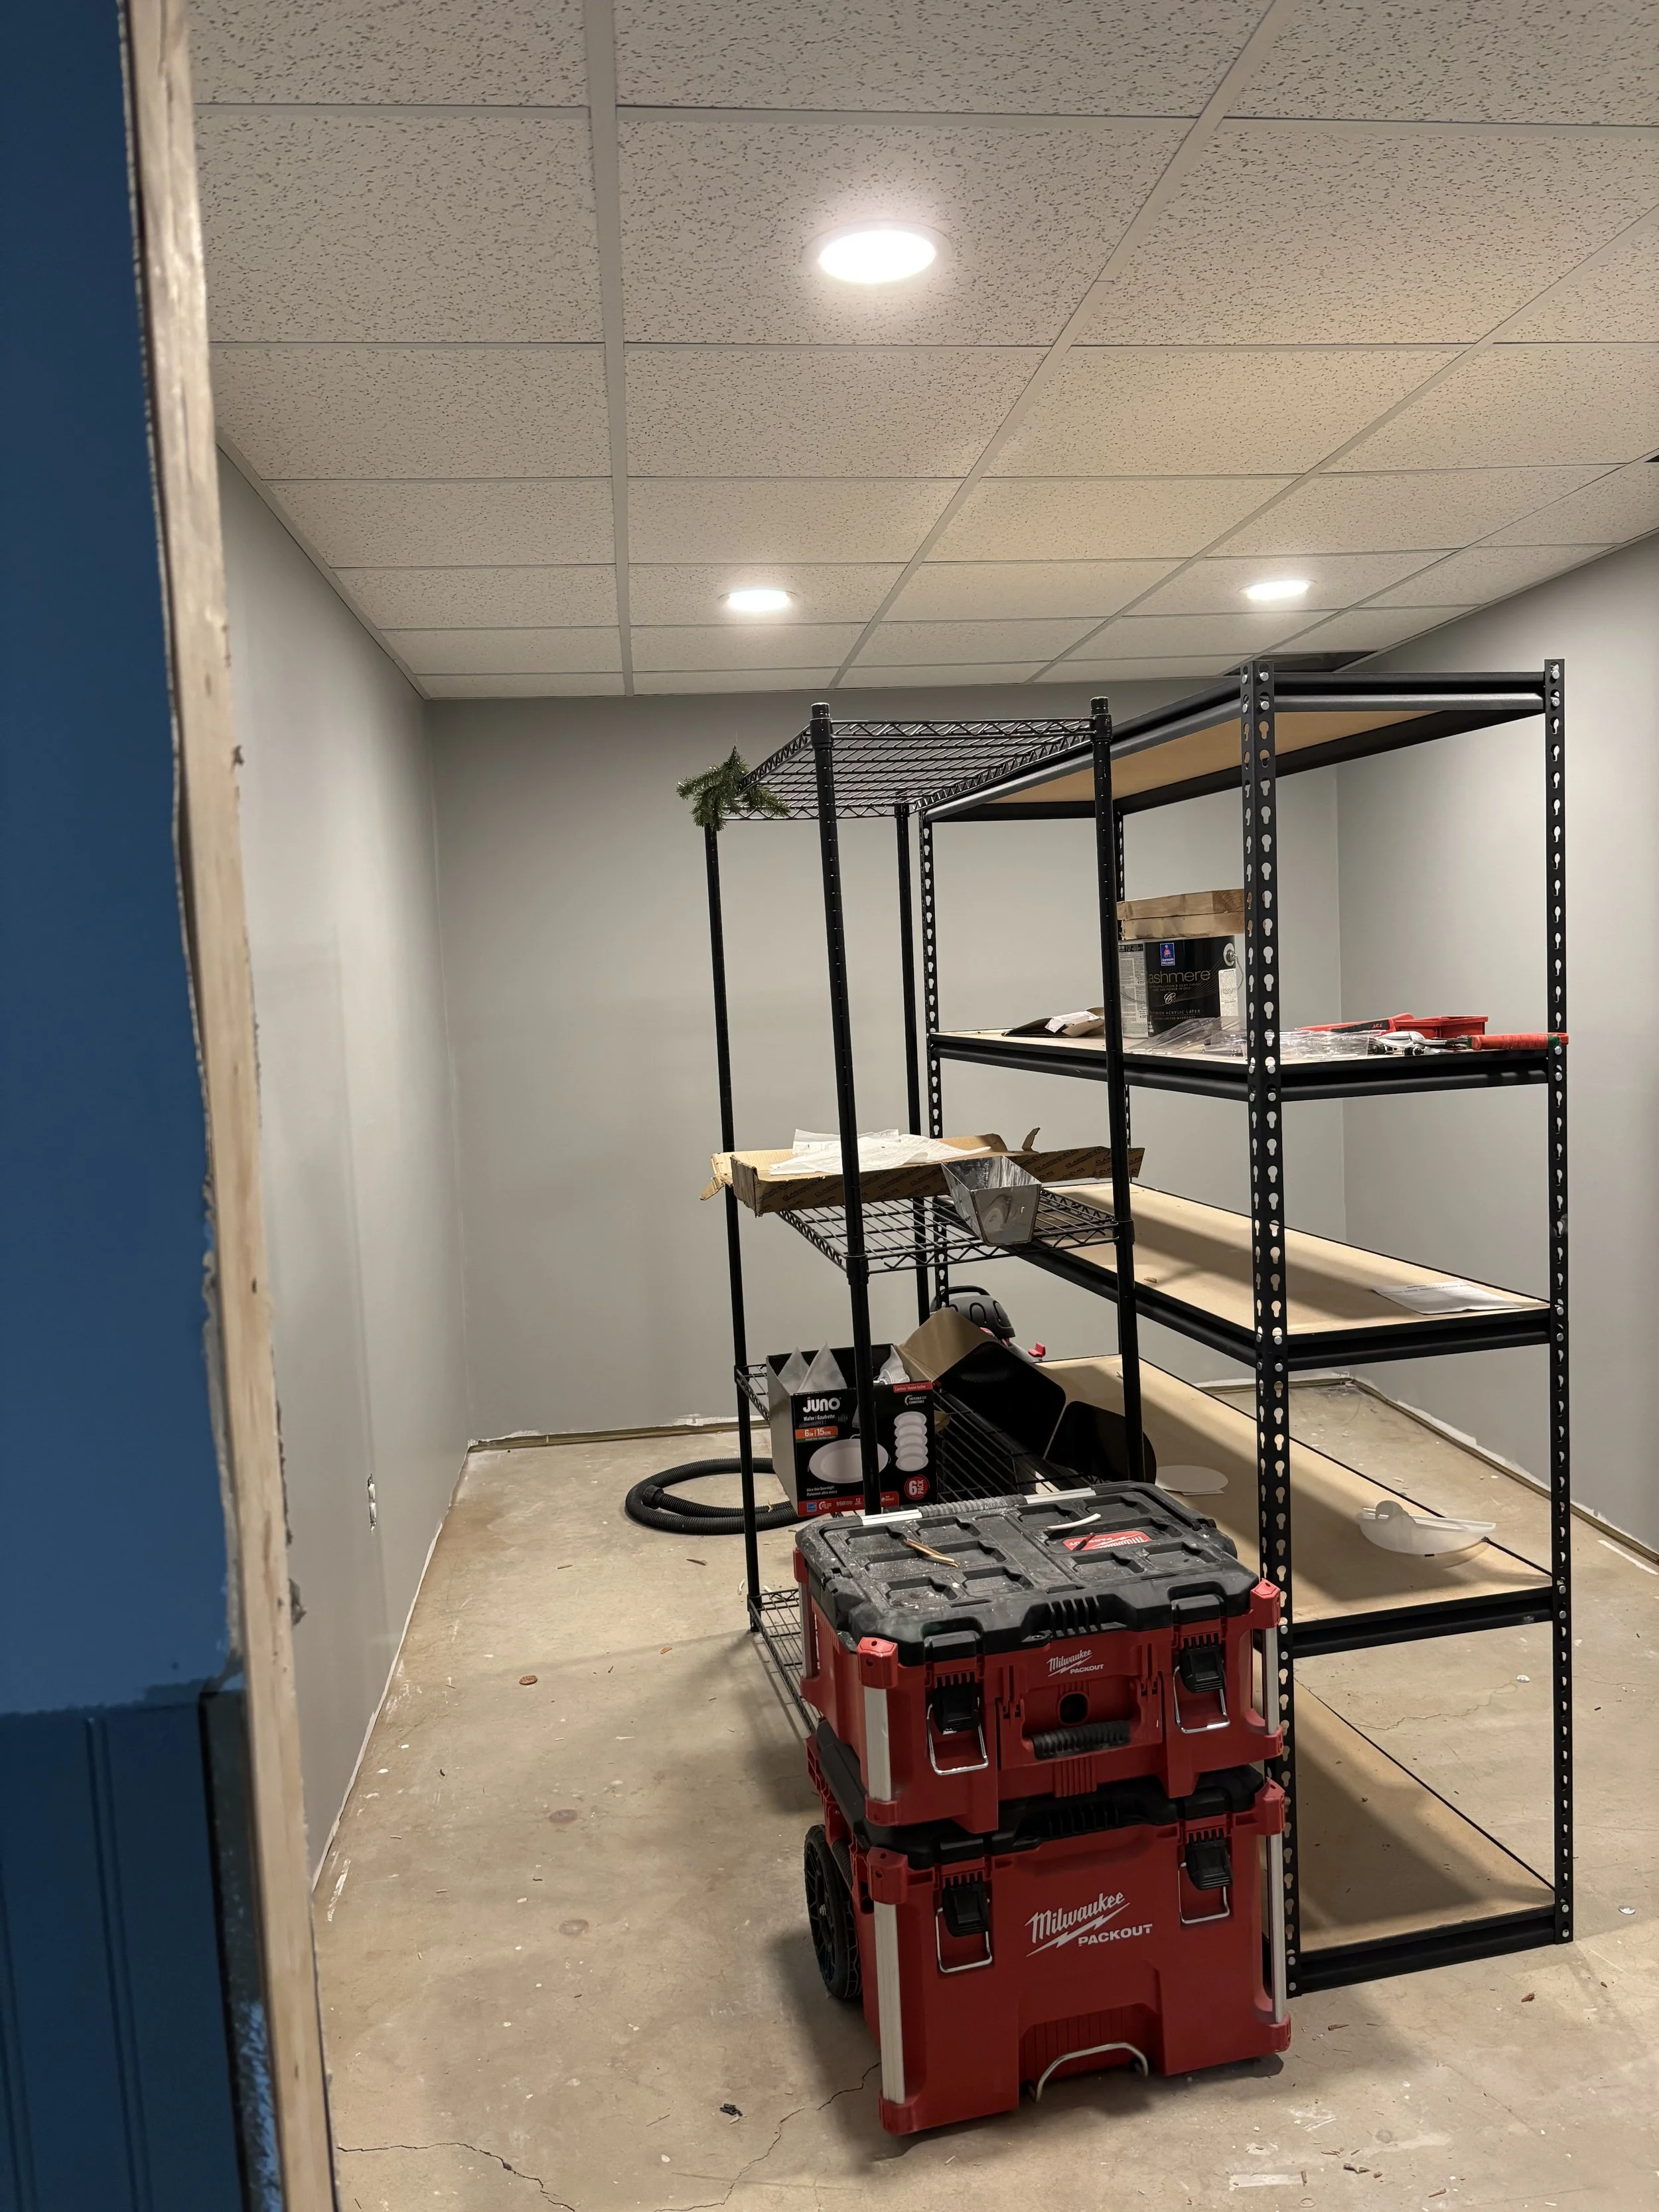
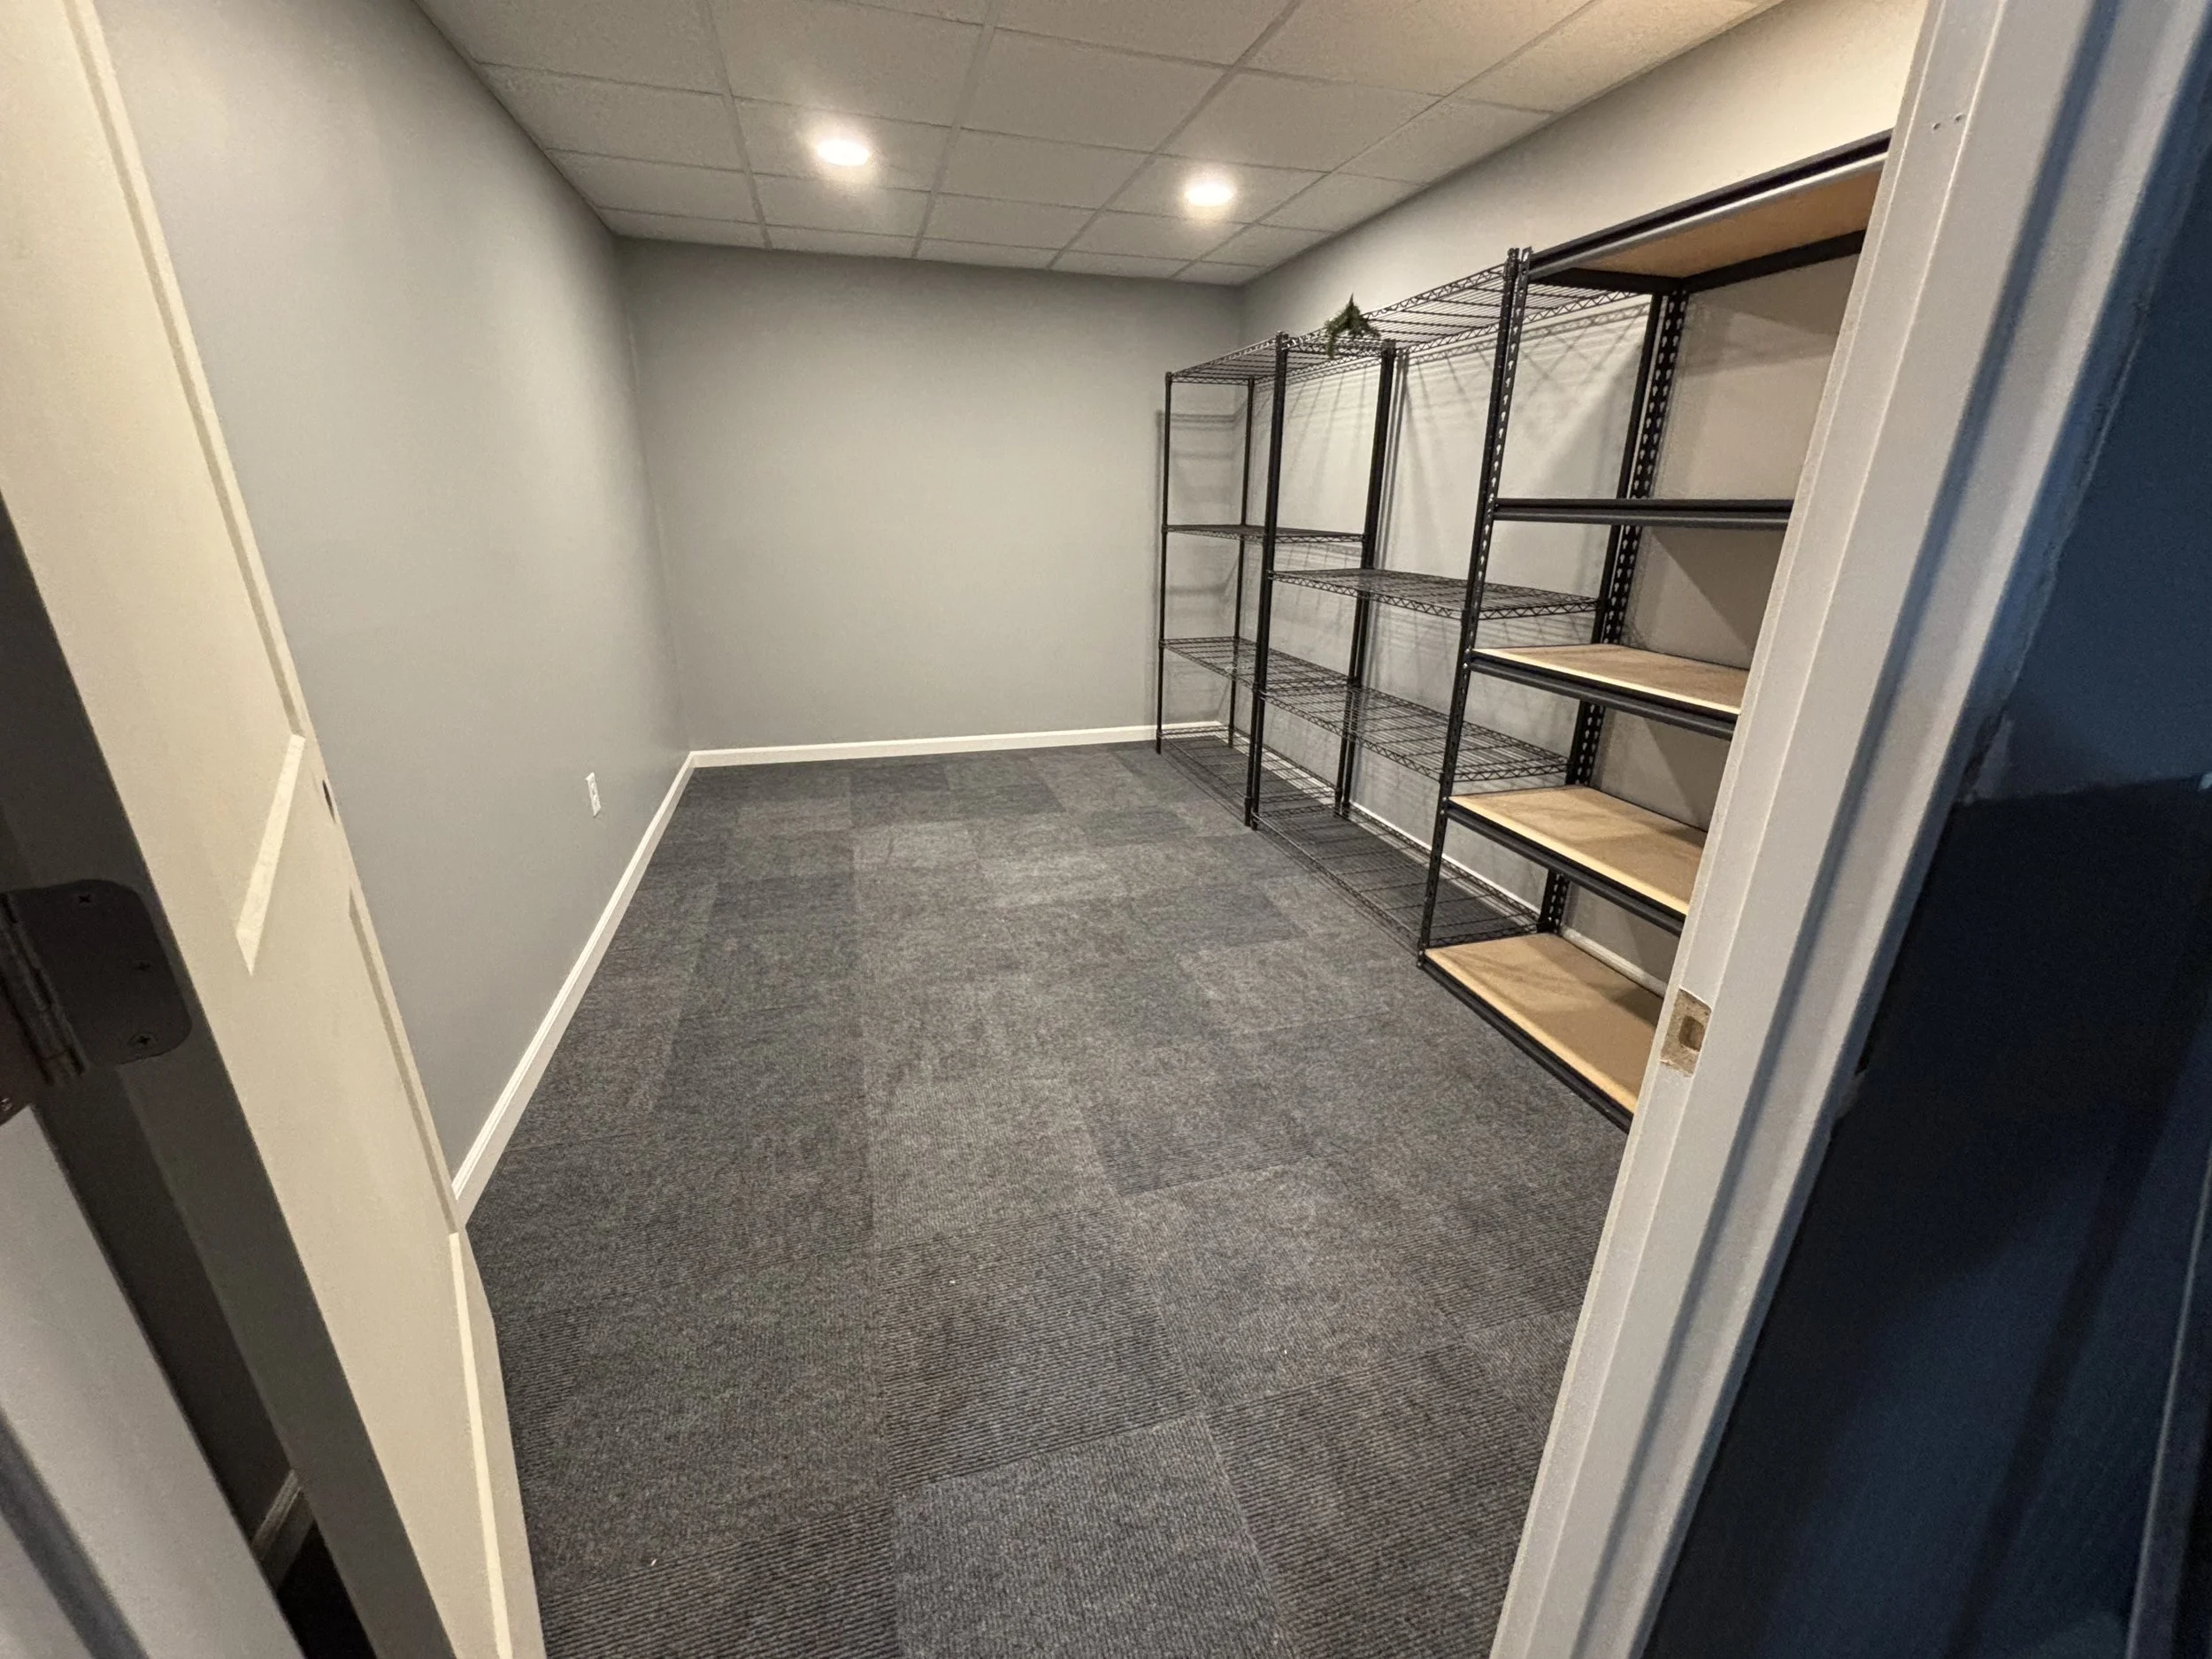
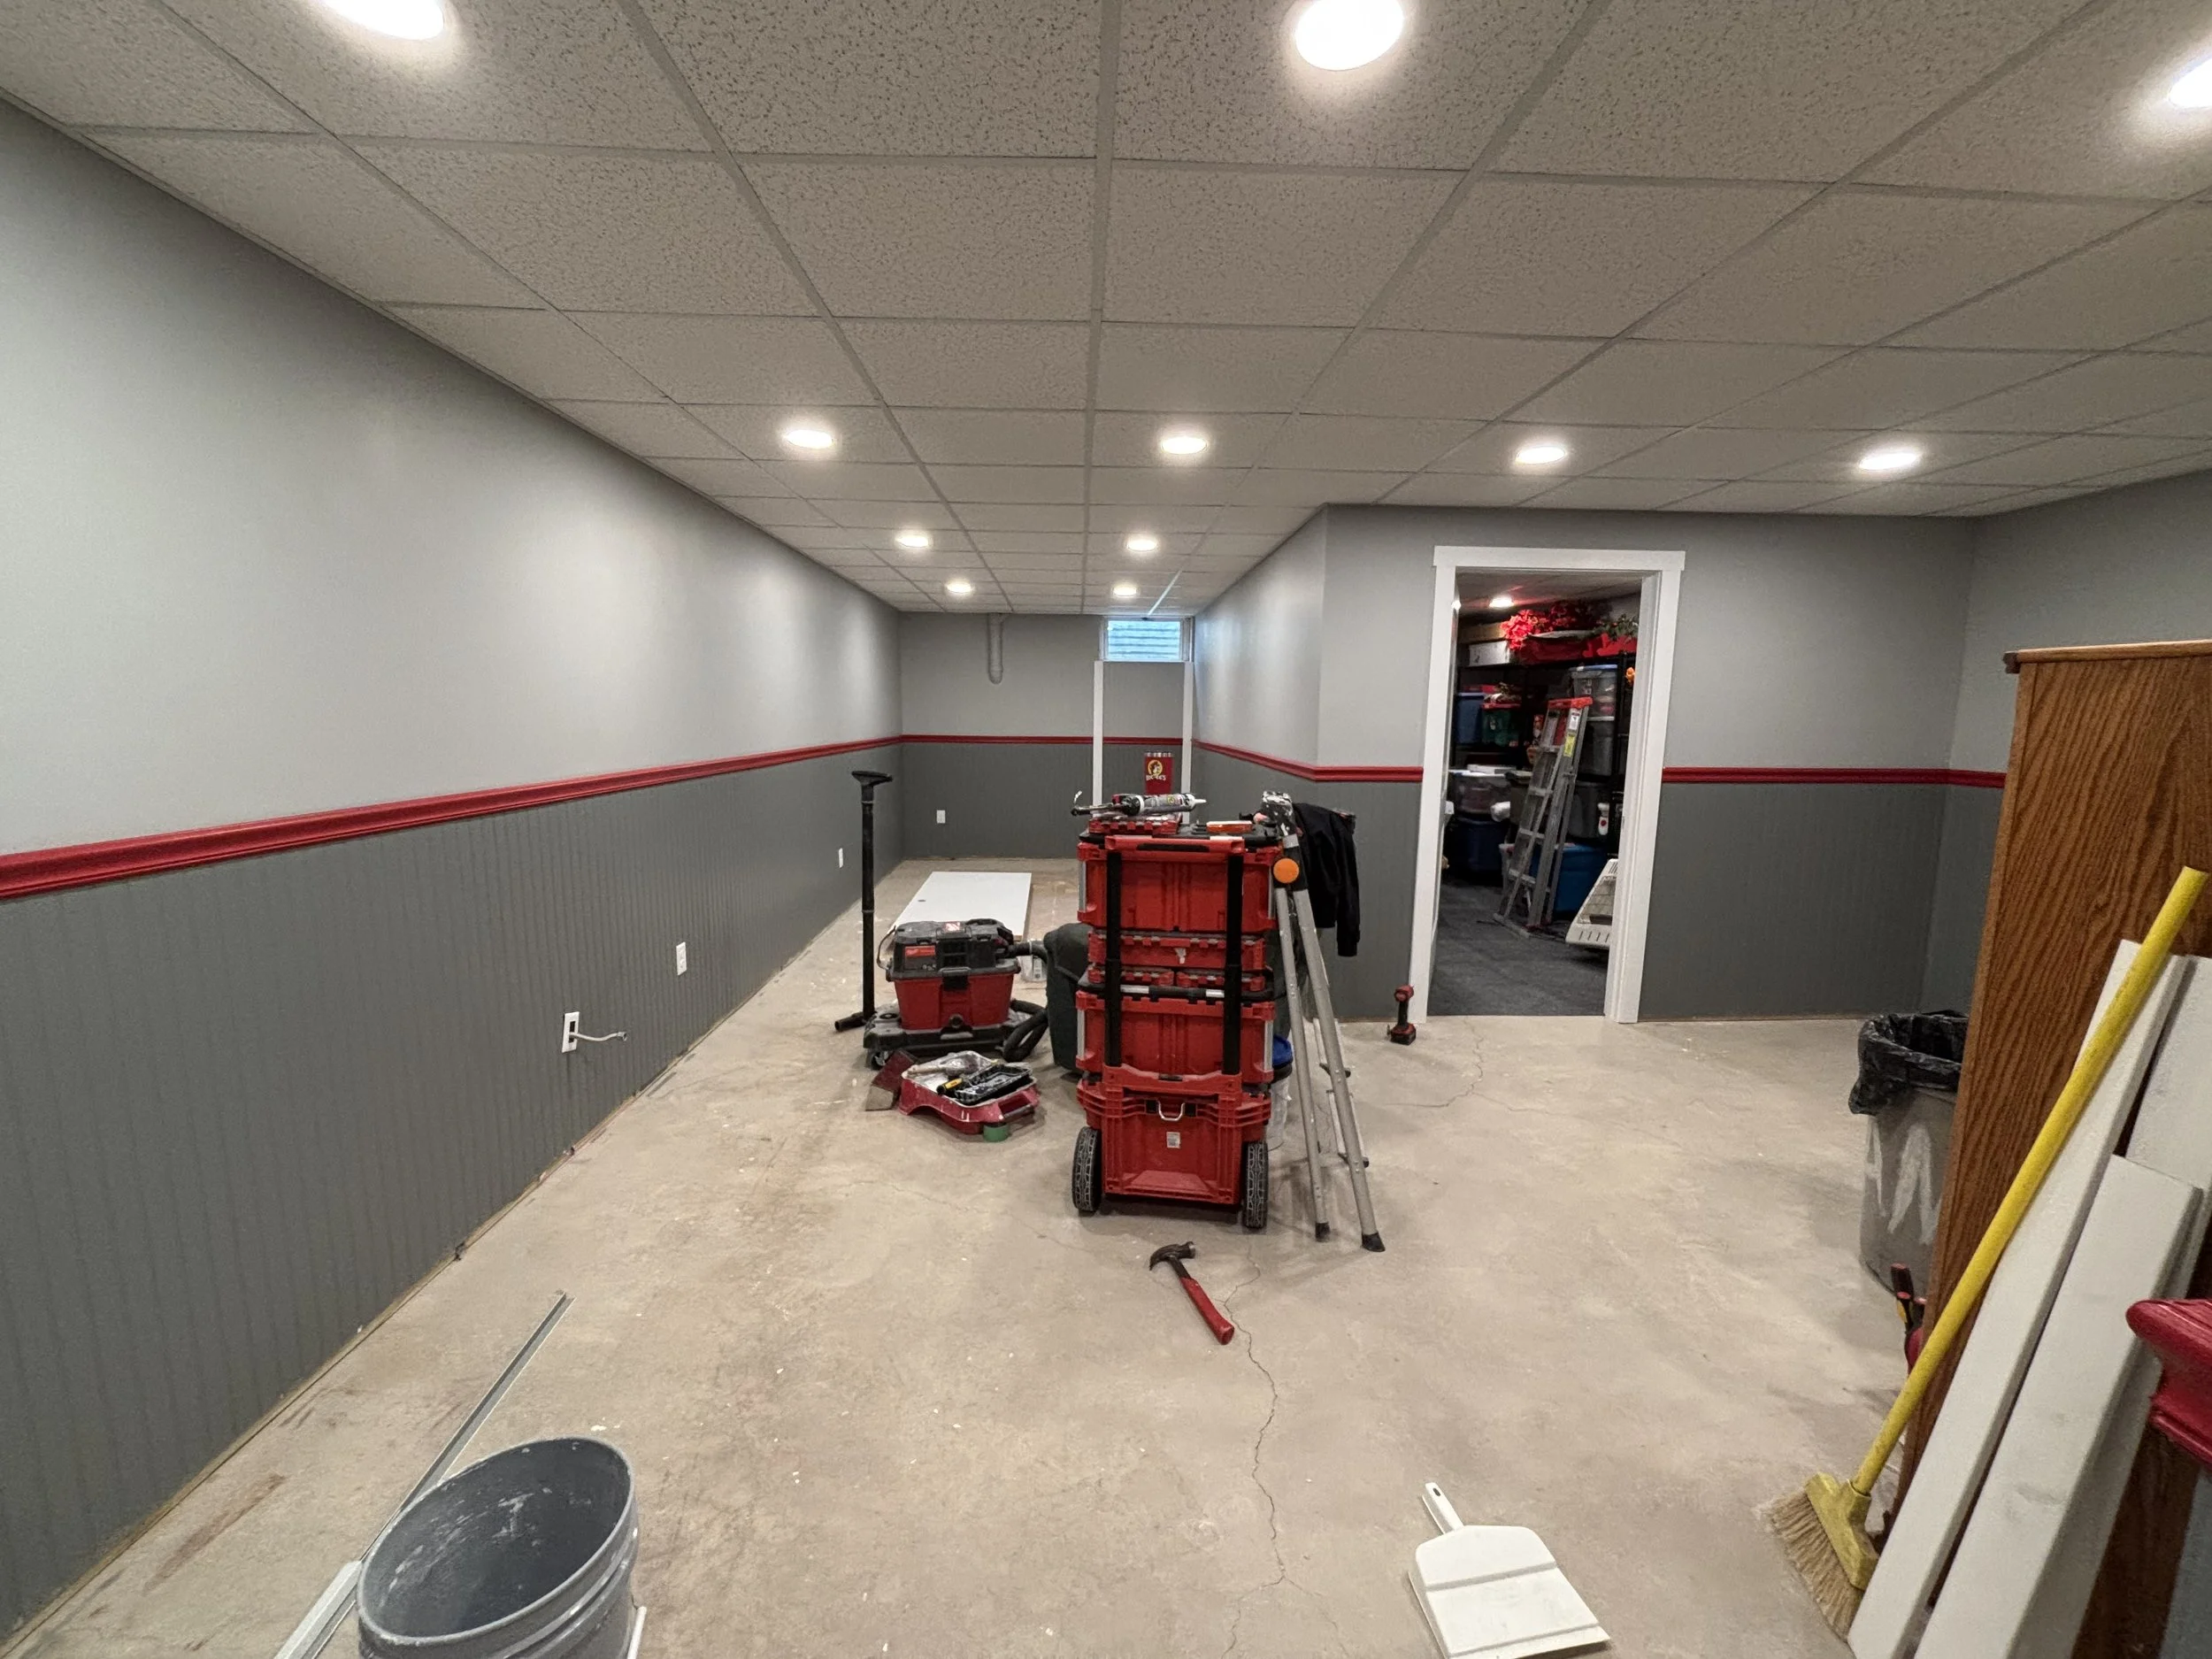
They chose a self-adhesive carpet tile by Foss QuickFloor for their closet, and I think it was a great choice. They’re easy to pull up and replace after they eventually wear down, and will handle high traffic and water very well. I chose PVC base trim for the waterproofing quality and it’s, well, pre-finished white. Now that the closet was mostly finished, it was time to focus on the main room ceiling. One work day later, the ceiling grid was in and the lights were on.
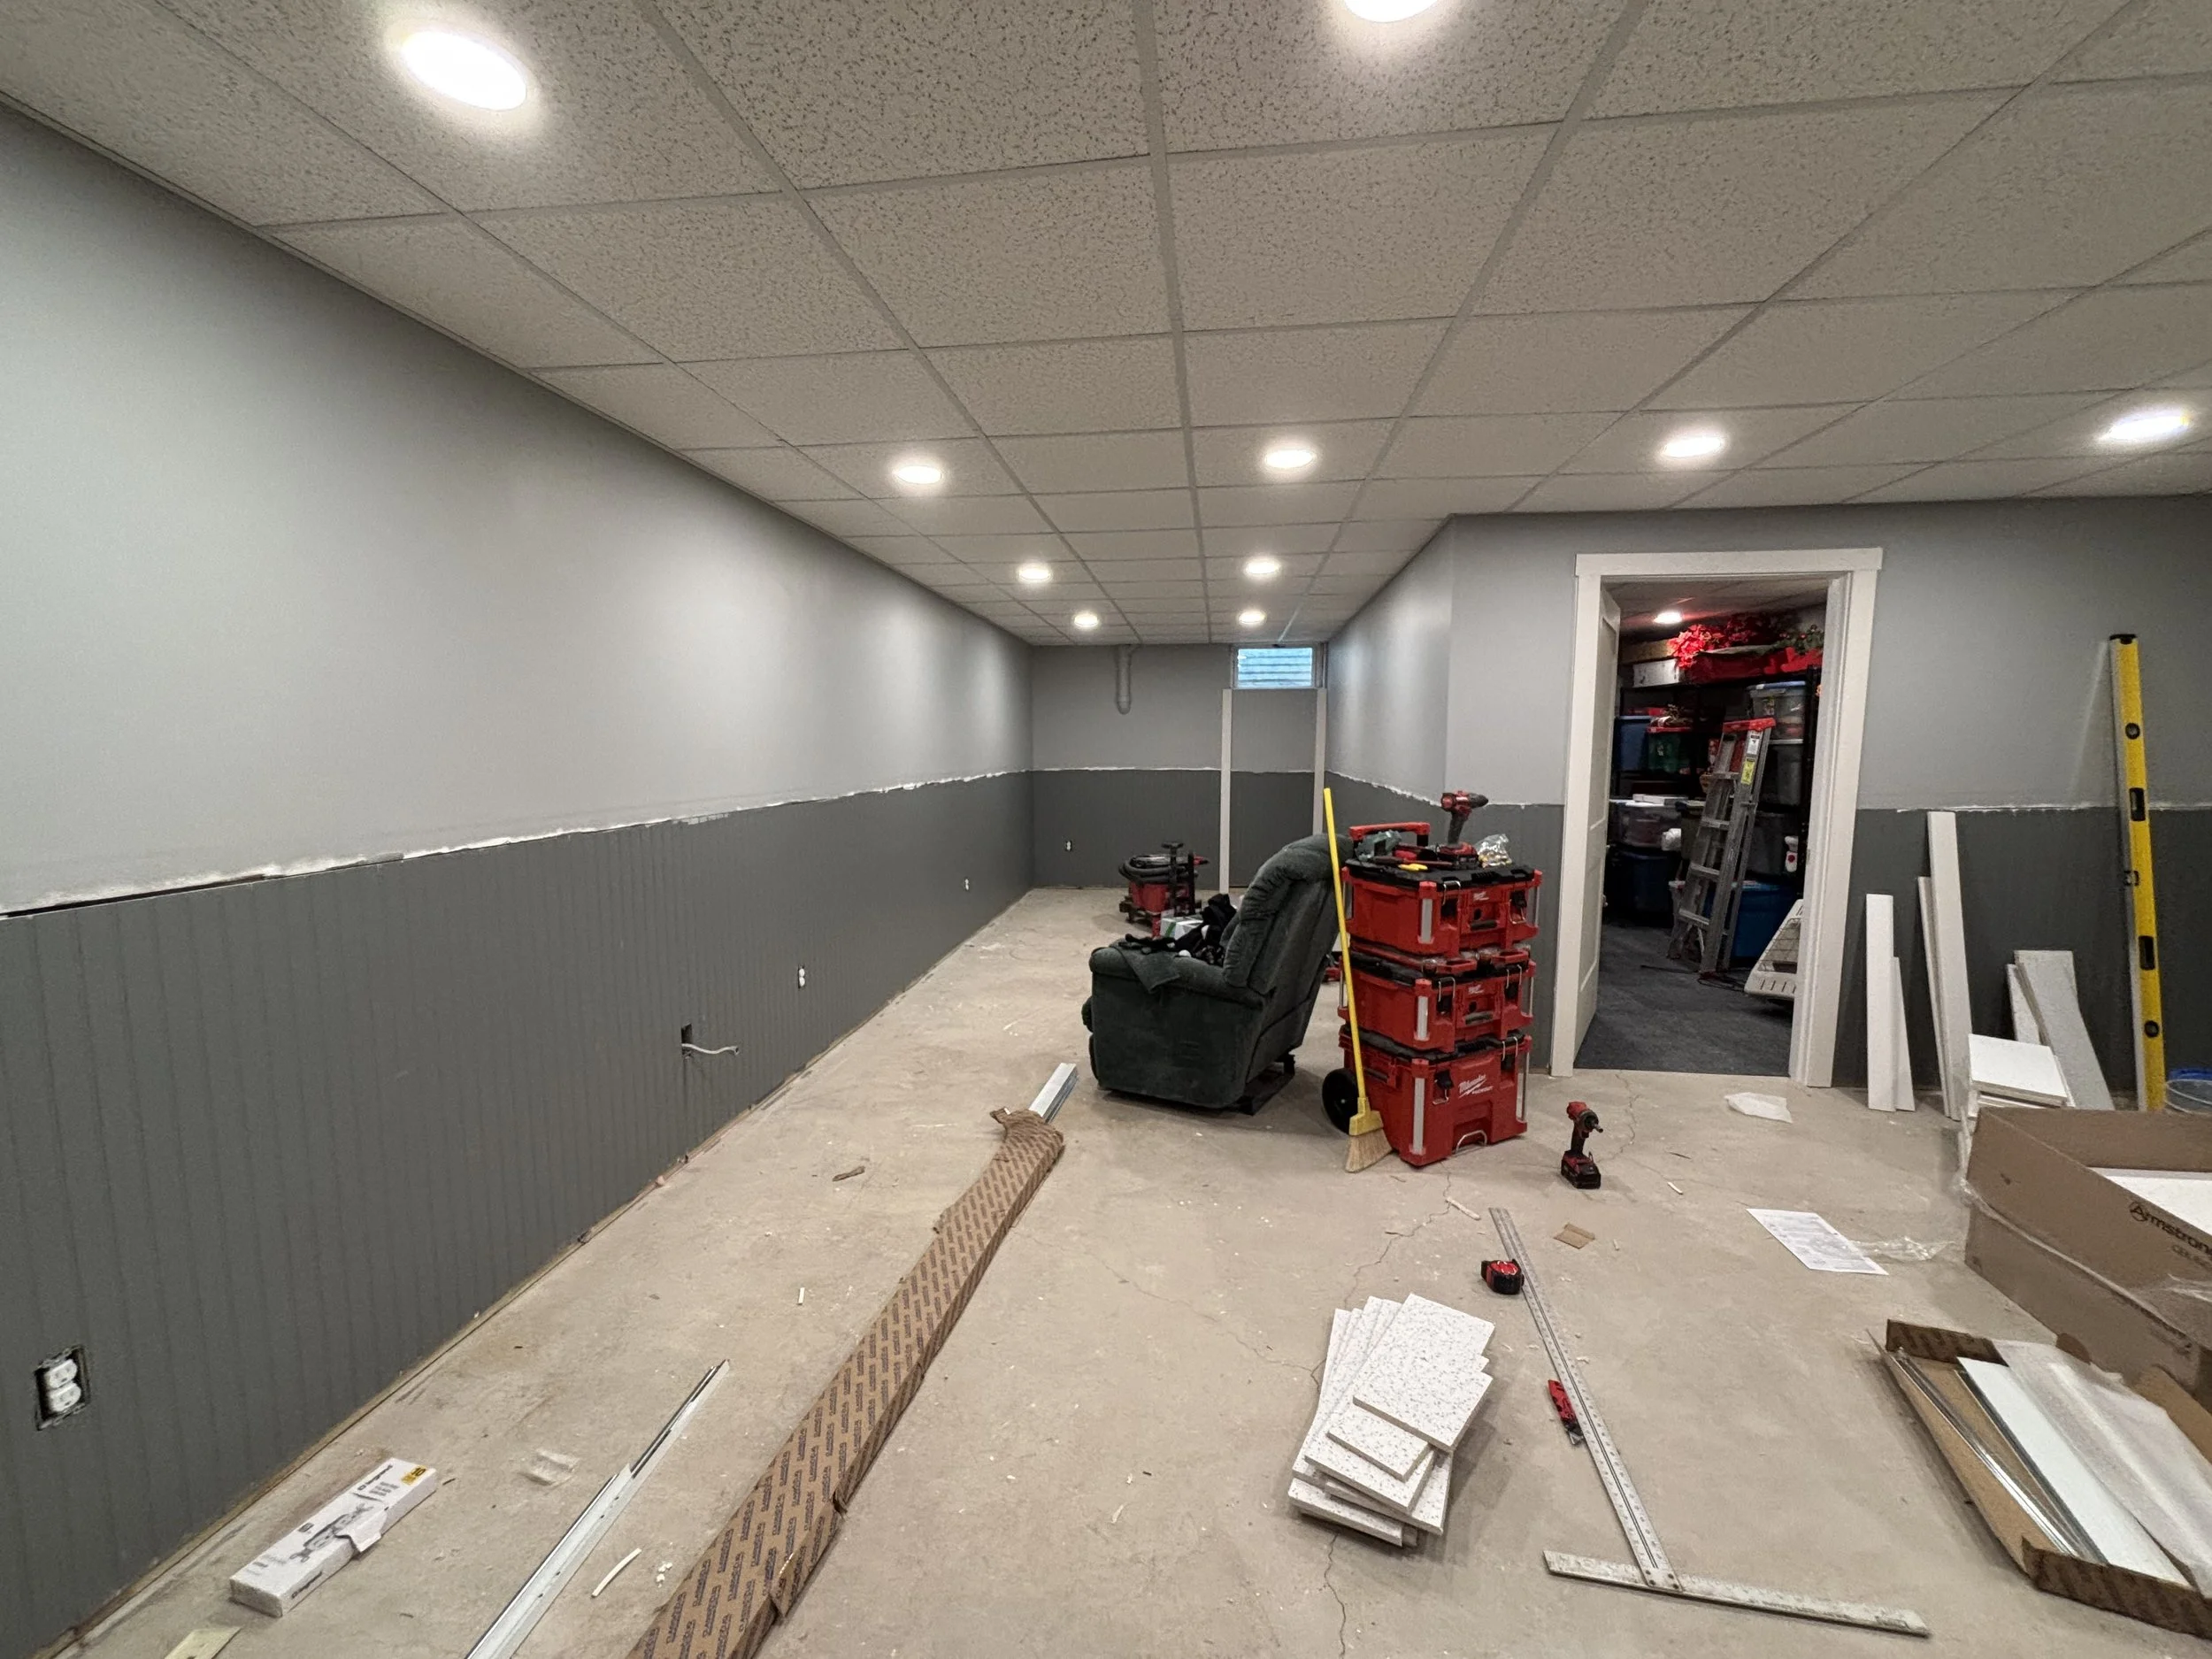
You’ll also notice the doors had been hung and cased out. After the ceiling went in, I removed the doors and painted them on the floor. The basement entry door is two-toned; stained to match the stairwell oak and painted white to match the basement doors. The handles will also be two-toned gold/nickel. It’s also time, now that the doors have been cased, to install the chair rail. OSU colors dictate a scarlet flourish, and the chair rail will tie the room together. I pre-painted them because they needed a coat of dark primer and two coats of scarlet.
We were now feeling the end in sight. Flooring and baseboard were all that was standing in the way of completion. One work day, and it was in. The floor they chose was U-Tile Modular Haven - Tinsmith, and it really matches the colors perfectly. It’s also a waterproof carpet tile that “floats”, in that it is not glued down. If minor flooding were to occur, they’d simply peel up the carpet squares (they are taped together underneath at the corners) and let the area dry out. The carpet will remain undamaged even after a good washing.
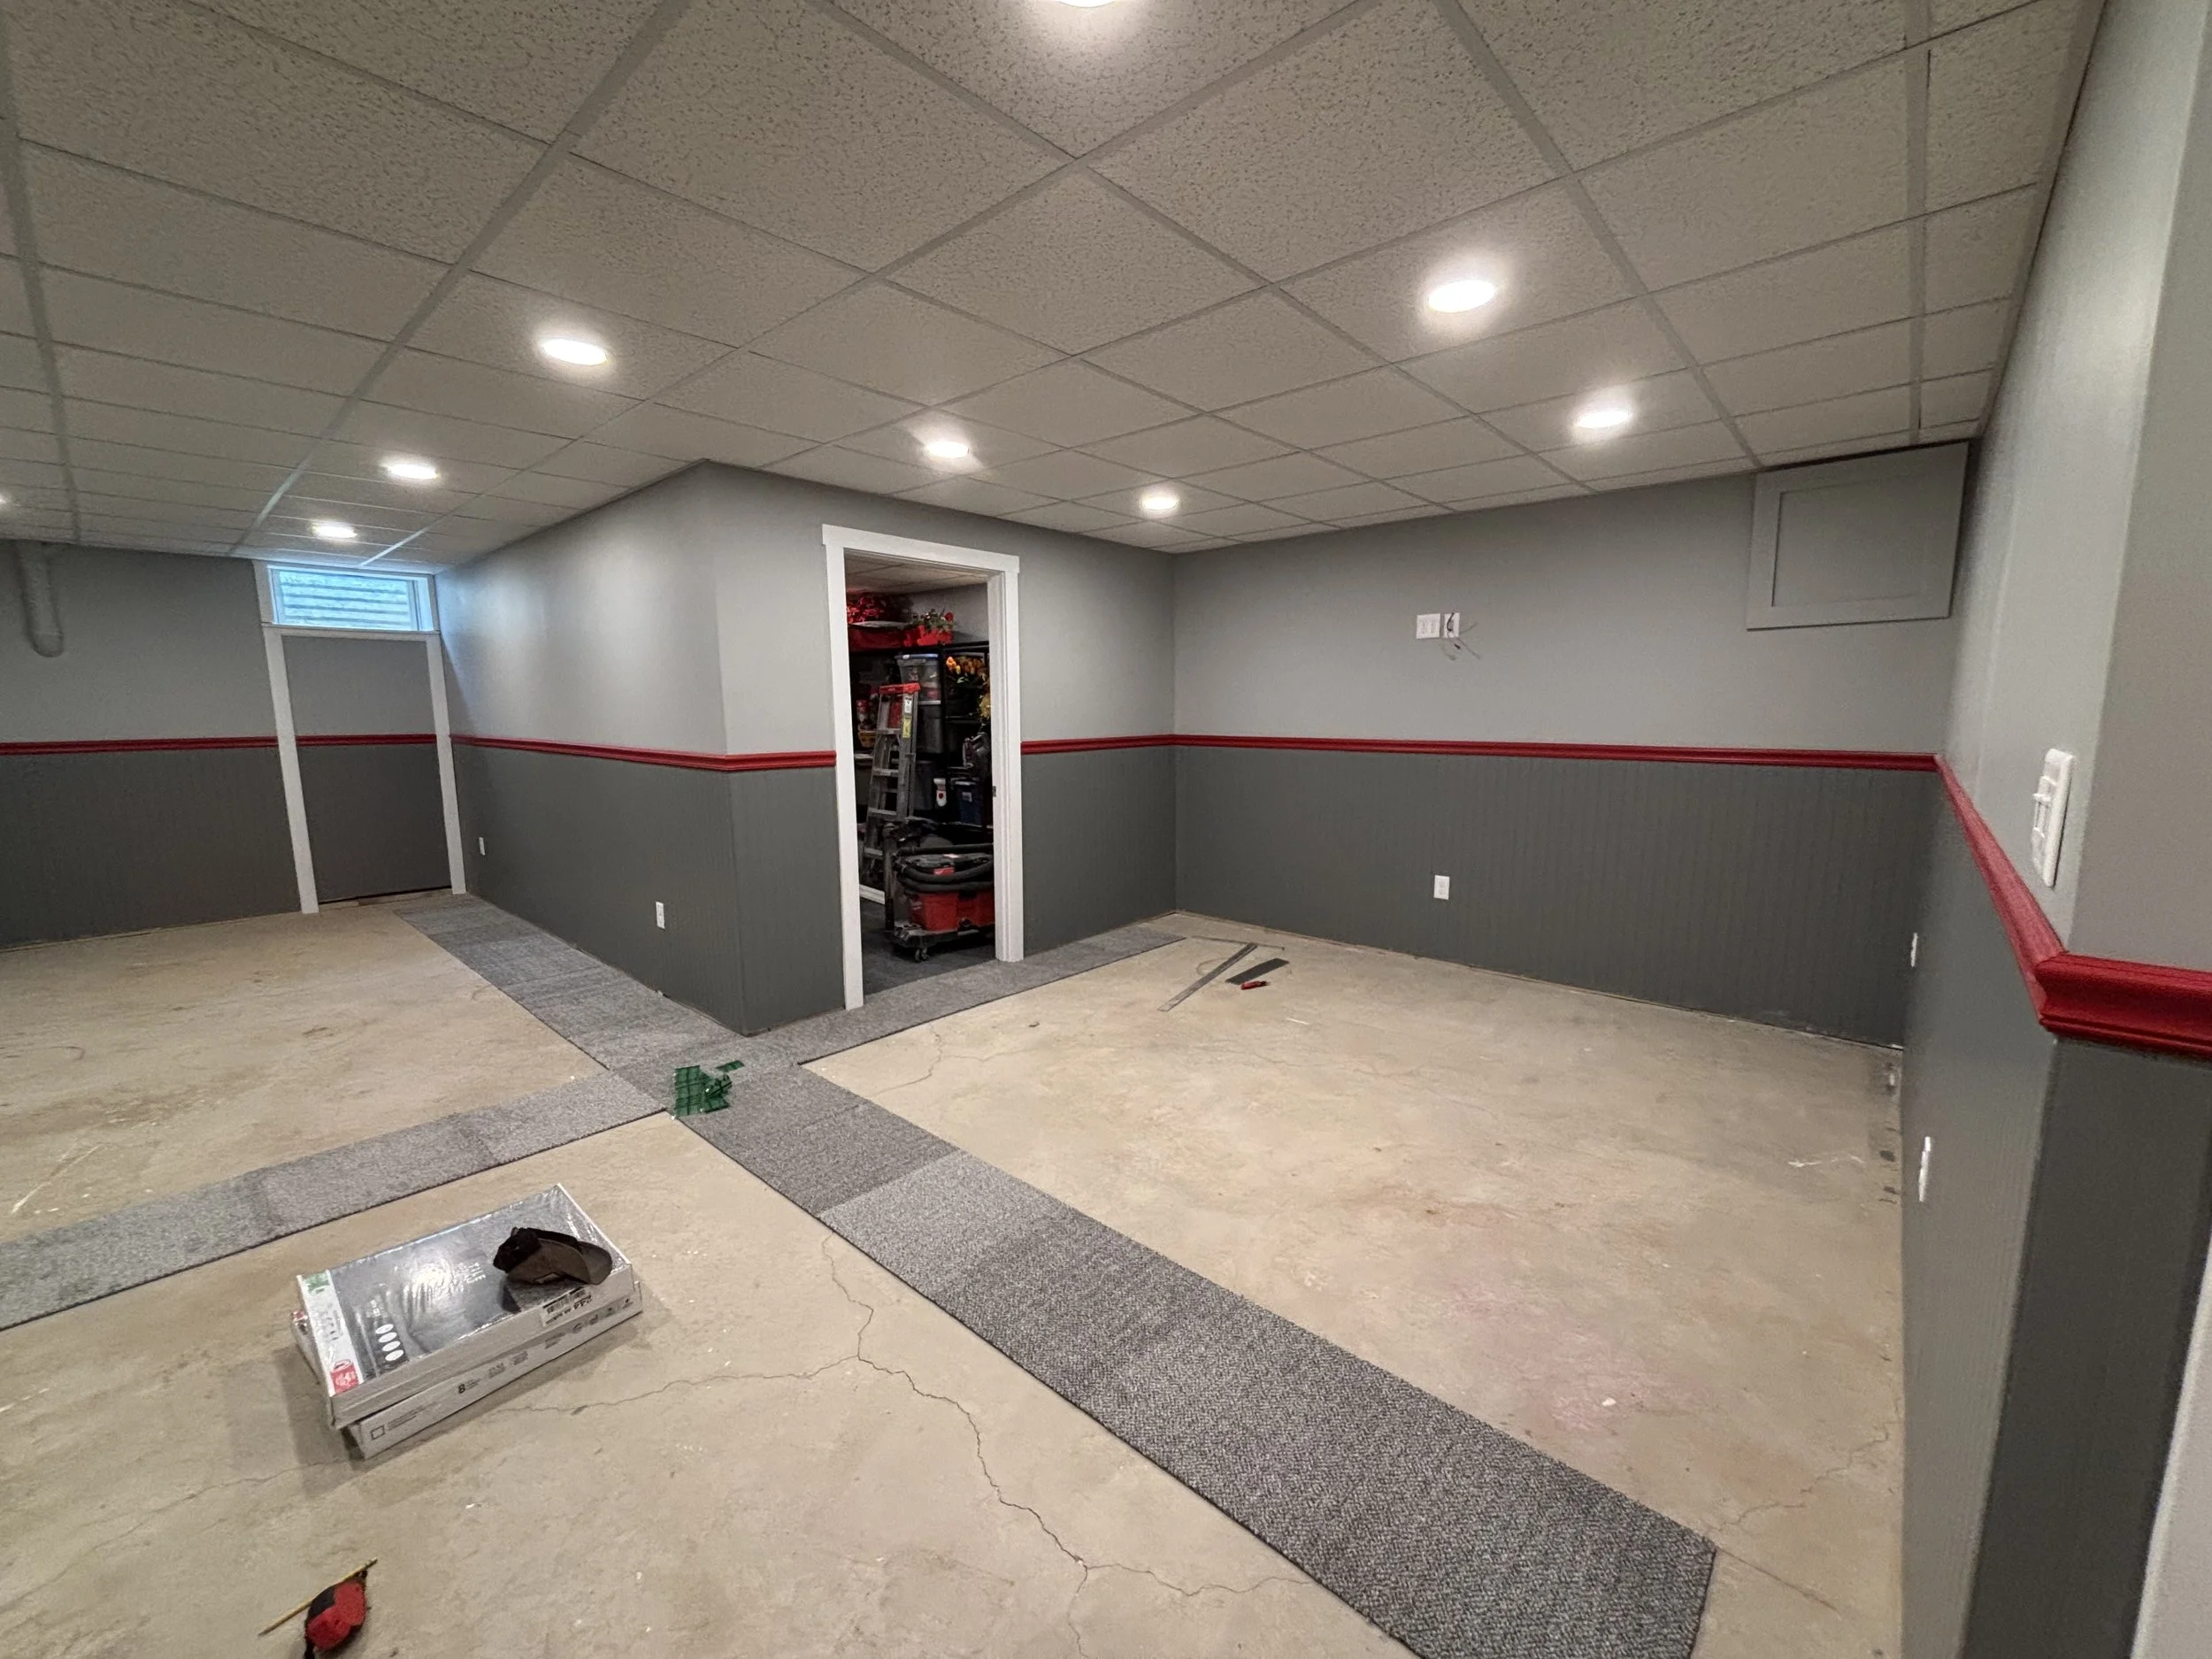
In the above picture, the wall below the window is removable. When the basement floods, it comes in through the window, according to the homeowners. In that event, the wall can be removed to allow airflow and keep the mold situation at the minimum. After the carpet was in, the homeowners couldn’t wait to get the couch and TV downstairs and give the room its full test!
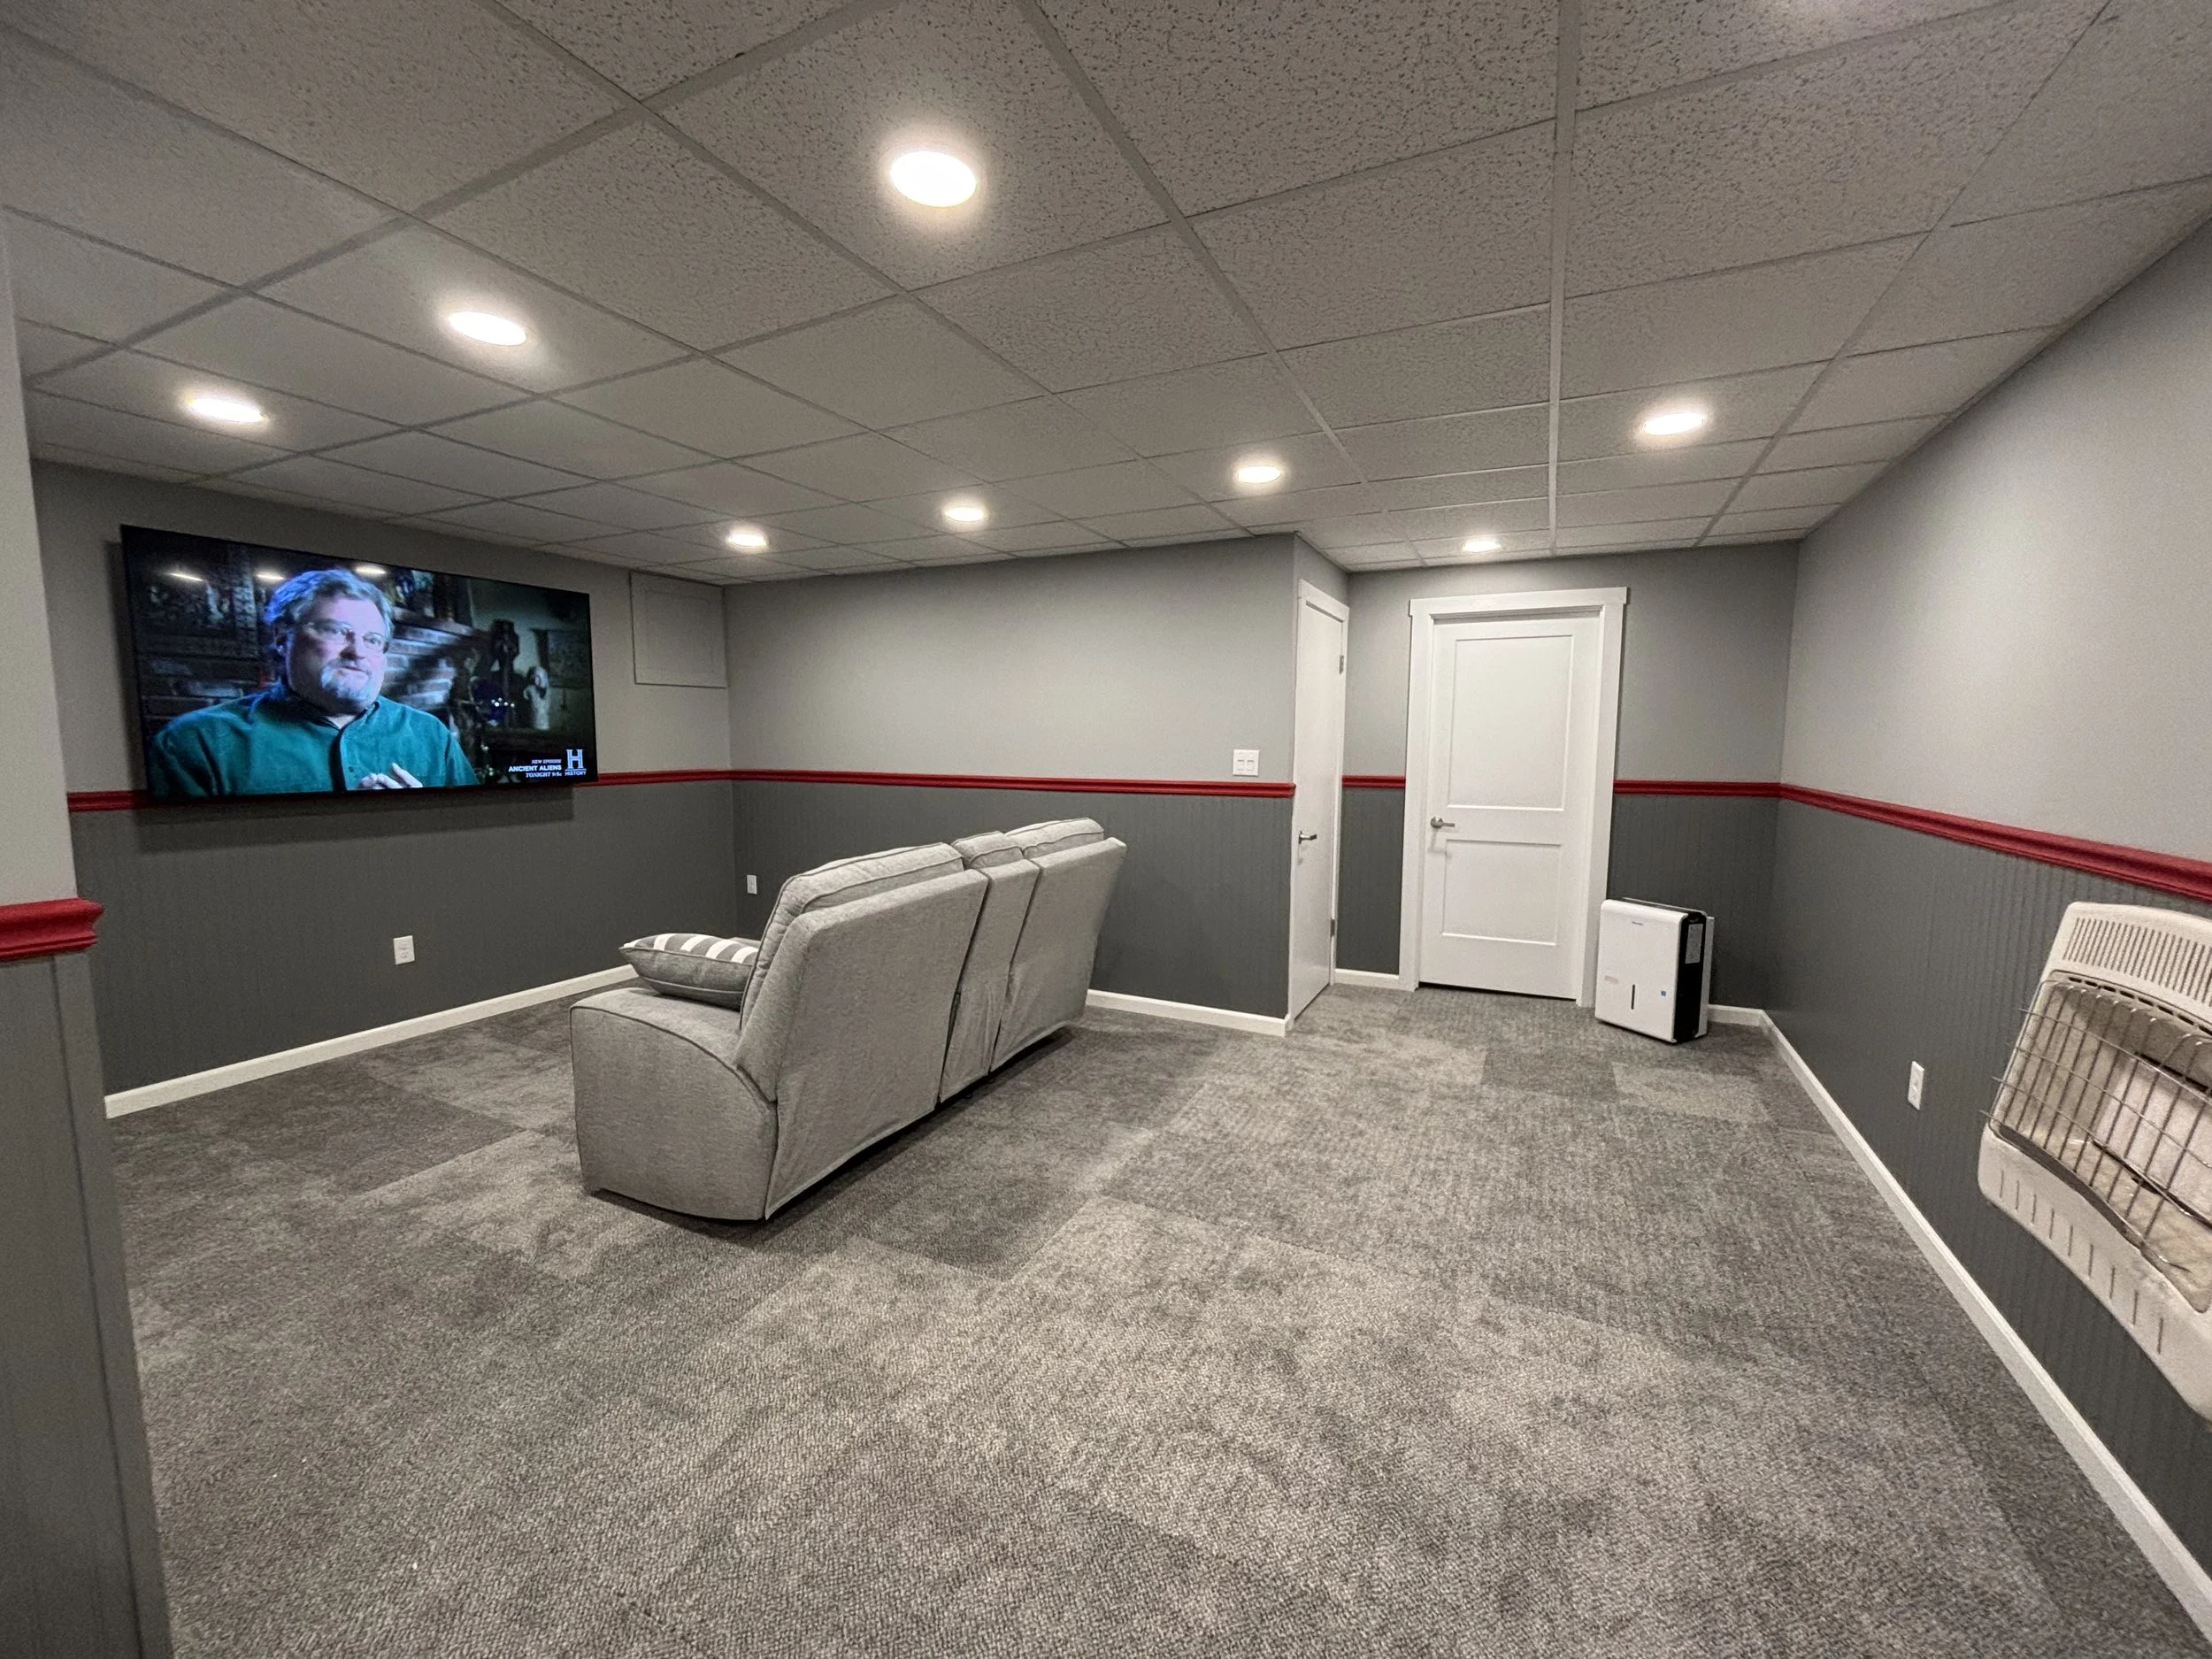
Let’s remember where we started, and 18 working days later.
I’d consider that a win.