Let’s Build A Deck!
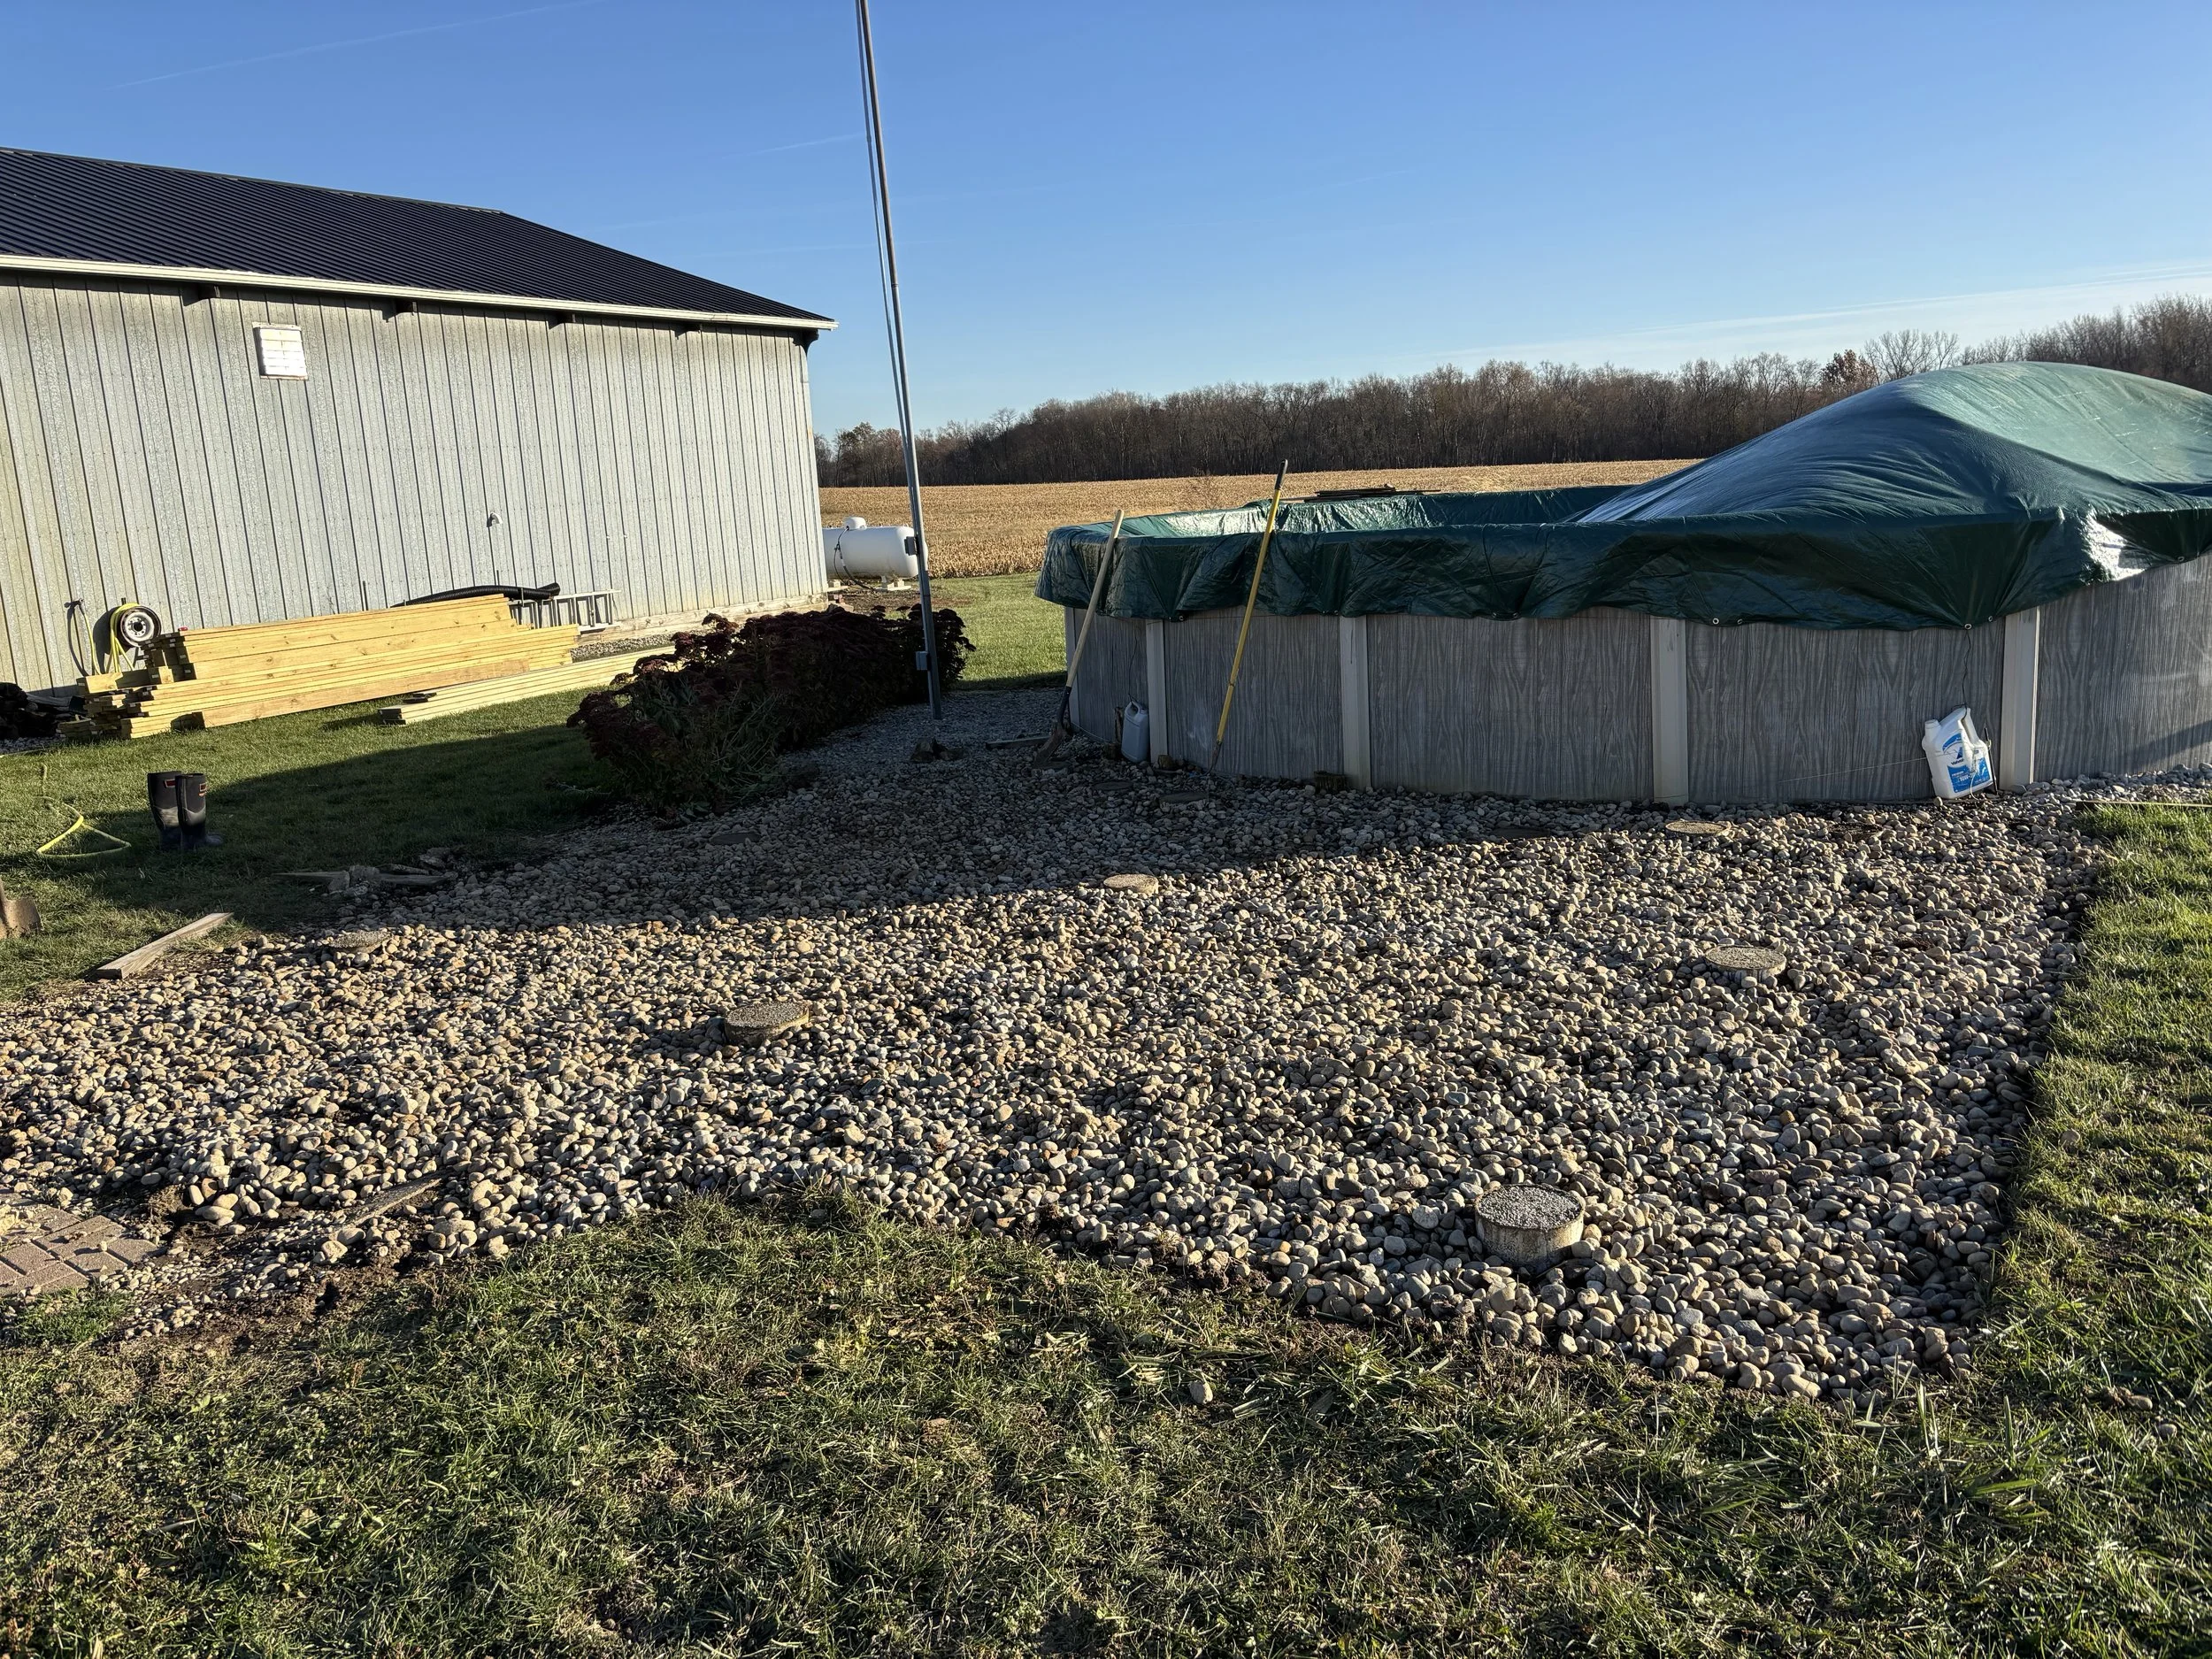
Since the mid-90’s, this homeowner has had an above-ground pool in this spot.
This will be the third (and hopefully final!) deck built on this site.
First things first: The previous two decks had their foundational posts buried and set in concrete. Luckily for us, the concrete surrounding the most recent posts was minimal. After pulling the original posts out with a tractor, the new pillars were ready to be poured. This time around, we went with sonotubes filled with 3’ of concrete and 6x6 posts attached with post anchors. This prevents premature rotting by keeping the posts out of ground contact and will provide a more sturdy base with a solid concrete pillar support.
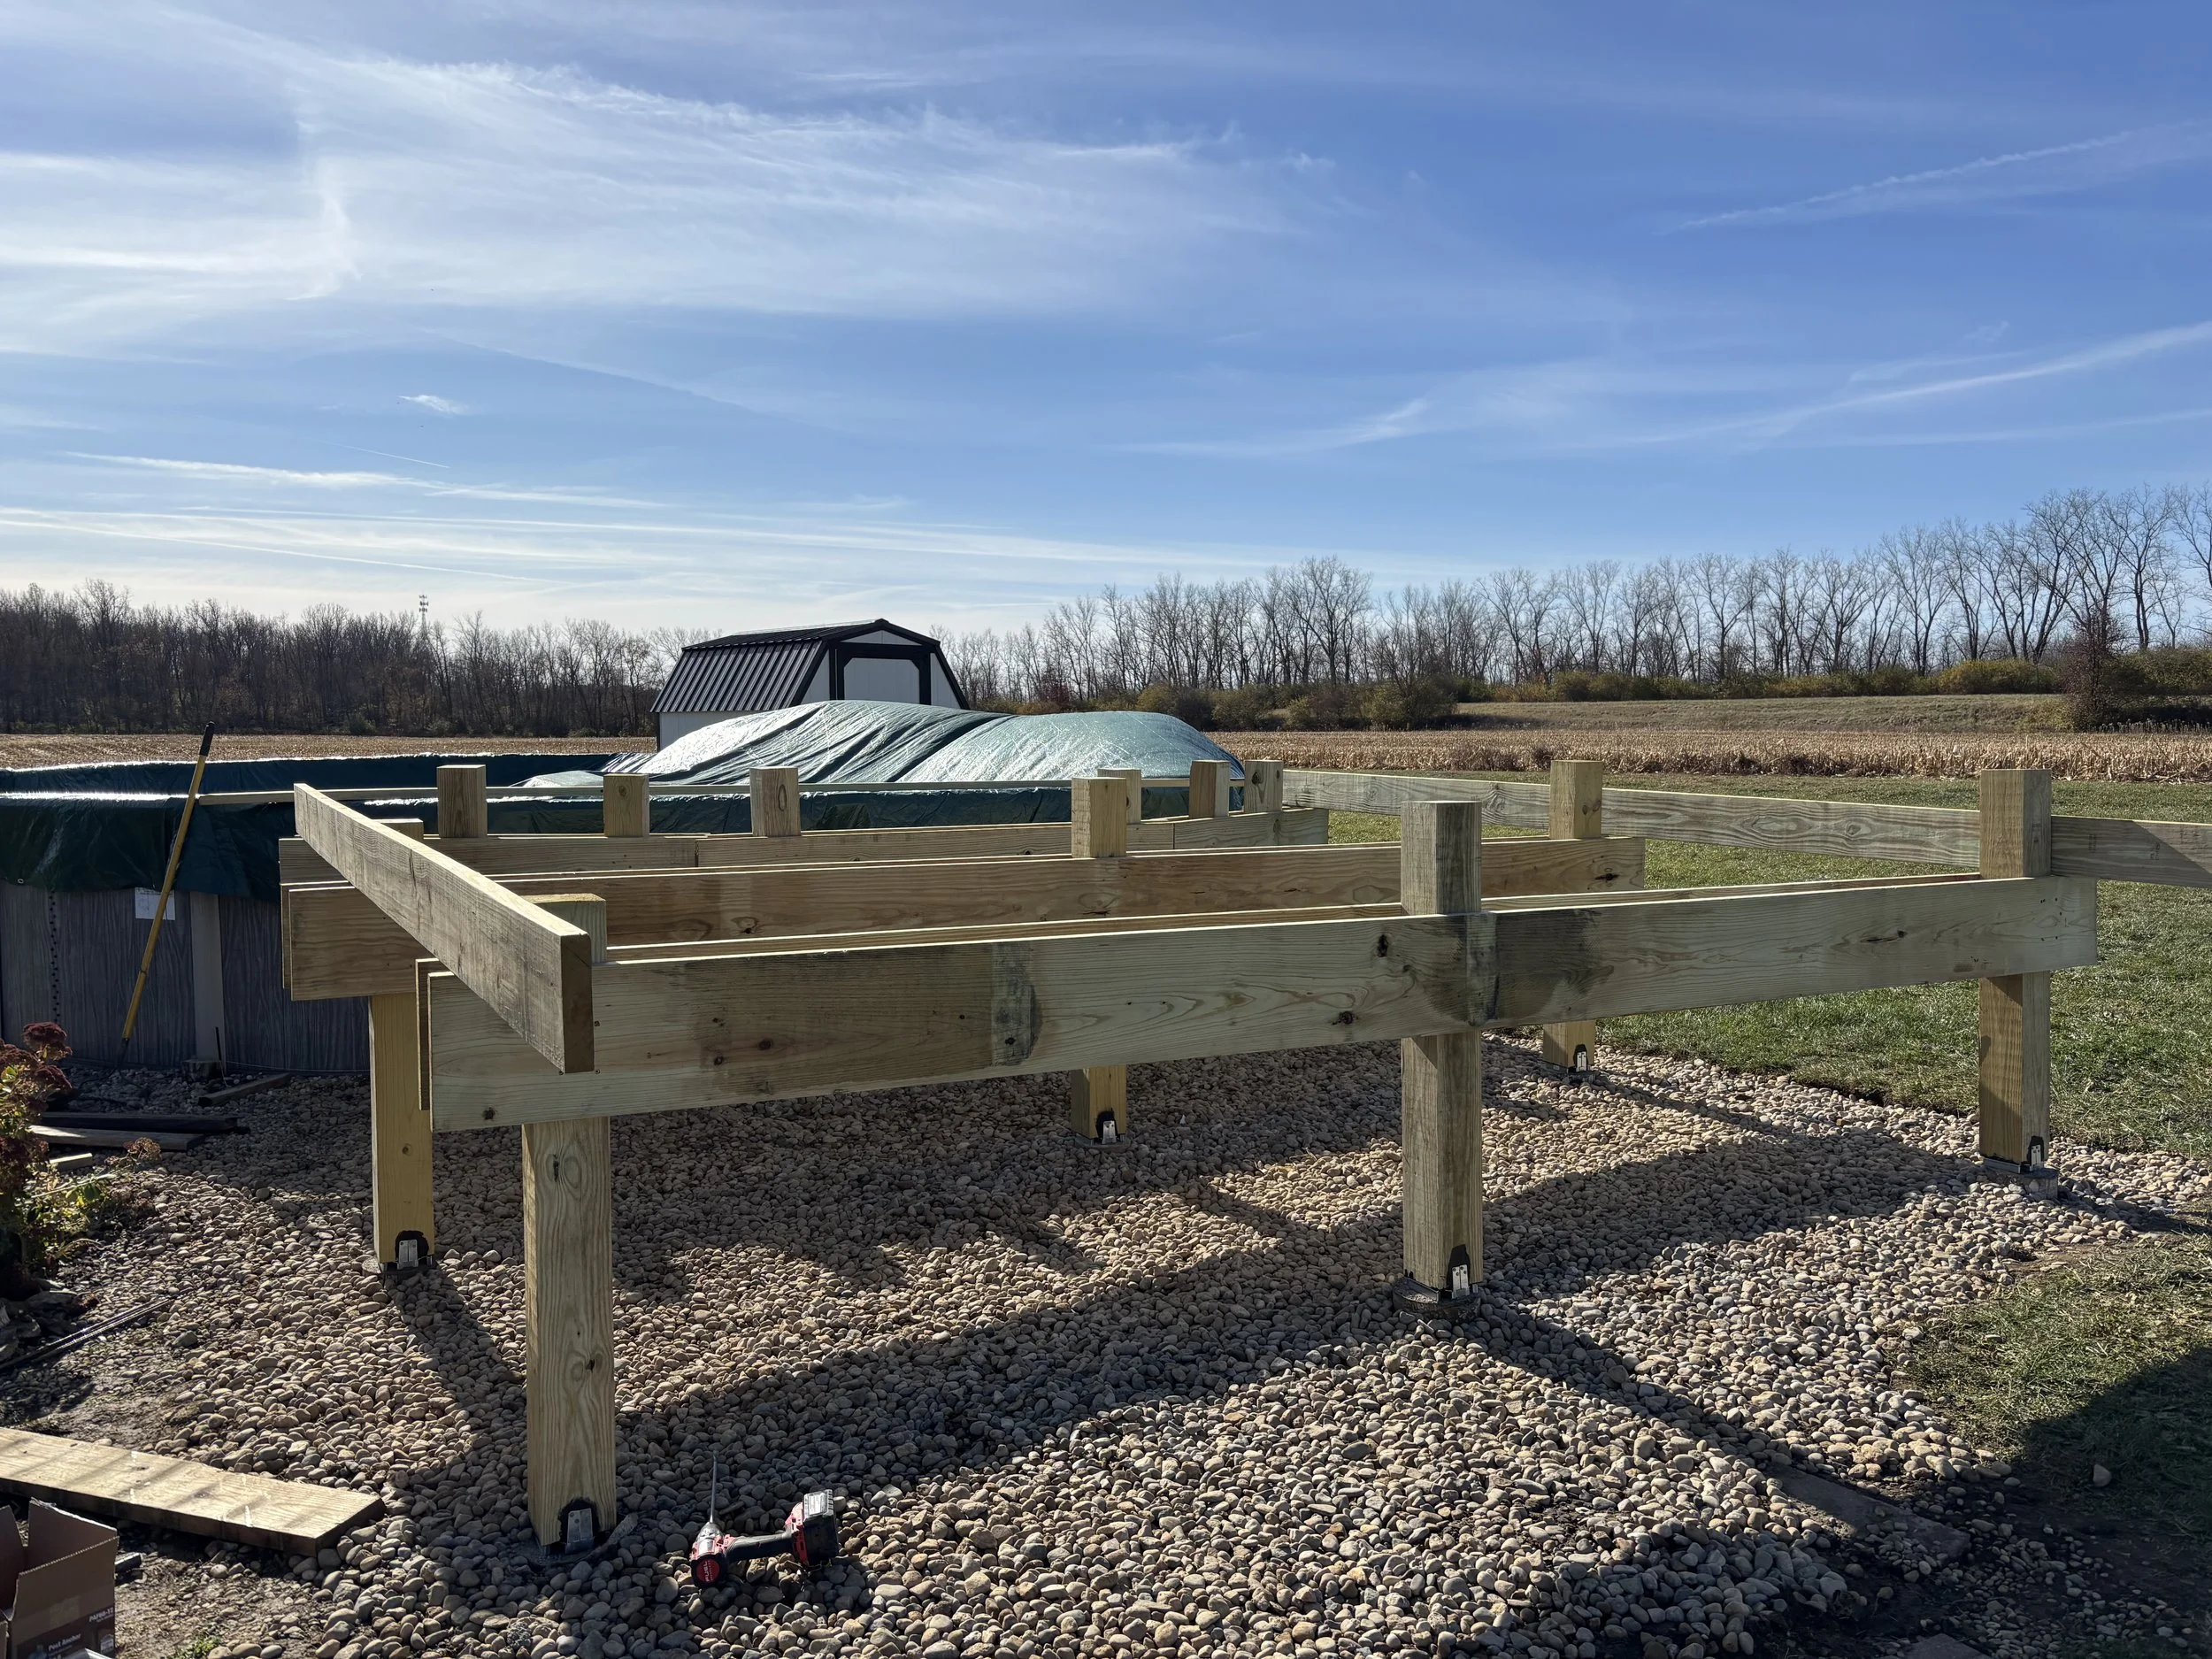
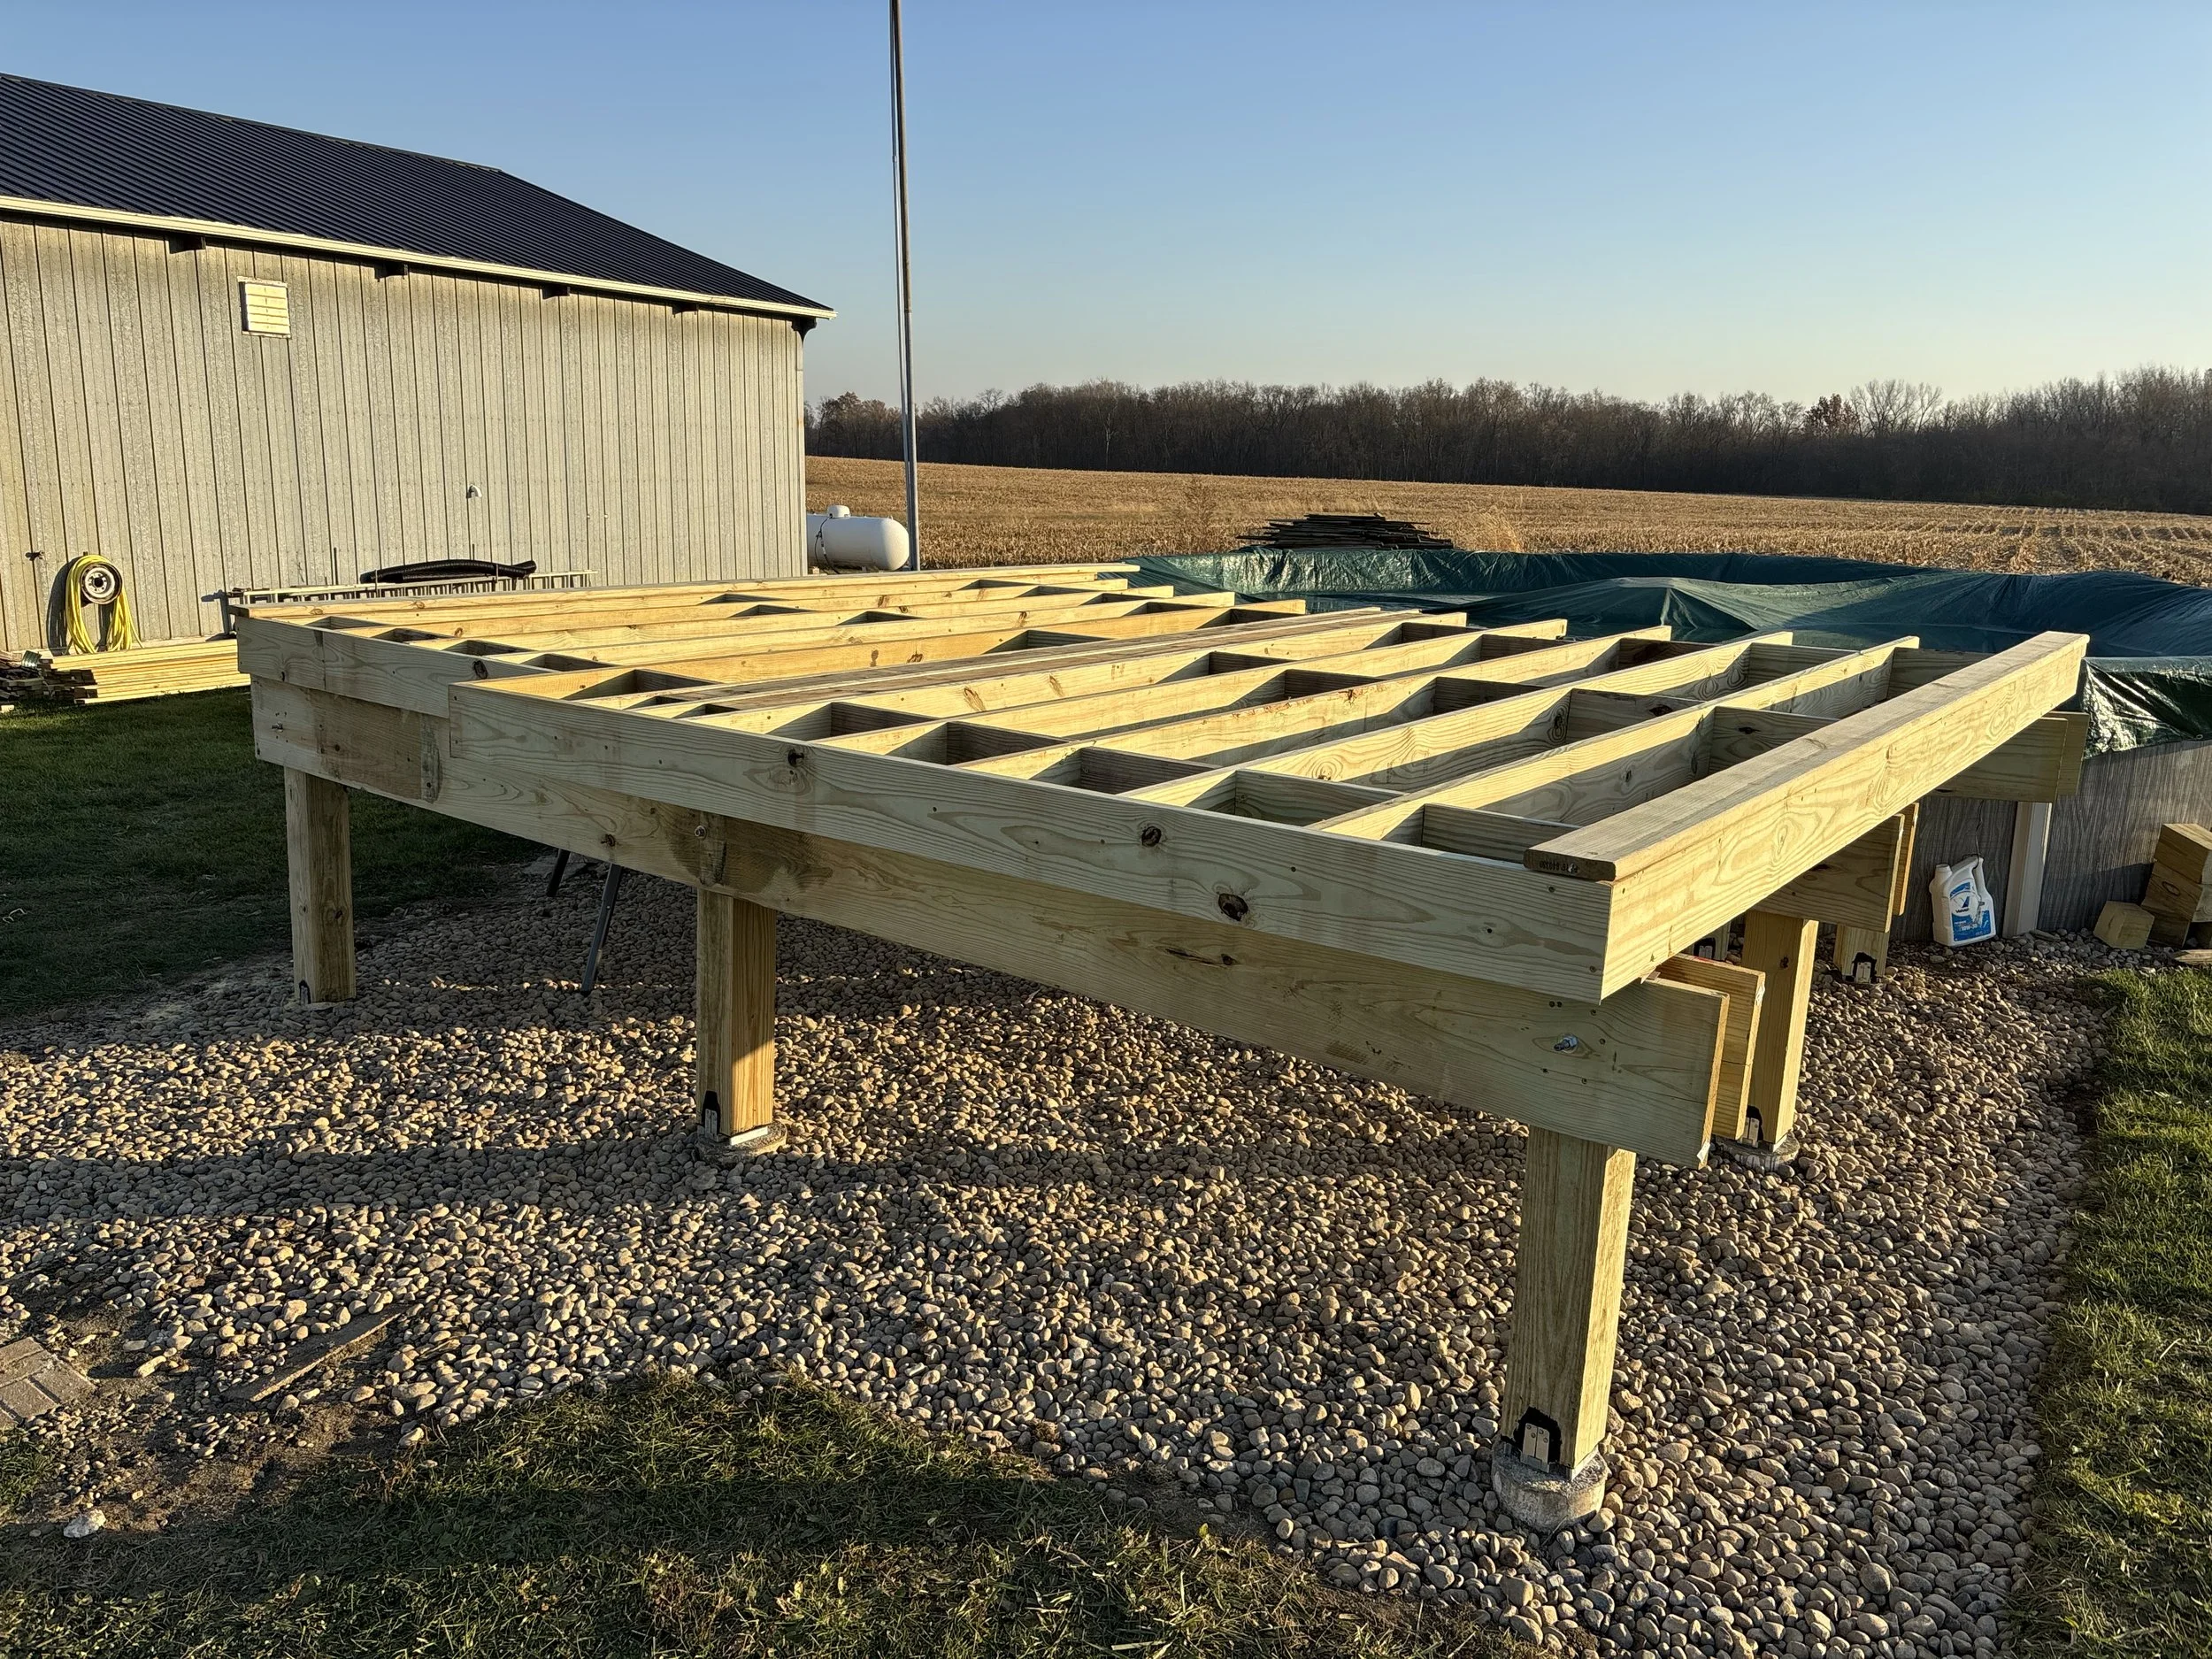
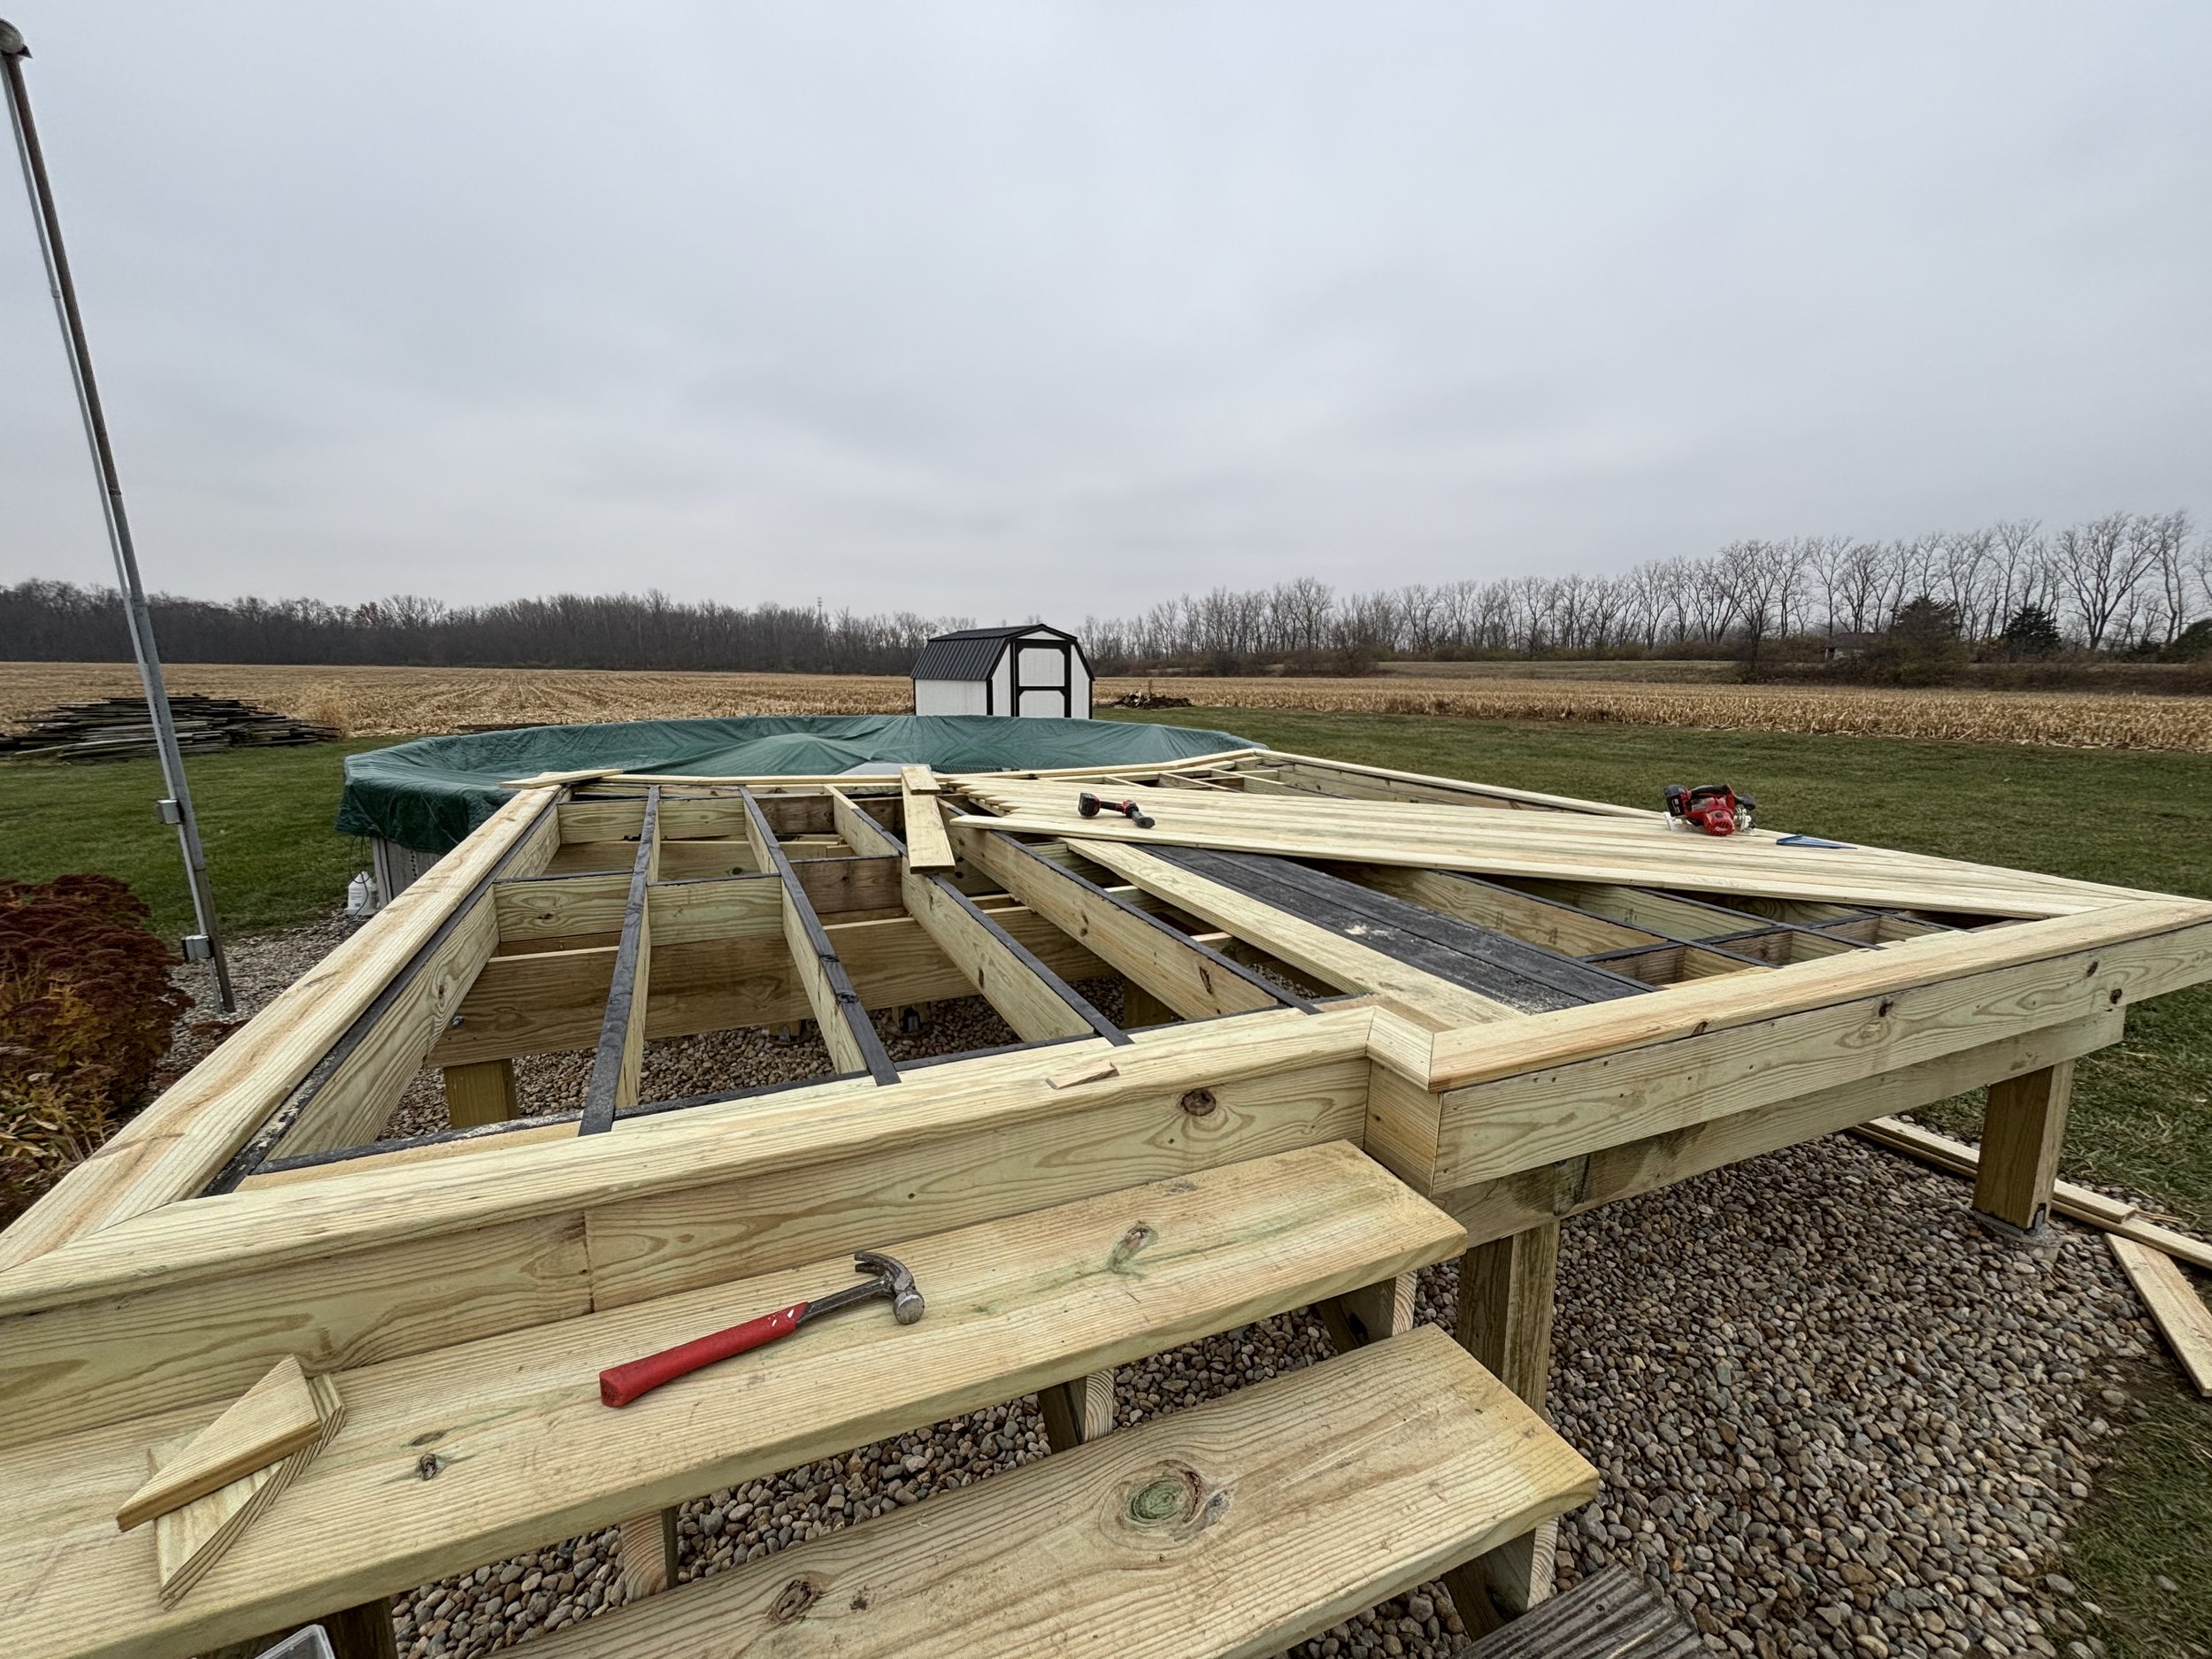
We let these pillars set over the weekend, and got to work with the foundational framing. We used 6x6 posts and double 2x12 main beams to carry our 2x8 joists. Due to the pool’s shape, we needed to place an offset foundational post/beam setup near the front, and you’ll see later why this is necessary. We also sealed the bottom of the posts and the tops of each joist and block with an exterior rated enamel to prolong its life. The 6x6 posts were rough cut prior to joist setting, and were flush cut after the joist height was set. Most of them were flush cut to the 2x12 beams, but the end posts were left as an additional attachment point for the rim joists.
With the joists now set at 16” on center, it was time to begin blocking out the perimeter and along the critical areas of the surface. Blocking allows for the deck boards to have strong attachment points. This is also the time to decide the orientation of the deck boards.
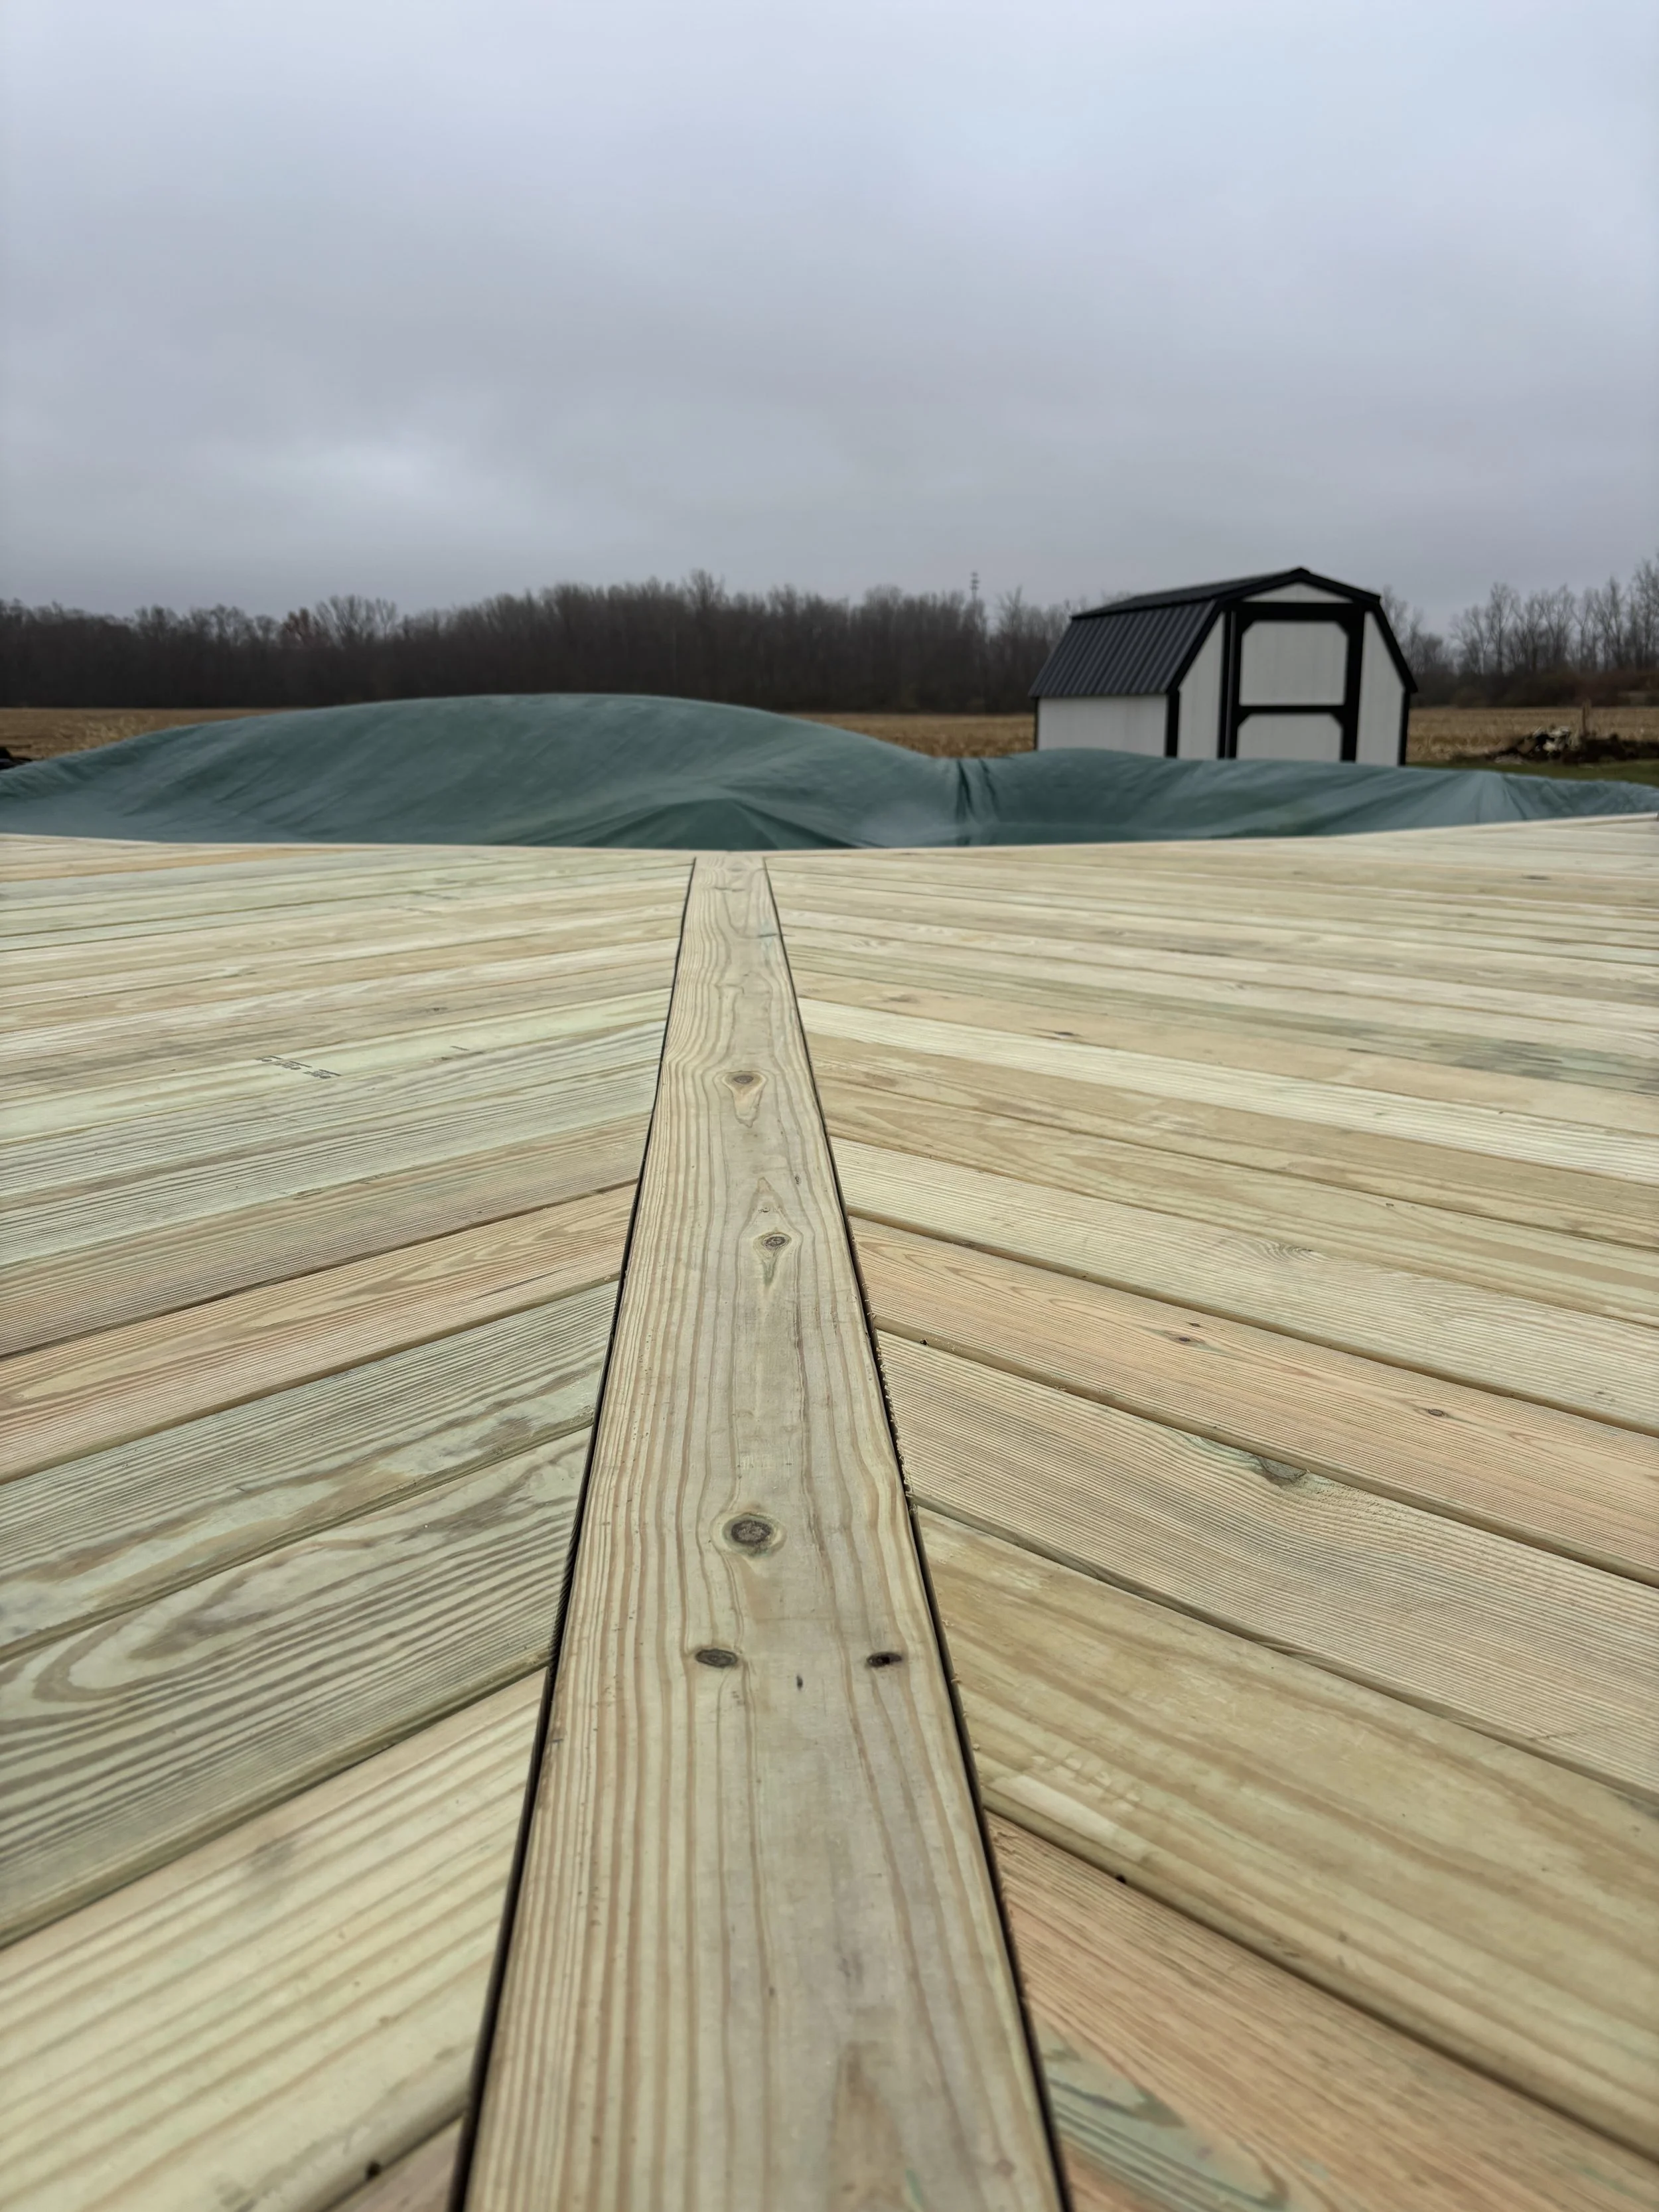
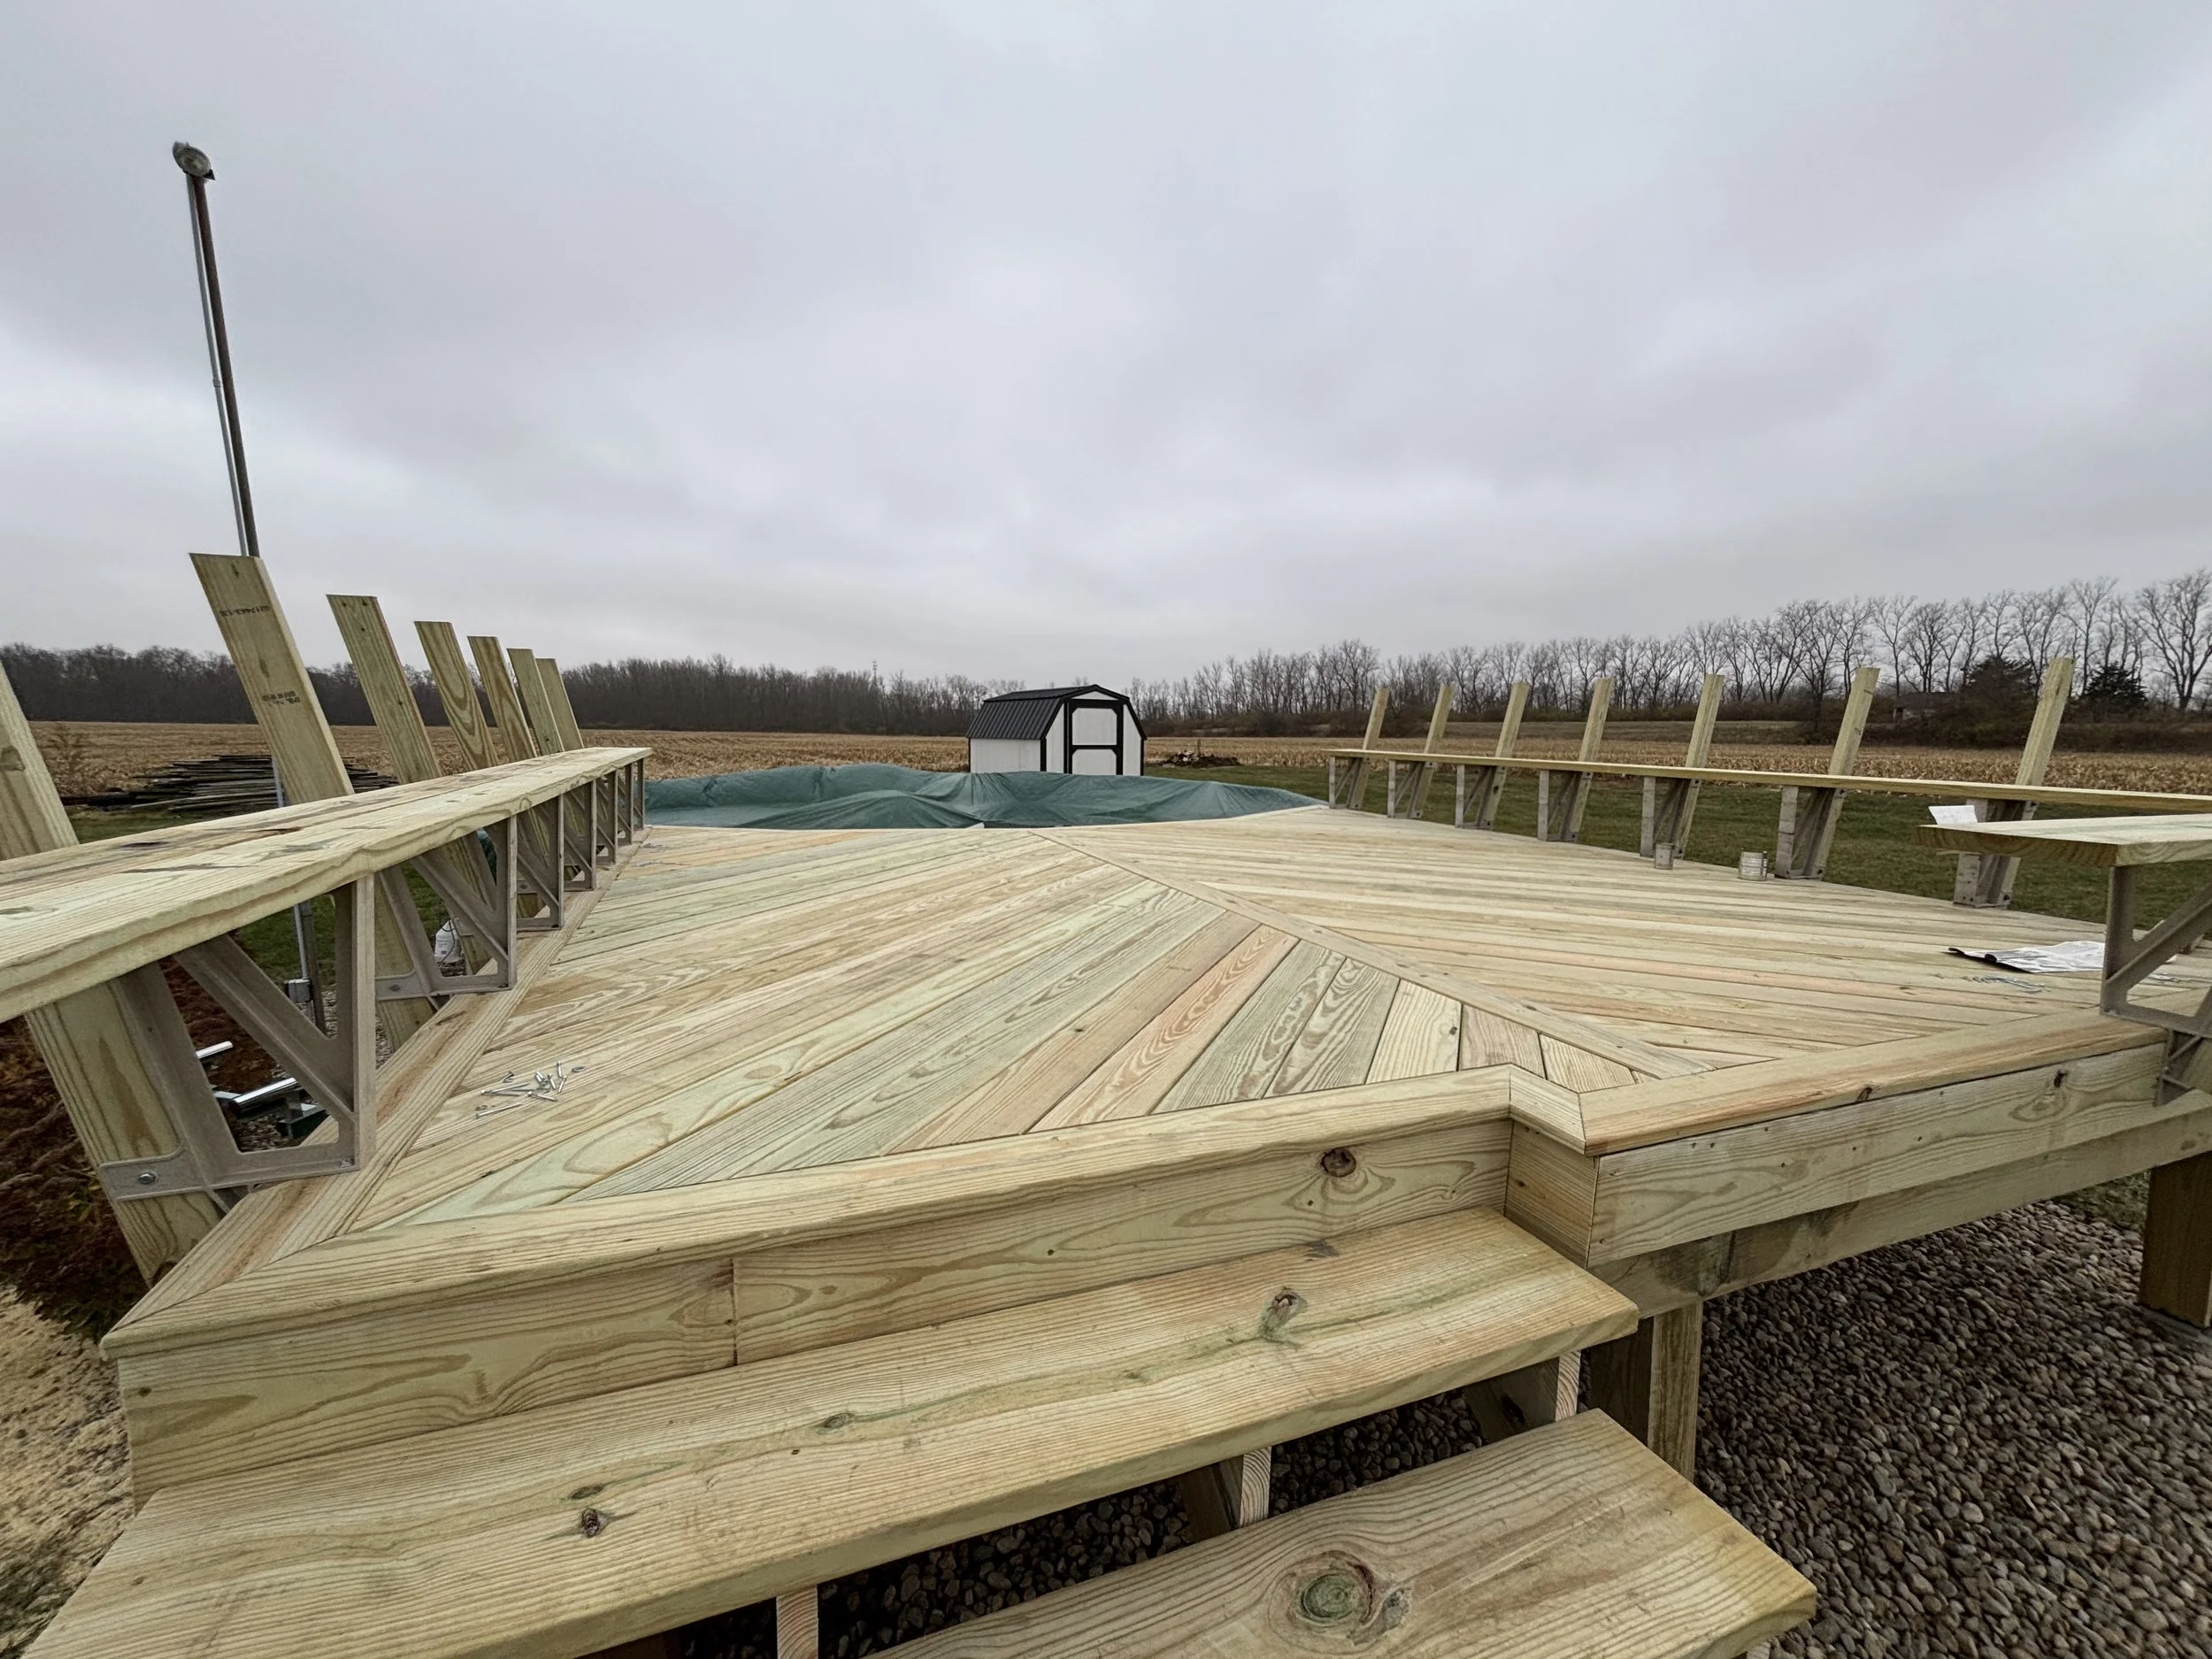
On site, we unloaded 5/4 (true inch) x 6”x12’ deck boards. The deck is about 16’x16’. The previous deck was a 12’x12’ square, hence the 12’ deck boards. The homeowner wanted to go bigger, but the project manager didn’t get that memo until after the material was delivered. Still, we COULD make 12’ boards work. How? Chevrons. We were already planning on picture-framing the deck, and installing a parting board in the middle of the deck will make that 12’ deck board fit perfectly if they are oriented at a 45º angle. This is where things got interesting…
Before we could get too crazy though, we needed to get up on the deck, so the stringers were cut and landed on 6” support blocks. Temporary steps were installed to keep the eventual new steps clean.
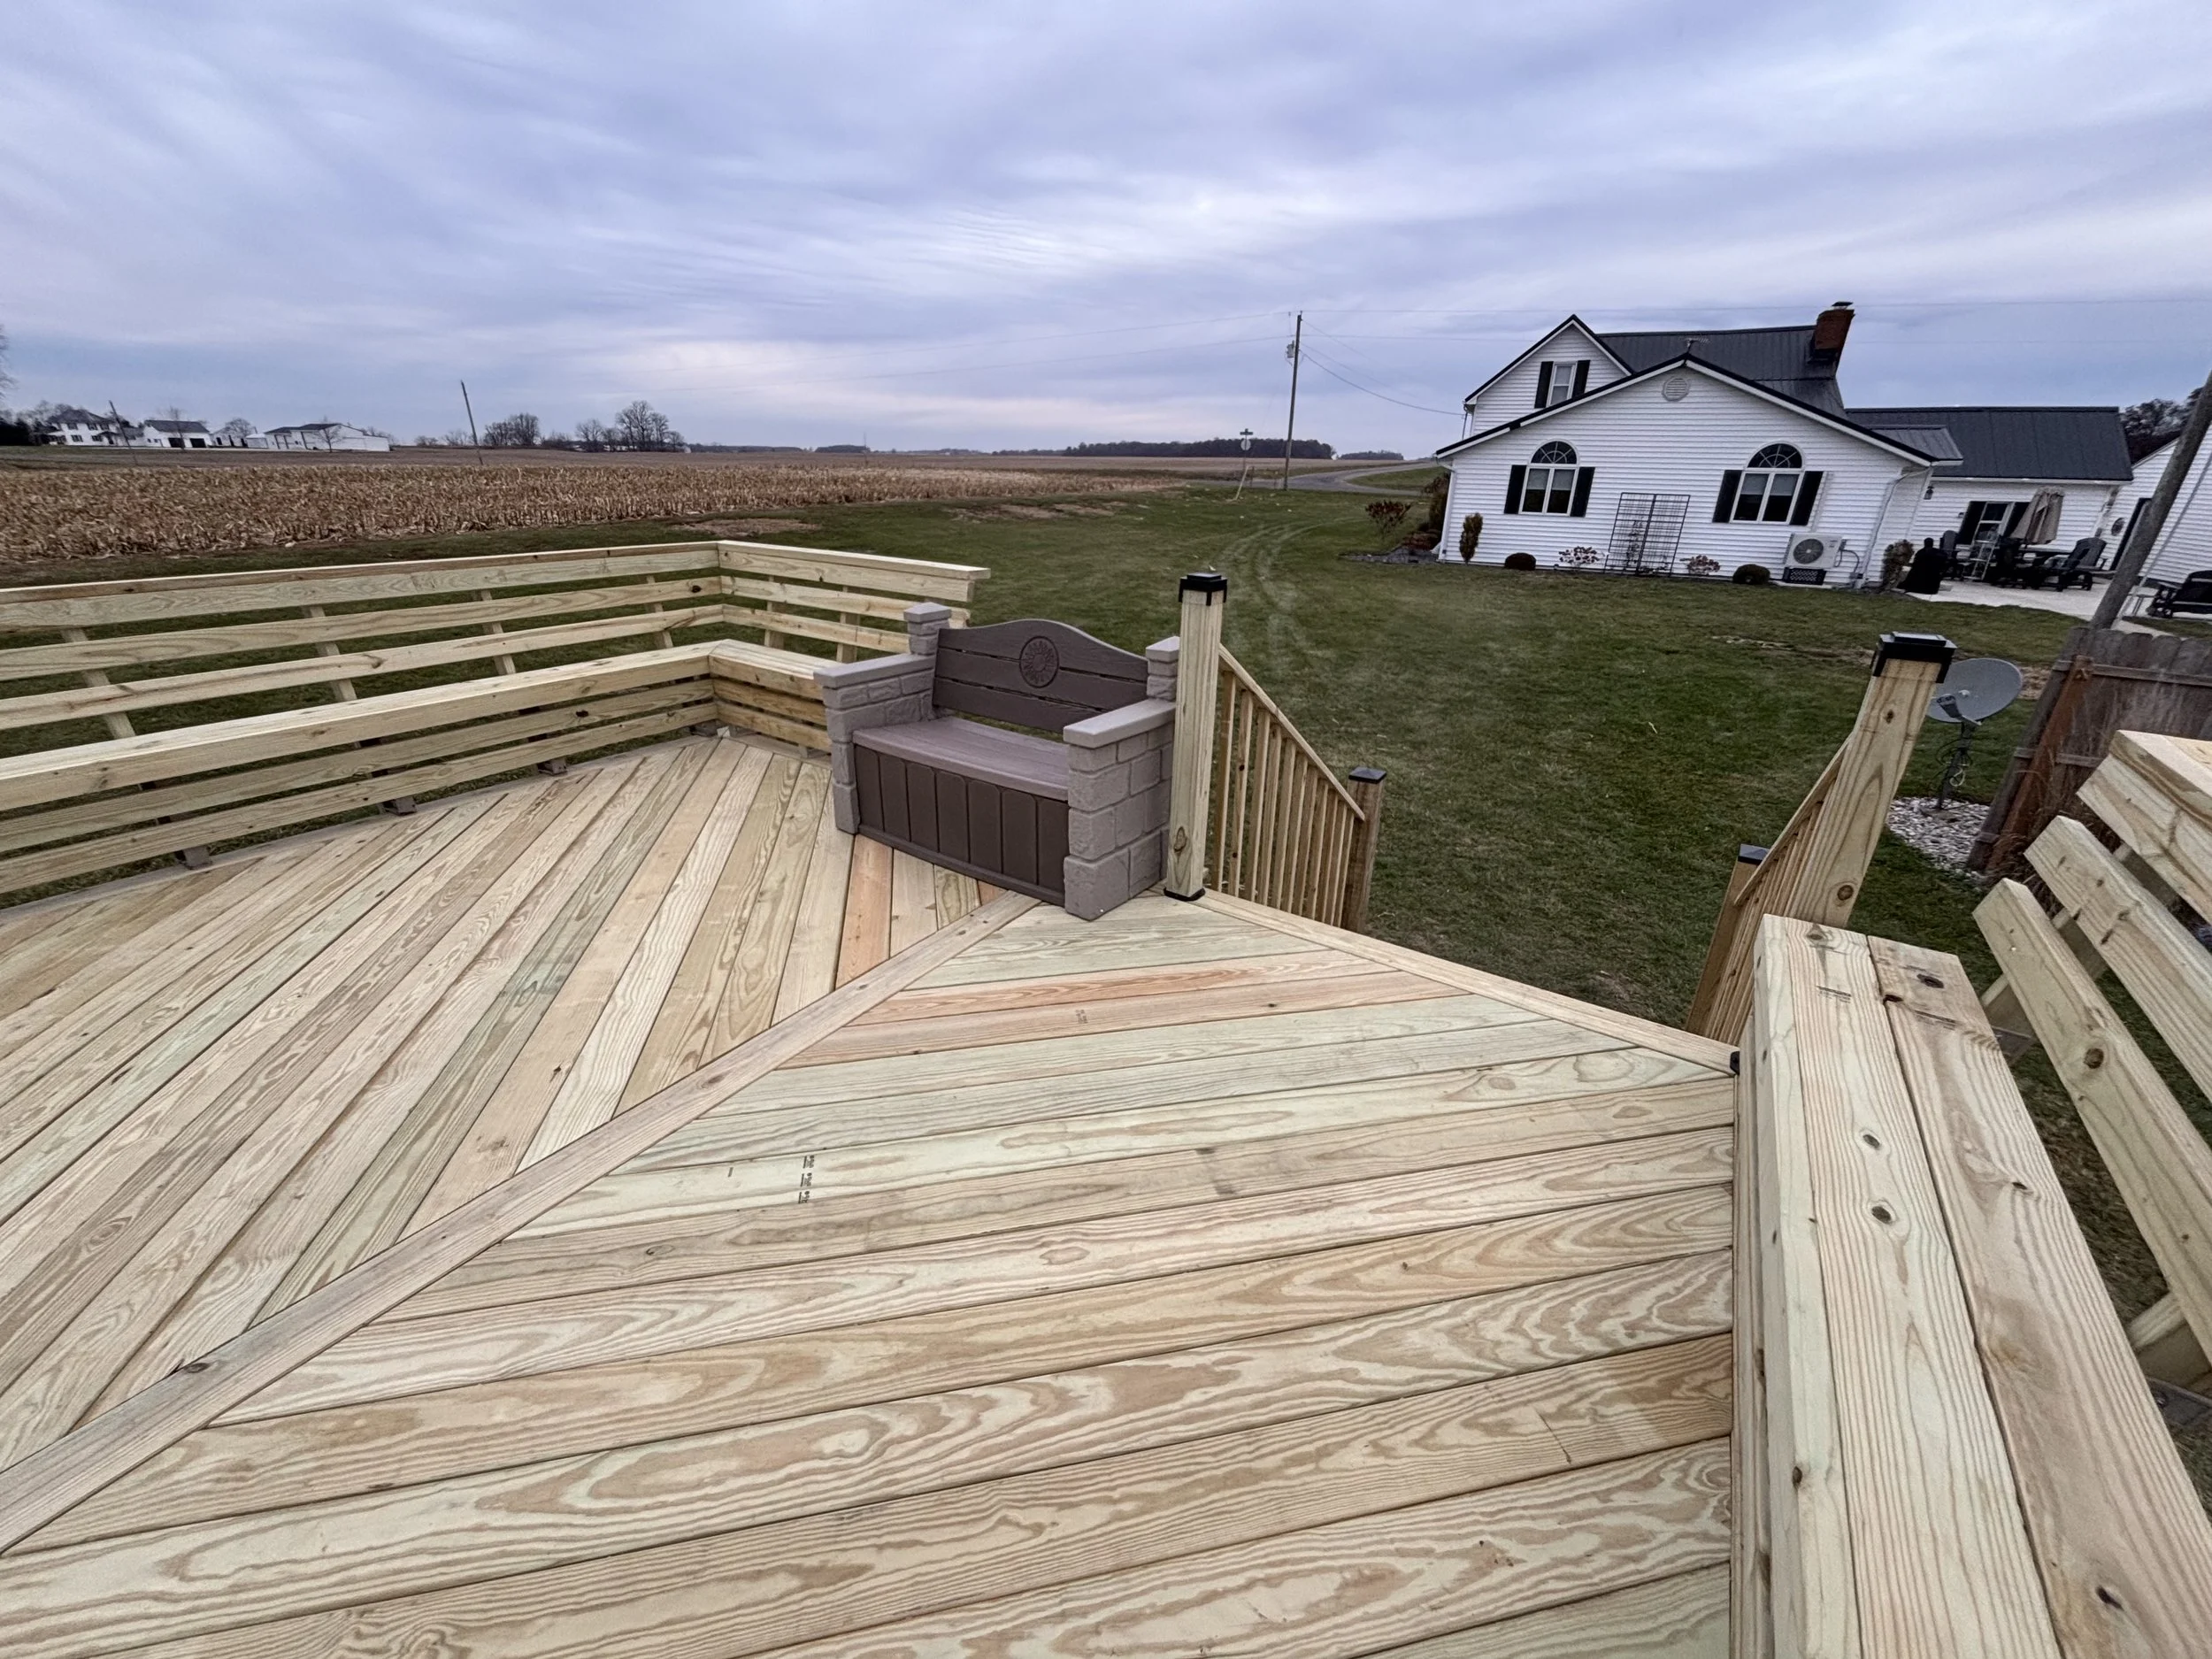
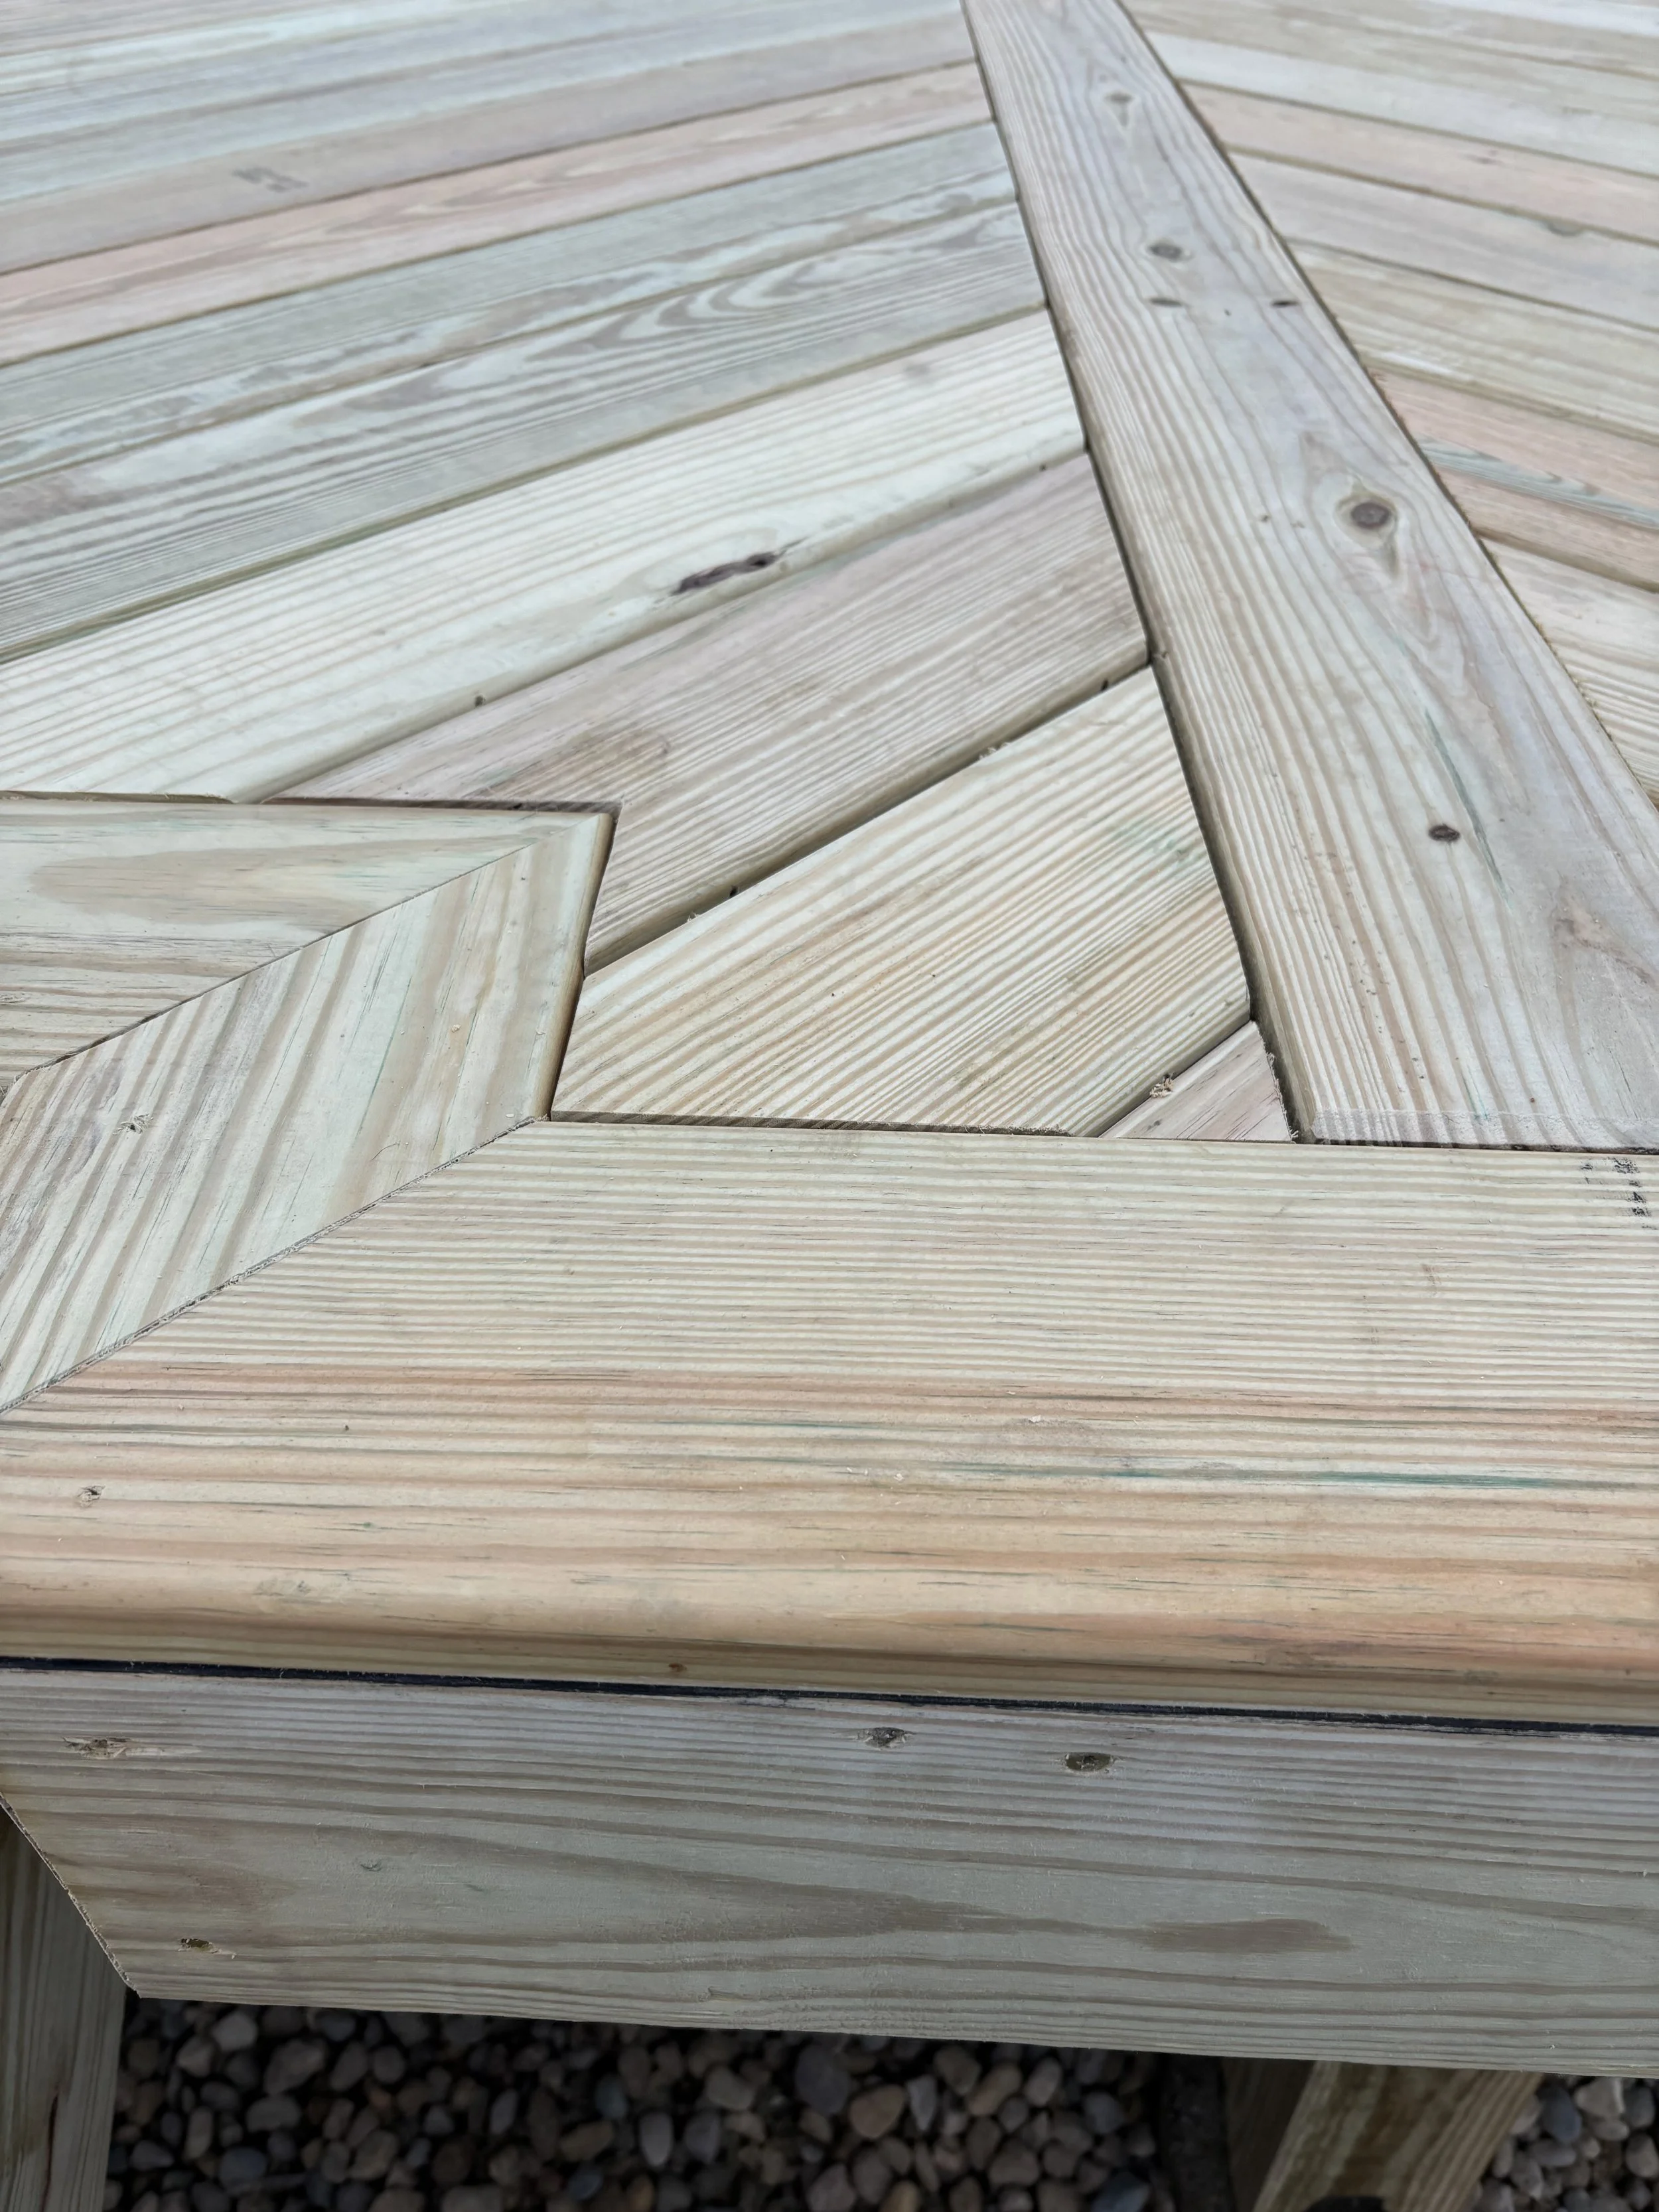
As we began laying in the boards to rough fit, something didn’t look right. The front of the deck was cut into four different angles to accommodate the curvature of the pool, and the joint of the middle angle was out of alignment to the true “middle” of the deck by about 10”. How did I screw that up? It was a product of the previous deck’s footprint. It was placed off center, and we kept it. How can I fix that? By putting the parting board in the middle of that joint, the deck now looked centered. The board wasn’t in the “true middle” of the deck, but the eye is drawn to the joints at the pool end of the deck.
After a couple days of placing deck boards, it was also time to discuss fasteners. From the above picture, you’ll notice a lack of face screws. We used the Camo deck fastening system that hides the fasteners along the side of the boards and creates a more seamless and clutter-free look. Another great feature of the Camo system is their proprietary screws, which have a reverse thread by the head. These screws are designed to stay put and will not pull out as the years go by.
Look mom! No fasteners!

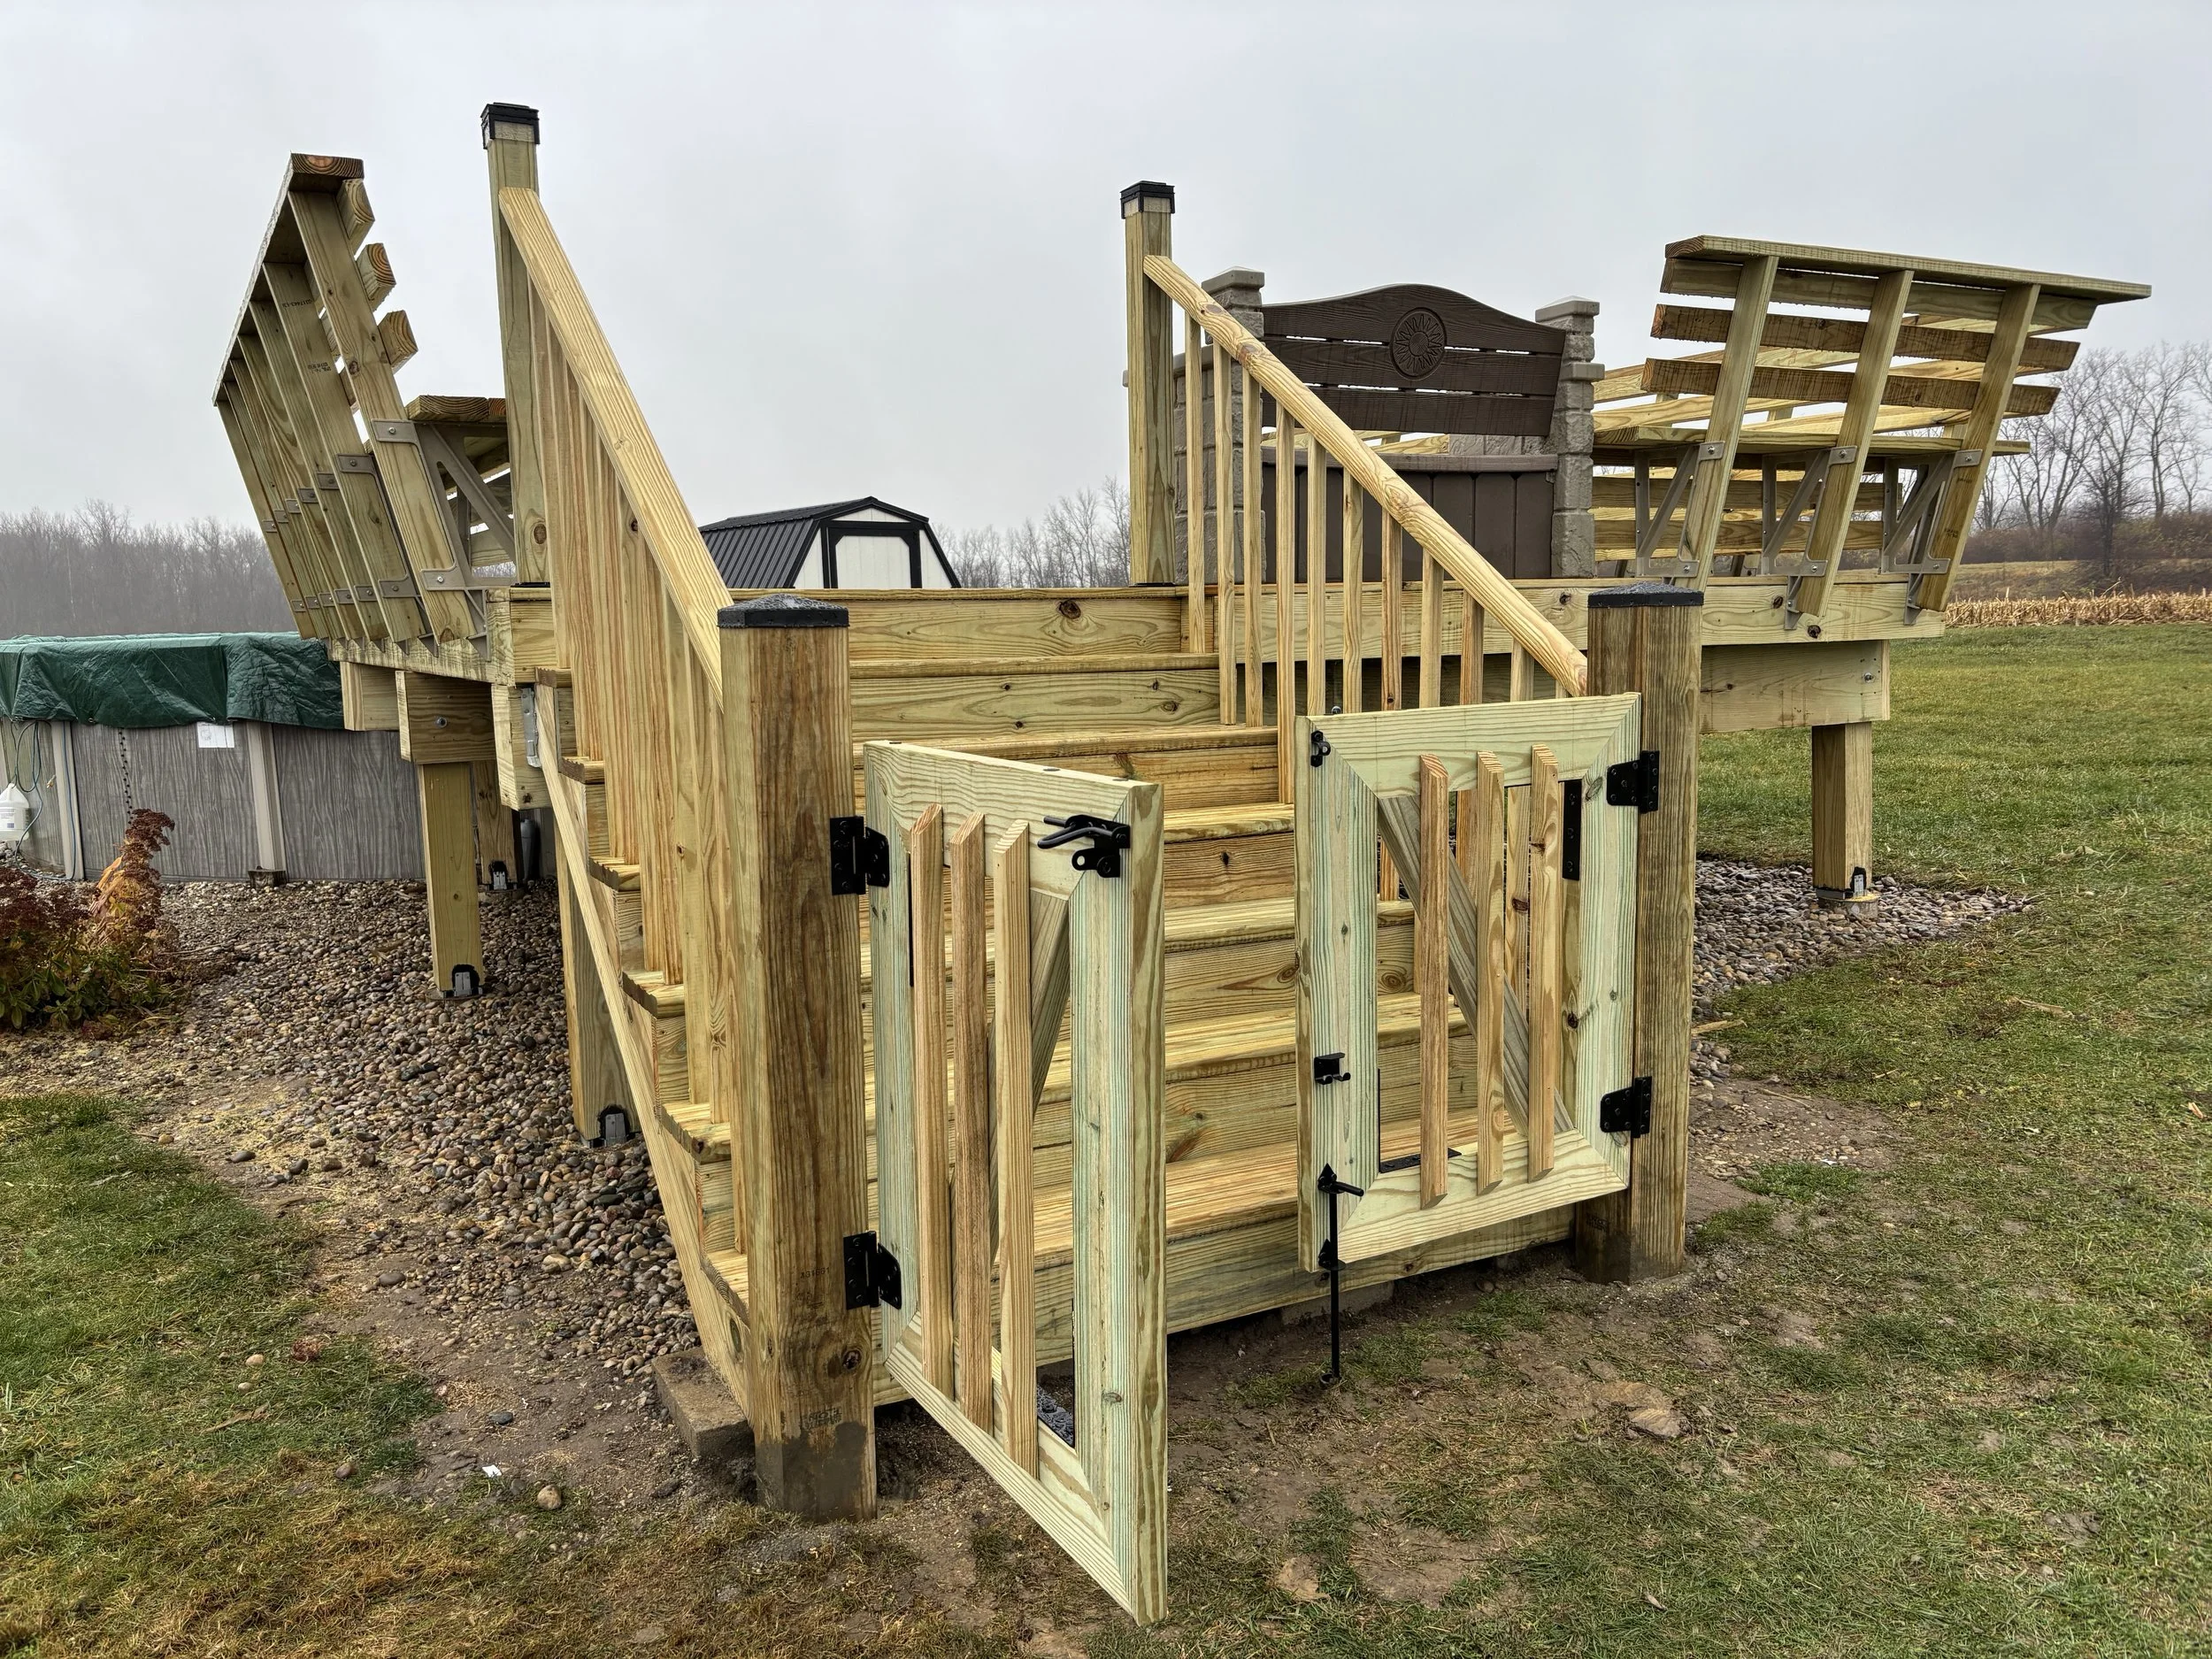
With the deck boards installed, it was time to consider railing options. Being almost 4’ off the ground, this was a crucial element. The previous deck had a great feature: Continuous seating around the perimeter. Deckmate makes a bracket for this specific purpose, and is designed specifically to use dimensional lumber. A combination of 2x4 and 2x6 will create a continuous bench instead of a rail.
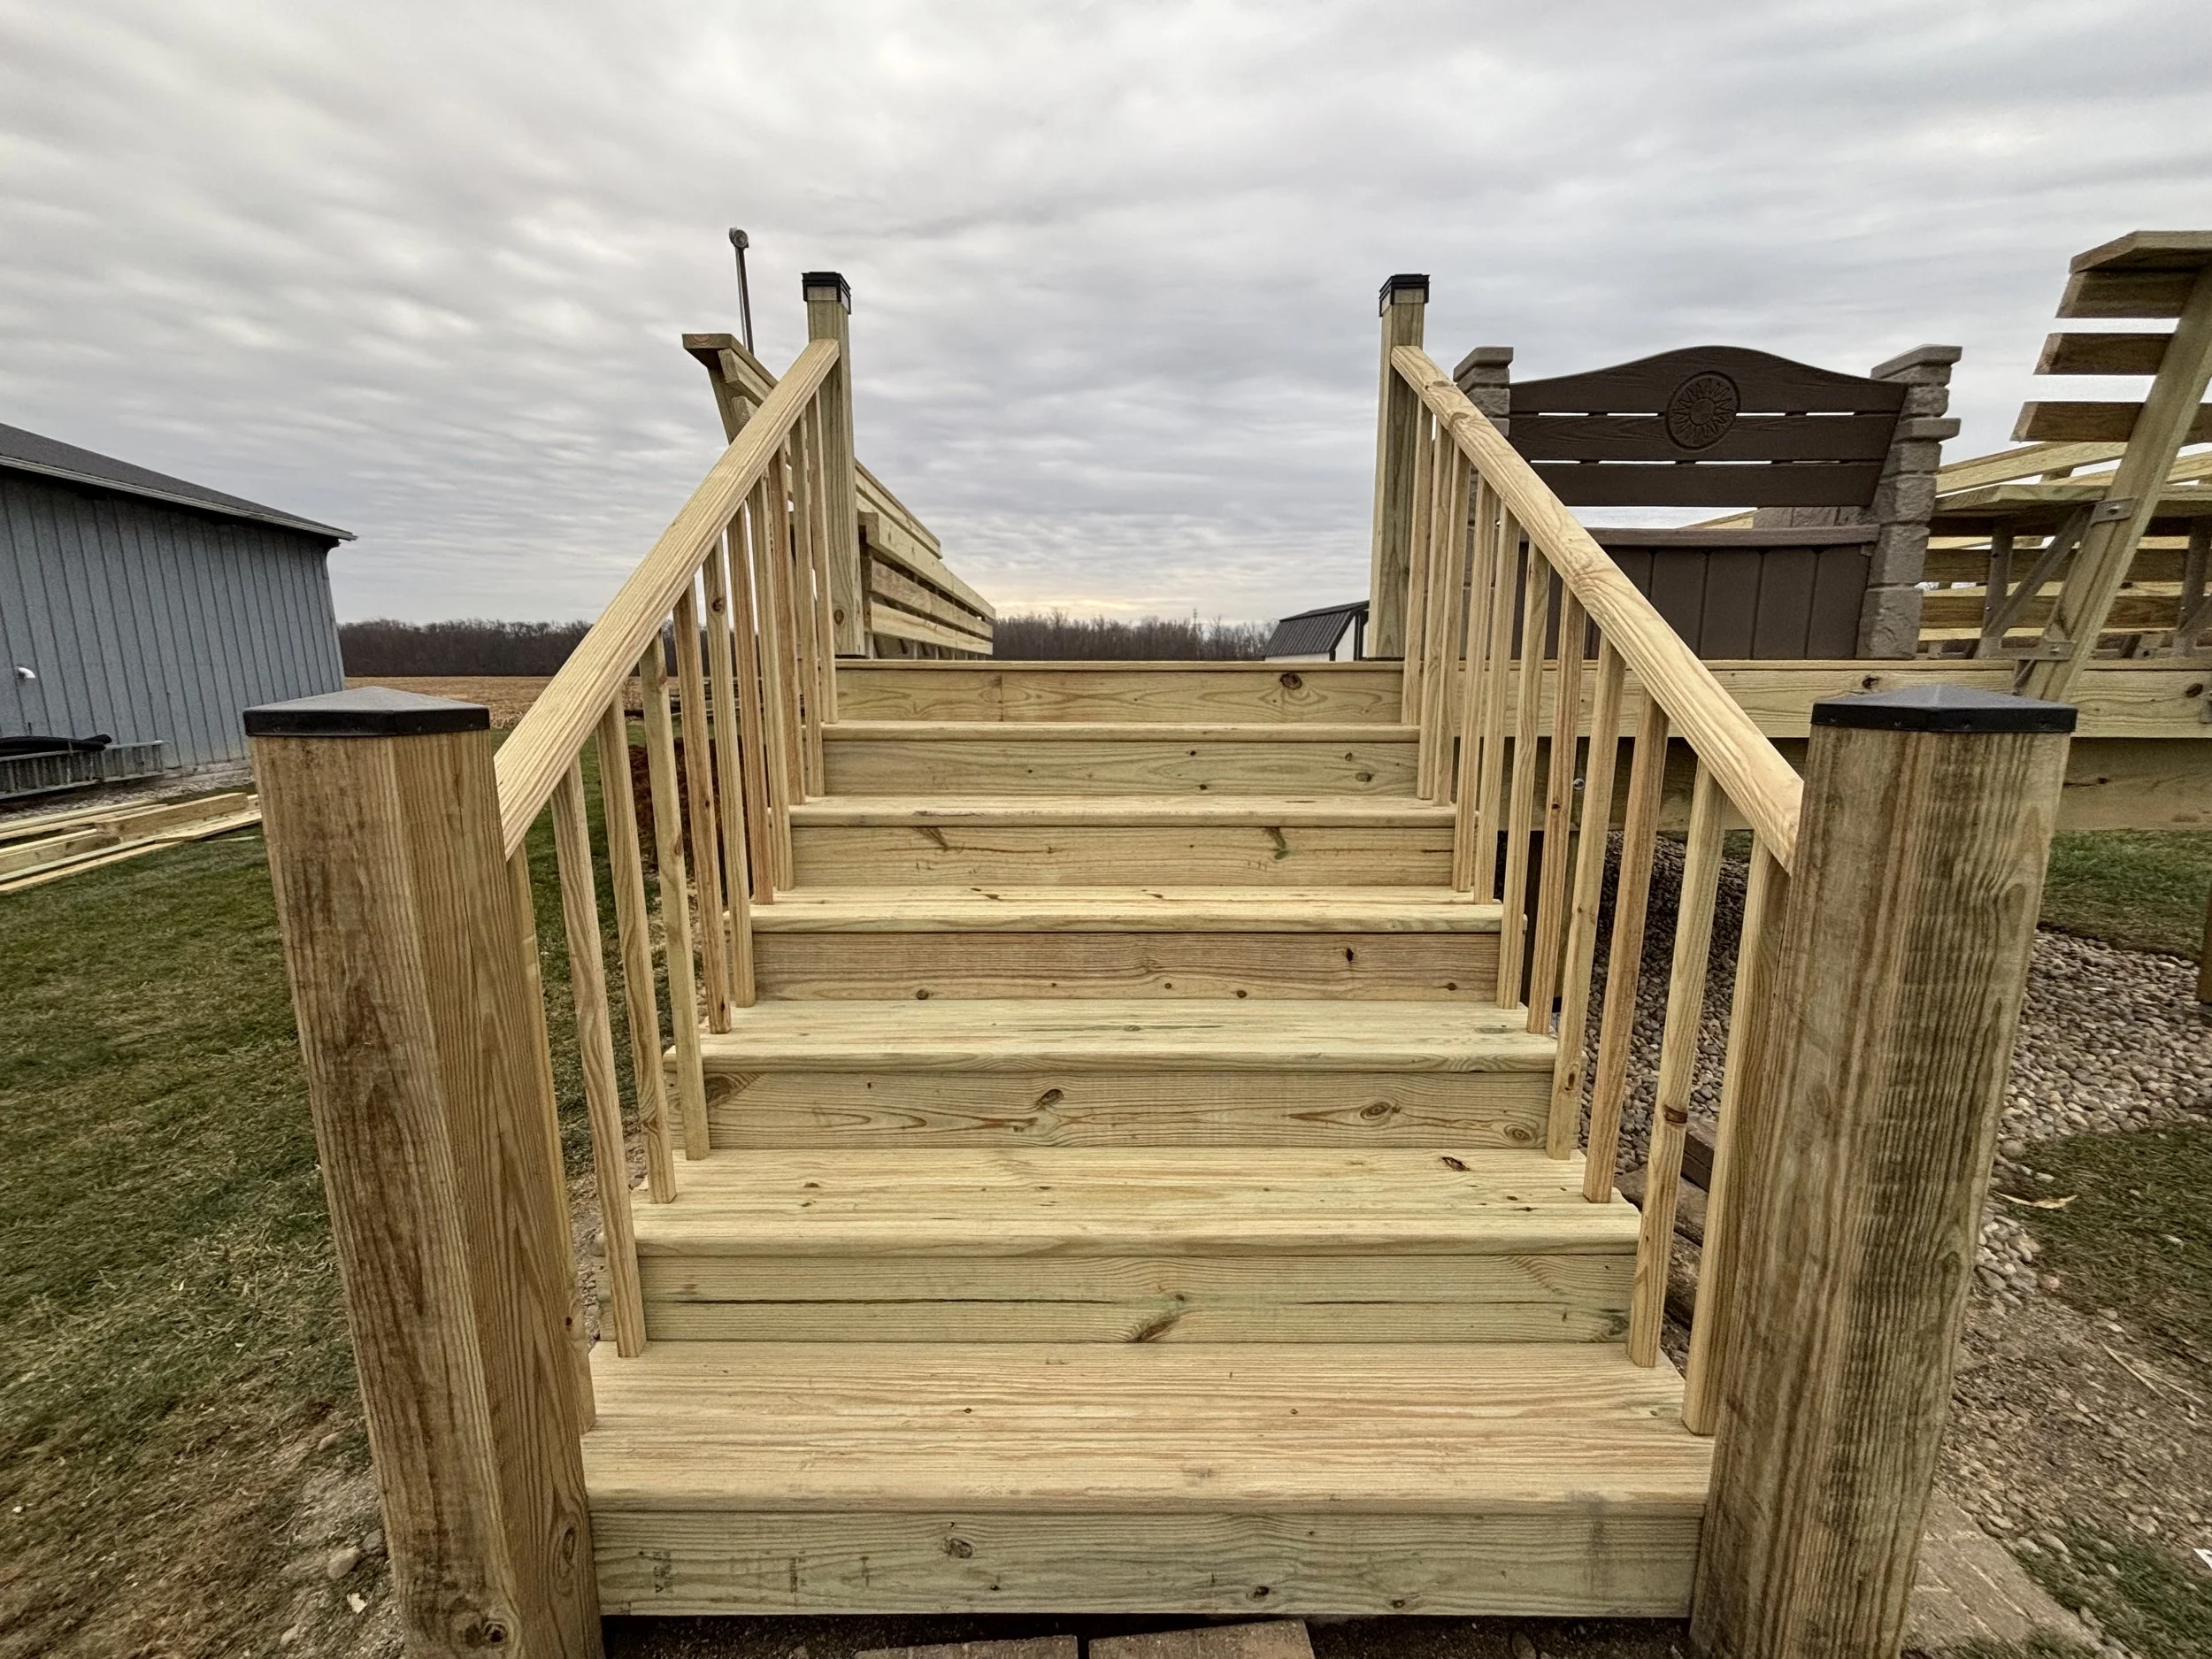
Time to revisit those steps. The homeowner preferred a wide step, so we went with a design that made our steps almost 6’. Our local Menards stocked 6’ deck stair treads, and they only needed a slight trim to fit perfectly. We also needed to make a decision between open or closed risers. After some deliberation, it was decided that a closed riser with low-voltage step lights would be a nice touch, and I agreed completely. Then it was onto the railing. We had some 6x6 posts left over, so that was an easy choice. Though I don’t love to bury posts into the ground, this particular applications called for more rigidity, so we decided to bury the posts. We also needed a strong attachment point for our gates. Insurance was adamant about having the pool deck closed when not in use, so gates were a must. We used a 4x4 post and a solid post anchoring system at the top of the stairs. During the blocking phase of the deck, we made sure to have all the high traffic areas completely blocked and solid for attachment points, and boy am I glad we did. The gates were made in the shop with mitered 2x6s, a 2x4 cross member, very long lags, and some angle brackets. These created a sturdy-feeling gate with an 18” cane bolt on the right gate to keep it from swinging while closed.
Overall, this project turned out great, and the deck should last for decades.